Master Genshin Impact’s Spiral Abyss 5.6 with expert team strategies, floor breakdowns, and actionable optimization tips.
Spiral Abyss 5.6 Core Mechanics & Meta Shift
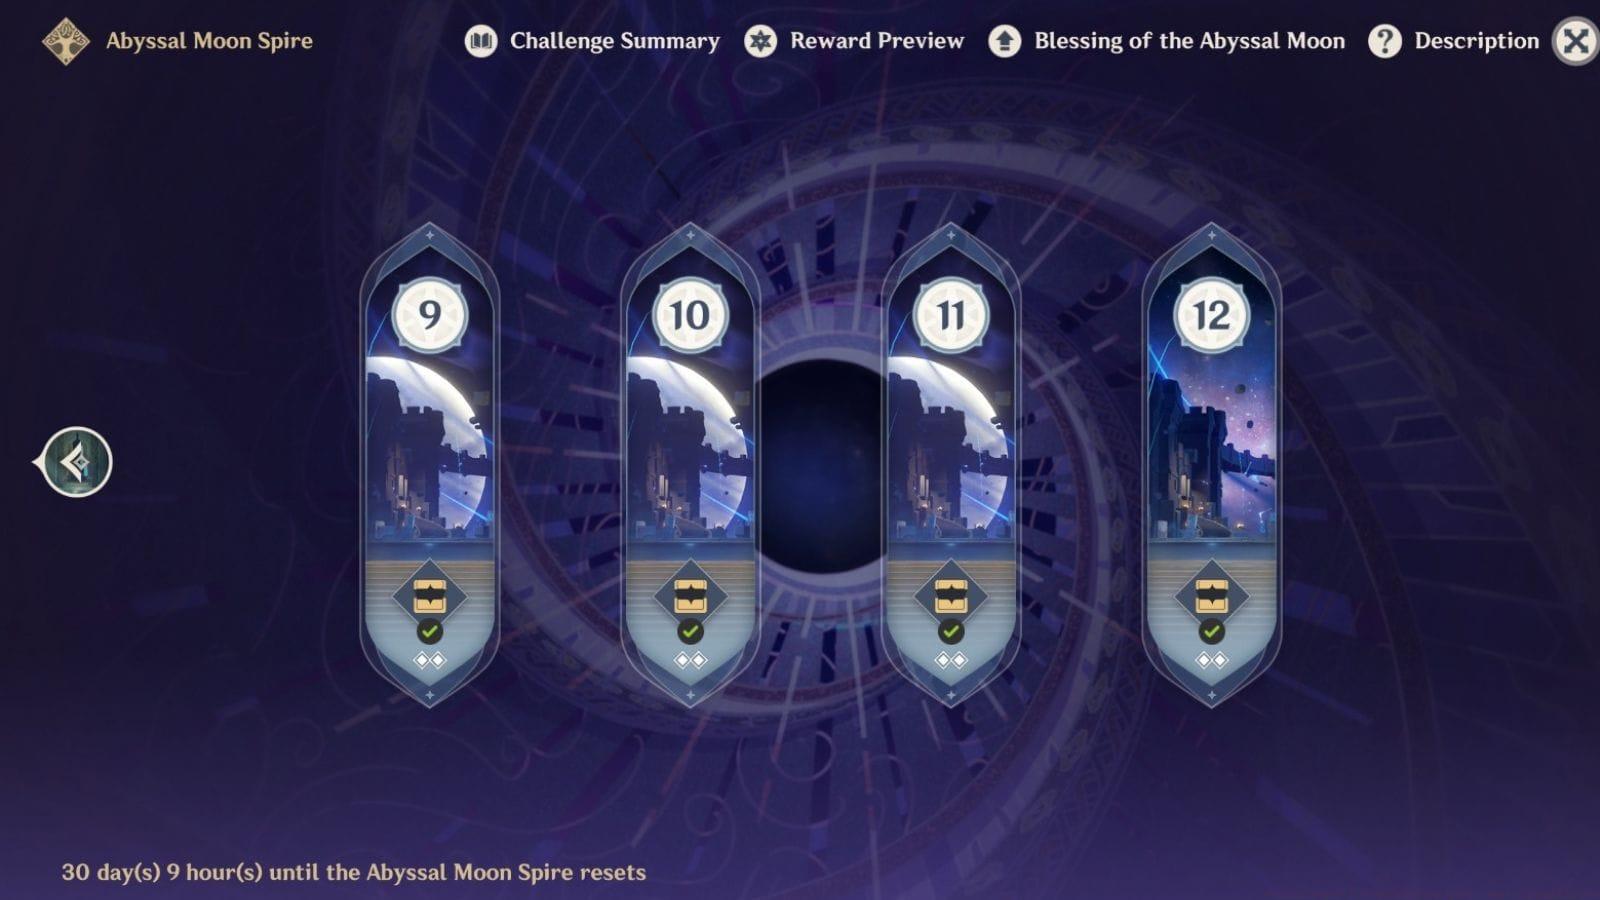
Spiral Abyss stands as Genshin Impact’s pinnacle endgame content, challenging players to defeat waves of powerful enemies within strict time limits. The difficulty escalates dramatically on Floors 11 and 12, where enemy HP pools and aggressive patterns test the limits of your team building and execution.
Also read: 4 Genshin Impact Harbingers we could meet in Nod-Krai
The defining feature of version 5.6 is the Ley Line Disorder that profoundly shifts the combat meta. Upon dealing Elemental Skill damage to an opponent three times, a shockwave triggers, dealing True Damage to nearby foes. This mechanic bypasses all enemy defenses, making it a powerful source of free damage. It actively rewards characters who can frequently and powerfully deploy their Elemental Skill, moving the focus away from traditional Burst-centric rotations.
Conquering the Lava Dragon Statue Boss
Introduced in version 5.5, the Lava Dragon Statue presents a unique elemental check. It possesses a 70% resistance to all Elemental and Physical DMG in its base state. The key to victory lies in its Fury bar mechanic. Dealing Pyro damage fills this bar; filling it twice will significantly lower the boss’s elemental resistances, making it vulnerable. Crucially, using Hydro or Cryo attacks actively depletes the Fury meter, effectively resetting your progress and wasting precious time.
Optimal team compositions revolve around Pyro or Dendro damage dealers. Strong Pyro options include Xiangling (for off-field damage), Arlecchino (for sustained on-field DPS), or Dehya (for interruption resistance and coordinated attacks). For Dendro, consider Emilie for Burning synergy, Kinich for Spread damage, or Nahida for unmatched Dendro application and team buffs.
Common Mistake: A frequent error is bringing a Hyperbloom team or a Natlan team reliant on Hydro reactions (like Vaporize). These teams will constantly drain the Fury bar with Hydro application, making the fight nearly impossible. Always check your team’s elemental output before engaging.
Floor 12 Chamber-by-Chamber Strategy
First Half (Chambers 1, 2, 3): This side is more straightforward. The primary obstacle is the Thundering Wayob Manifestation and its shield. The most efficient strategy is to use a Cryo or Dendro character to quickly break its Electro shield. A well-built Cryo unit like Ayaka or Ganyu, or a Dendro applicator like Nahida, can trivialize this encounter.
Second Half – The Real Challenge: This half requires careful team planning across all three chambers.
– Chamber 1: You must defeat the Lava Dragon Statue. As established, a mono-Pyro team (e.g., Lyney, Xiangling, Bennett, Kazuha) or a Burning-focused team (Nahida, Pyro applicator) is mandatory.
– Chambers 2 & 3: Here you face Tenebrous Mimesis and Papilla enemies. These are best handled by Natlan (specifically non-Hydro variants), Burning, or Hyperbloom teams for maximum clear speed.
Critical Rerun Strategy: Since you cannot use Hyperbloom teams against the Chamber 1 boss, you may need a two-run approach. First, clear Chambers 2 and 3 with your optimal Hyperbloom/Natlan team to secure those stars. Then, in a second run, use a specialized mono-Pyro/Burning team to 3-star Chamber 1. This division of labor is often faster than forcing one team to handle all three chambers sub-optimally.
Also read: Which Genshin Impact characters will work well with Skirk, as per leaks
Maximizing the Cryo & Elemental Skill Buff
The 5.6 Abyss offers tremendous power to Cryo teams. On Floor 11, all party members receive a 60% Cryo DMG Bonus. This makes traditional permafreeze teams with Ayaka, Ganyu, or Wriothesley exceptionally powerful. Support units like Rosaria, Citlali, Charlotte, and Kaeya also benefit greatly, increasing both their damage and utility.
The buff changes on Floor 12, shifting to specifically boost Elemental Skill Cryo DMG. This narrows the optimal field significantly. As of version 5.6, Escoffier is the premier character to leverage this, as her kit is designed around powerful Elemental Skill damage. Other Cryo units whose Skills are a major damage component (like Kaeya’s) will see a smaller but notable benefit.
Beyond Cryo, the Elemental Skill shockwave buff enables powerful “Skill Nuke” teams. Characters like Kinich, Emilie, Nahida, Raiden Shogun (E skill initial hit), Furina (off-field summons), and Mavuika can trigger the True Damage shockwave frequently, adding substantial passive AoE damage. The key is to build a rotation that prioritizes spamming multiple Elemental Skills in quick succession.
Also read: Genshin Impact: Why Skirk’s best artifact set might not be what you think, as per leaks
Advanced Player Optimization & Common Mistakes
Optimization Tips:
– Energy Management: For Skill-focused teams, ensure your supports have sufficient Energy Recharge to use their Skills off-cooldown without delaying rotations.
– Positioning: Group enemies effectively before unleashing your Elemental Skills to maximize the True Damage shockwave’s hit count.
– Artifact Sets: Consider 4-piece sets that boost Elemental Skill damage (where applicable) over standard Burst-focused sets.
Common Pitfalls to Avoid:
1. Ignoring the Fury Mechanic: Bringing any Hydro/Cryo damage to the Lava Dragon Statue is the most common cause of failure.
2. Inflexible Team Building: Attempting to use one team for all three chambers of Floor 12’s second half often results in a 2-star clear. Embrace the two-run strategy.
3. Underestimating the Shield: Not bringing a dedicated shield-breaker (Cryo/Dendro) for the Thundering Wayob in the first half can waste significant time.
4. Mis-timing Skills: Spamming Skills without regard for the 3-hit counter wastes potential shockwave procs. Space them to ensure every third hit occurs when enemies are grouped.
Also read: Genshin Impact “Too many requests. Please try again later.” error: Potential fixes explored
No reproduction without permission:Tsp Game Club » Genshin Impact 5.6 Spiral Abyss guide: Best tips and tricks Master Genshin Impact's Spiral Abyss 5.6 with expert team strategies, floor breakdowns, and actionable optimization tips.