Complete guide to solving the Barrowmoss Barrens barrier puzzle with kuuhenki rescue and secret domain rewards
Understanding the Barrowmoss Barrens Puzzle Setup
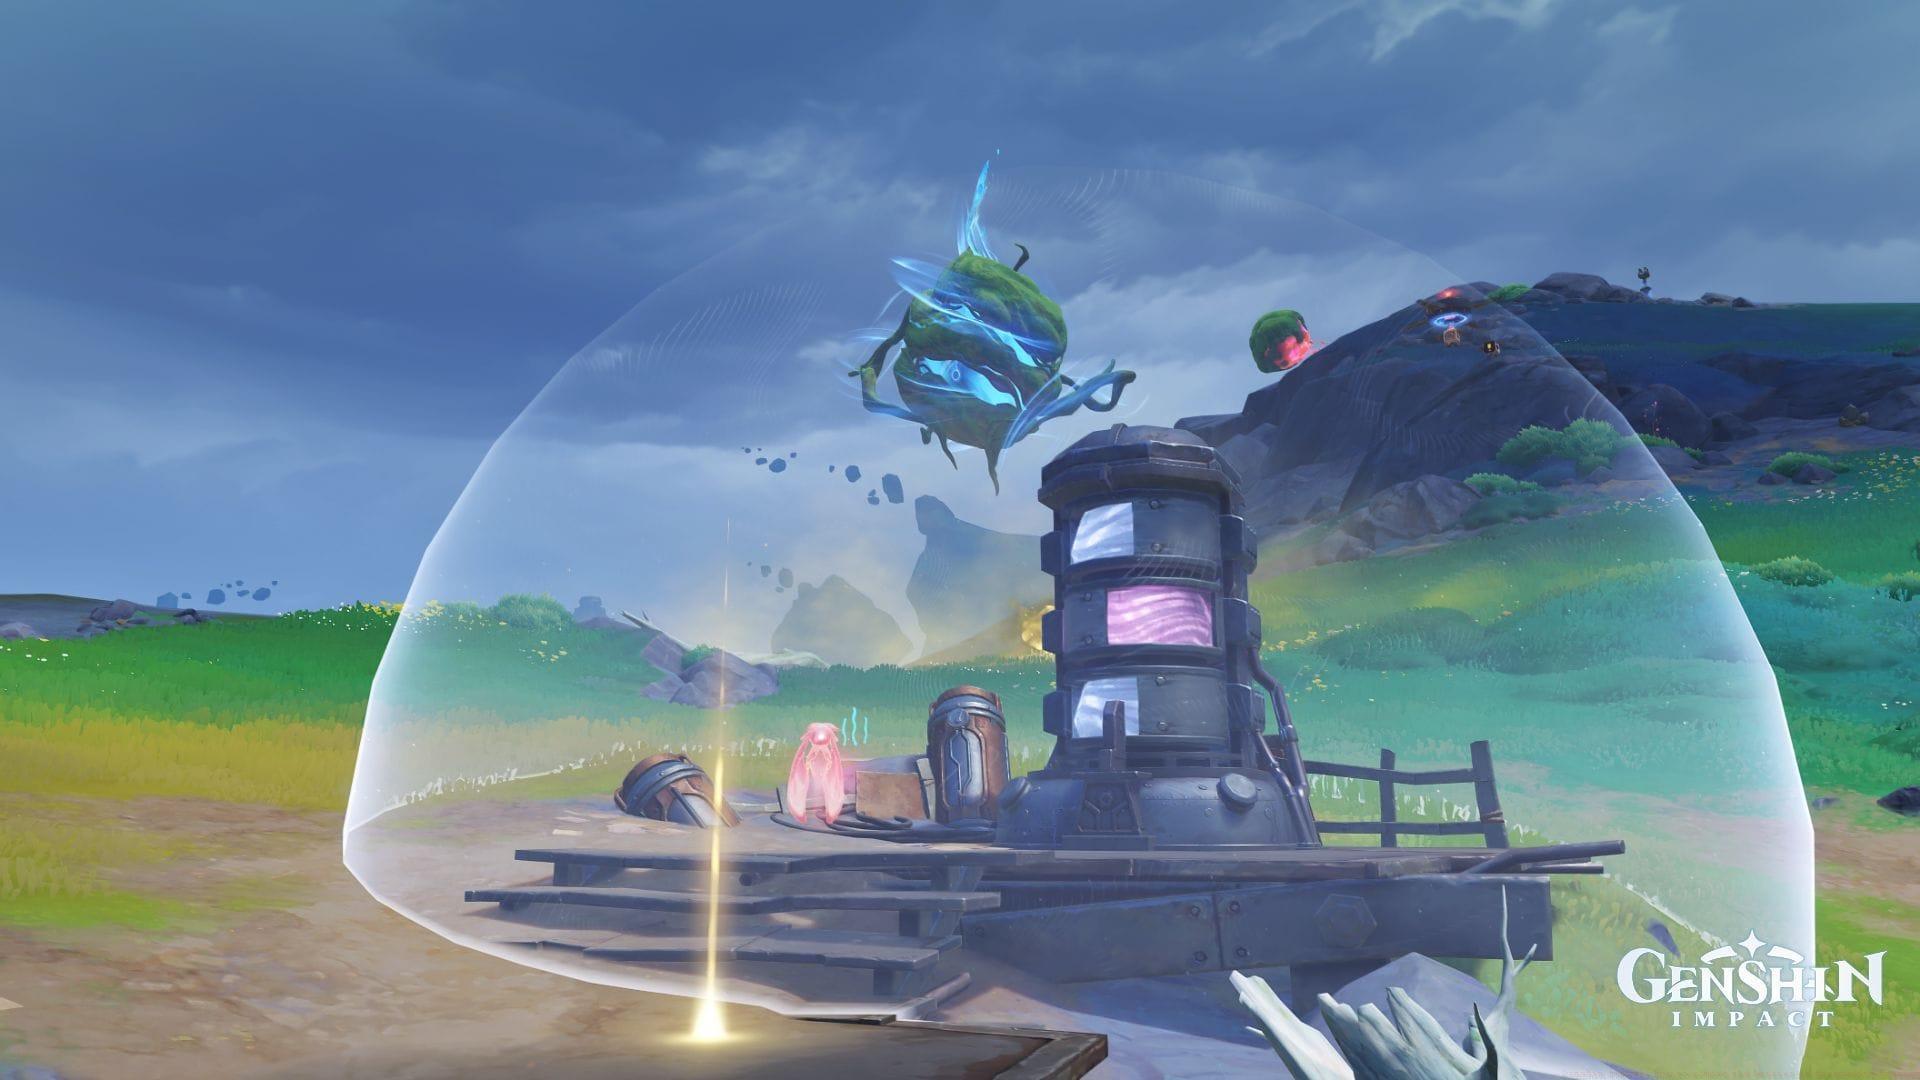
During your exploration of Nod-Krai’s Barrowmoss Barrens region in Genshin Impact, you’ll encounter a unique environmental puzzle involving a kuuhenki creature confined within an energy barrier. This multi-stage challenge begins with completing a specific World Quest that grants access to Bobik, an automated assistance unit capable of disabling the containment field. Many players overlook that the initial barrier removal is merely the introductory phase, as the true puzzle extends into helping the rescued kuuvenki locate its companion within a hidden domain. Successfully navigating this entire sequence rewards adventurers with premium treasure containers including two Exquisite Chests and one Luxurious Chest.
Step-by-Step Barrier Removal Process
Position yourself precisely on the illuminated marker adjacent to the energy barrier and engage with the interaction prompt to summon Bobik for technical support. This robotic assistant specializes in dismantling Fontaine technology-based containment systems.
Also read: The Flagship Bounty guide
After Bobik successfully deactivates the barrier, immediately target and demolish the kuuvahki separator device to release the captive creature. Carefully track the kuuhenki’s movement pattern as it will lead you toward the next phase of this environmental puzzle sequence.
Pro Tip: Before summoning Bobik, ensure you’ve completed the ‘Ancient Automation’ World Quest chain, as this is an unstated prerequisite. Many players waste time trying to interact with the glowing spot without this quest completion.
Mastering Mysterious Mists Navigation
Initiate physical contact with the kuuhenki to undergo temporary transformation, allowing you to navigate the Mysterious Mists environment safely. The core navigation technique involves strategically alternating between crimson and azure forms during aerial movement to penetrate Mist barriers of contrasting colors. Consistently execute these chromatic transitions until you successfully access the neutral white-colored mist sector.
Collect all available Kuuvahki Dewdrops scattered throughout the mist environment and precisely launch them toward the Viridescent Mossball target. Upon successful impact of all dewdrops, spatial transportation will activate, relocating you to the concealed domain area.
Advanced Technique: Time your form switches at the peak of your jump for maximum aerial control. The red form provides better momentum while blue offers precision steering – master alternating between them for optimal navigation.
Secret Domain Challenge & Combat
Utilize the Moonlanes transportation system to reach subsequent challenge locations and engage all hostile Fatui automaton units. Certain mechanical adversaries can generate protective barriers, but you can employ accumulated kuuvahki energy discharges to dismantle their defenses efficiently. Despite this tactical advantage, maintain defensive awareness as these robotic combatants can inflict substantial damage with their attacks.
Also read: Genshin Impact Luna I hidden teleport waypoint locations and unlock guide
Combat Strategy: Focus first on shield-generating robots, using kuuvahki energy immediately when their shields appear. The energy has a short duration, so time your usage carefully. Elemental reactions like Overloaded can stagger non-shielded robots, creating attack opportunities.
Rewards & Advanced Optimization
Upon successful completion of all domain challenges, you’ll receive two Exquisite Chests containing character enhancement materials and one Luxurious Chest with guaranteed artifact and weapon upgrade components.
Common Mistakes to Avoid: Don’t waste kuuvahki energy on already damaged enemies, always save some for shield-breaking. Many players fail the mist navigation by switching colors too early – wait until you’re about to contact the mist barrier.
Efficiency Tips: Bring a character with exploration talents like decreased stamina consumption for climbing or swimming. The hidden domain doesn’t reset daily, so you can take your time mastering the mechanics without pressure.
Check out our other Genshin Impact Nod-Krai guides:
No reproduction without permission:Tsp Game Club » Genshin Impact: How to remove the barrier in Barrowmoss Barrens Complete guide to solving the Barrowmoss Barrens barrier puzzle with kuuhenki rescue and secret domain rewards