Master Death Stranding 2’s dynamic map system to optimize deliveries, avoid hazards, and survive brutal terrain
Understanding the Map Interface
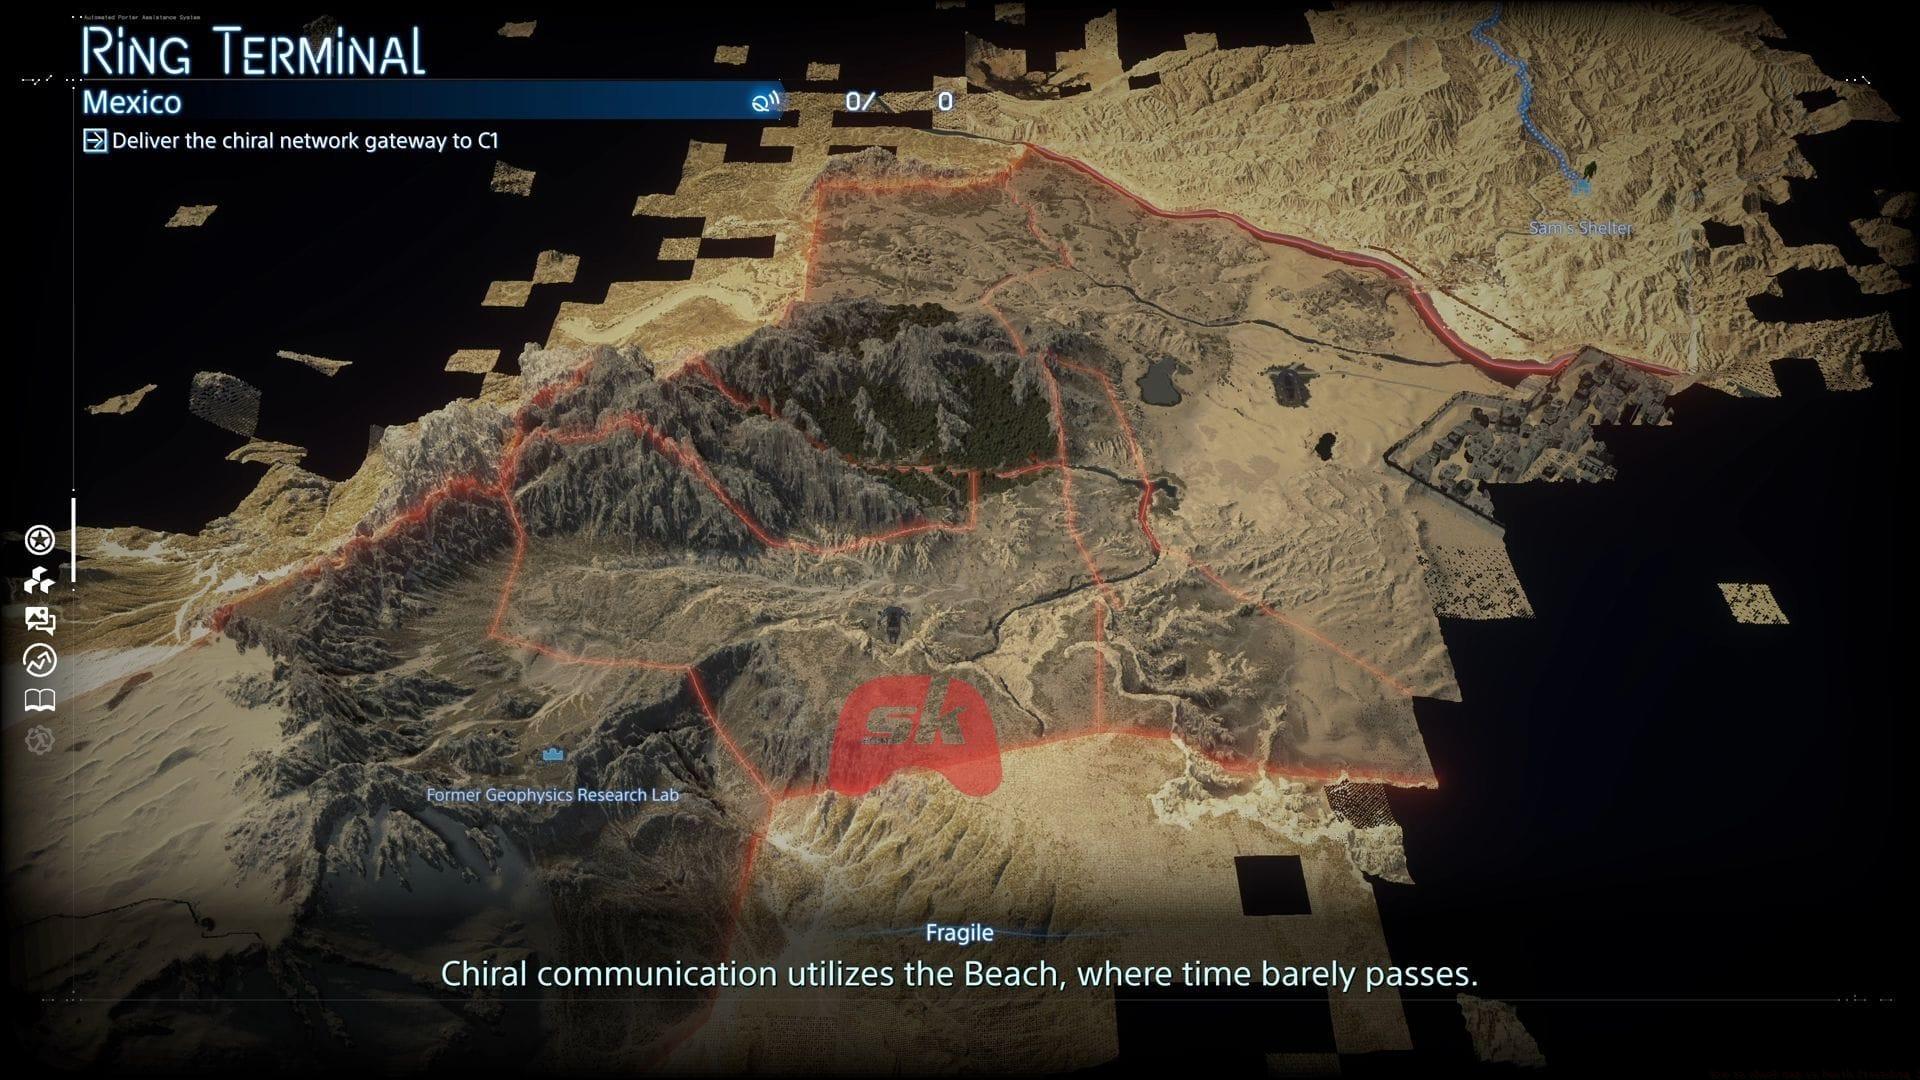
Effective navigation in Death Stranding 2 requires thorough map comprehension before embarking on any delivery mission. The terrain presents constant challenges that demand strategic preparation rather than reactive problem-solving. Learning to interpret the map’s visual language dramatically increases mission success rates while reducing equipment damage and cargo loss.
The interface displays crucial environmental data including elevation gradients, water obstacles, and structural landmarks. Veteran porters recommend spending at least two minutes analyzing potential routes before committing to a path. This preliminary assessment often reveals hidden dangers like concealed ravines or unexpected enemy patrol routes that aren’t immediately obvious.
Advanced Navigation Controls
Death Stranding 2’s control scheme offers layered functionality that experienced players leverage for precision navigation. Beyond basic viewing, these tools enable sophisticated route planning that accounts for multiple environmental factors simultaneously.
- Use L2/R2 for dynamic zoom control – quick taps for minor adjustments, holds for dramatic scale changes when scanning distant regions
- Press L3 for instant camera reorientation toward Sam’s position, essential when navigating complex three-dimensional terrain
- Toggle R3 to cycle through map detail levels – from basic topography to advanced threat indicators and resource locations
- Strategic marker placement with Square enables waypoint chaining for complex multi-stop deliveries; hold for continuous route drawing through hazardous zones
- Clear navigation clutter instantly by holding Triangle, especially useful when previous plans become obsolete due to changing conditions
- Combine X for cargo status verification with touchpad icon legends to maintain awareness of both payload and environmental context
Pro tip: Alternate between detail levels frequently during planning – basic view for overall route structure, detailed view for obstacle avoidance specific to your cargo type.
Strategic Route Planning
The map transforms from simple navigation tool to survival instrument when you learn to interpret its data for strategic advantage. Each delivery presents unique challenges that demand customized approaches based on terrain analysis and threat assessment.
Natural topography significantly impacts movement efficiency – steep slopes drain stamina rapidly while river crossings threaten cargo damage. The map’s elevation markings help identify gradual inclines that preserve energy reserves. Experienced porters recommend tracing potential paths while considering both vertical and horizontal movement costs.
Human threats require different preparation – bandit camps appear as clustered red indicators that should either be circumvented or approached with appropriate weaponry. Non-lethal armaments prove essential for hostile territory transit while avoiding permanent consequences. The map reveals patrol patterns through movement history if you observe indicator behavior over time.
Infrastructure elements like Timefall shelters and generator stations become lifelines during extended journeys. Plotting routes that connect these resources creates safety networks for weathering sudden storms or power depletion. Advanced strategy involves prepositioning supplies at strategic map locations before major deliveries.
Pro-Level Map Strategies
As you progress through Death Stranding 2’s narrative, environmental complexity increases dramatically, demanding more sophisticated map utilization. Weather systems introduce dynamic challenges that transform familiar routes overnight, requiring constant reassessment of established paths.
Seasoned players develop the habit of consulting weather forecasts before every departure, noting both precipitation patterns and timefall predictions. This advanced planning prevents cargo degradation and identifies safe windows for traversing exposed regions. The map’s forecast overlay reveals storm fronts hours before arrival when properly interpreted.
Marker systems evolve beyond simple path notation at expert levels. Color-coded waypoints distinguish between safe routes, resource locations, and danger zones. Some veterans establish personal marking conventions – blue for charging stations, green for shelter, yellow for caution areas – creating instant visual understanding at a glance.
Navigation efficiency separates adequate porters from exceptional ones. The most successful players combine topographical knowledge with cargo-specific routing – heavy loads favor flatter terrain despite longer distances, while fragile items demand obstacle-free paths over speed. This strategic alignment between payload characteristics and route selection defines elite-level gameplay.
Also read: How to save game in Death Stranding 2
Check out: All Death Stranding 2 difficulty levels, explained
No reproduction without permission:Tsp Game Club » How to check map in Death Stranding 2 Master Death Stranding 2's dynamic map system to optimize deliveries, avoid hazards, and survive brutal terrain