Master Episode 3’s extensive missions with strategic tips for efficient BT navigation, boss fights, and story progression in Death Stranding 2.
Episode 3 Overview & Initial Objectives
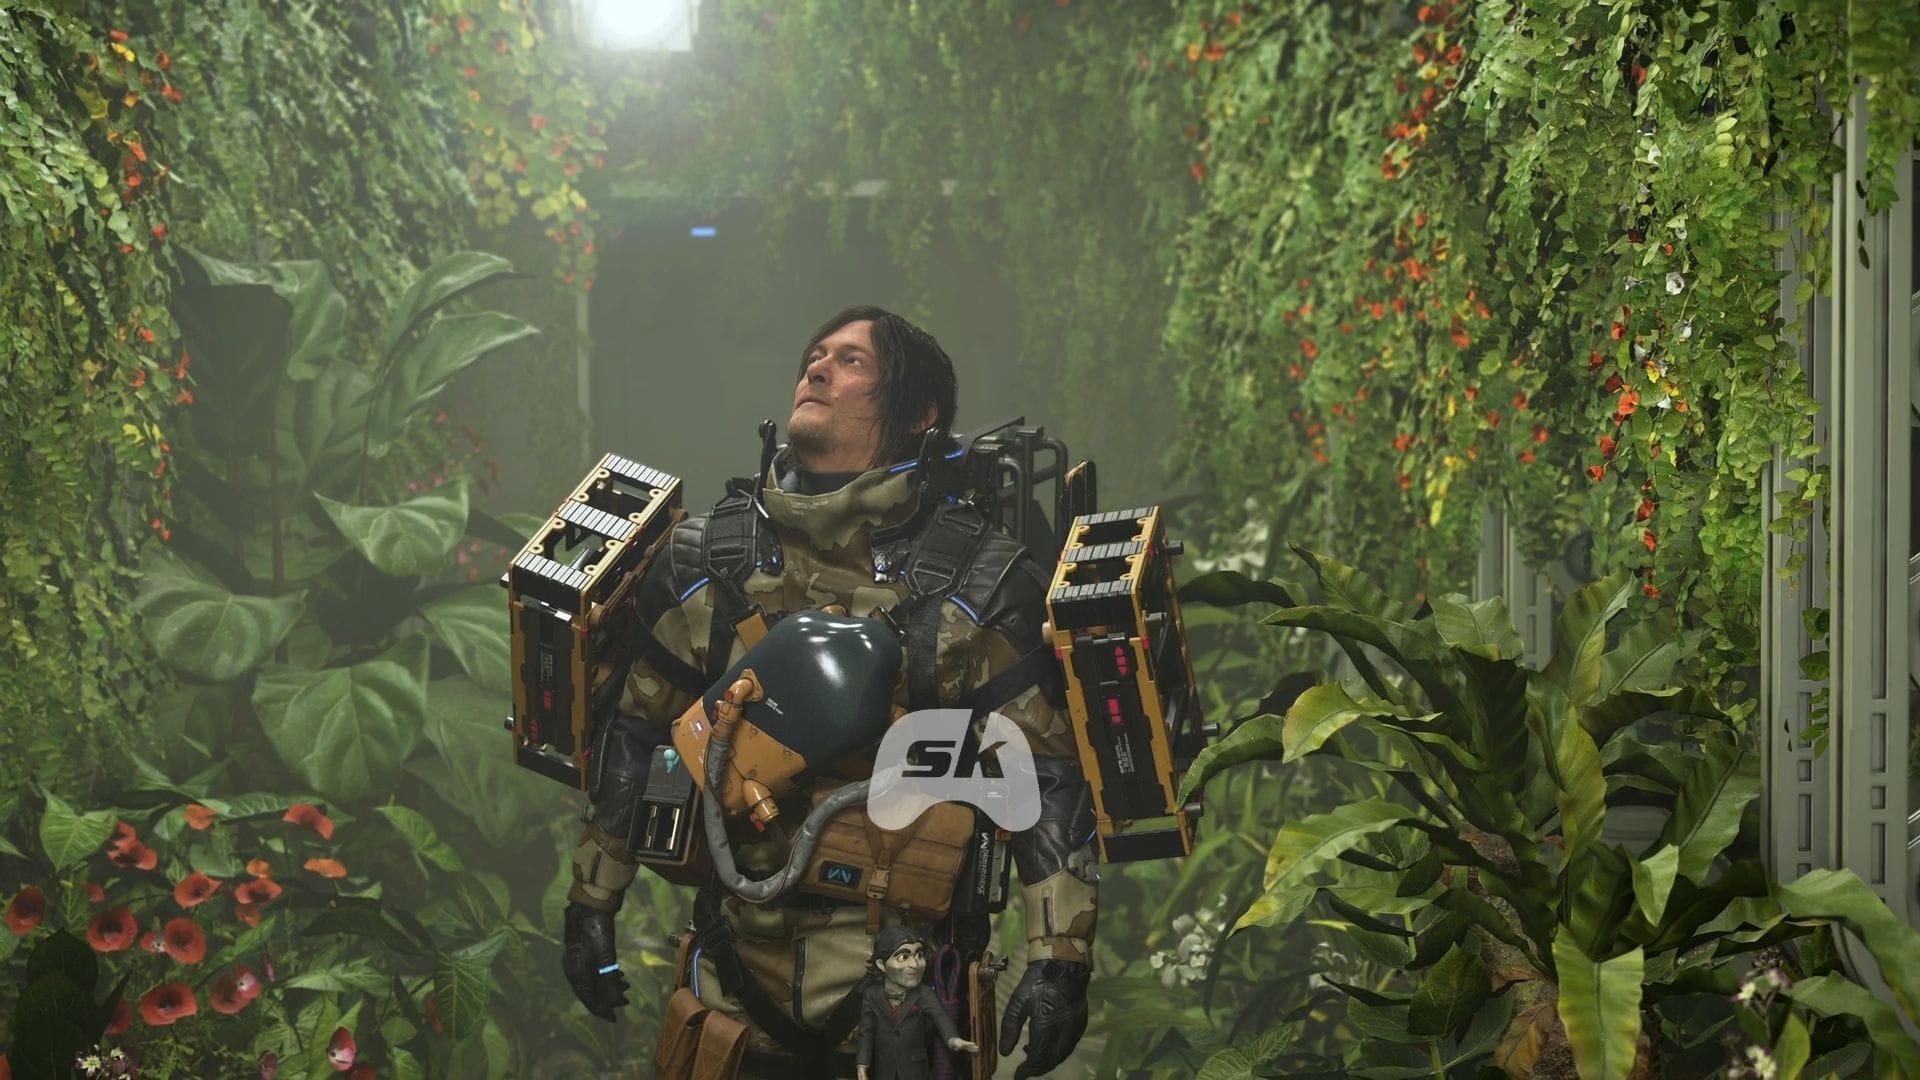
Episode 3 of Death Stranding 2 represents a substantial increase in scope and complexity following the brief Episode 2. Players can expect a dense mix of narrative exposition, environmental traversal challenges, and combat sequences. The primary narrative thrust involves Sam’s journey aboard the DHV Magellan, a subterranean vessel that utilizes tar currents for covert travel, though this exposes the crew to high levels of chiralium. Your ultimate goal is to reach the Plate Gate in New Mexico—previously connected in Episode 1—and use it to teleport to Australia, initiating the process of linking “The Land Down Under” to the expanding chiral network.
This episode is punctuated by numerous cutscenes that are essential for understanding the sequel’s evolving plot, including the introduction of key factions like APAC/APAS and the enigmatic organization Drawbridge. A significant new ally, Dollman—whose consciousness is trapped within a doll—joins Sam as a guide, offering both practical assistance and cryptic insights.
Getting Started: From Private Room to Australia
After concluding the opening cinematic, your first action should be to groom yourself by pressing X at the mirror in your private quarters—a small but consistent ritual that maintains Sam’s condition. Proceed to the surface, where another brief scene shows you connecting to Lou’s BB Pod. For efficient travel, use a trike and head directly towards the Plate Gate terminal situated in front of Deadman’s lab in Mexico.
En route, you’ll witness a mysterious procession: figures clad in red dresses carrying a crimson coffin across the Plate Gate before vanishing. Do not engage; simply interact with the Plate Gate terminal to trigger a short cutscene that transports you to the Australian continent. Upon arrival, your immediate task is straightforward: locate the Plate Gate terminal in this new region and connect your Q-pid device. This action integrates the first Australian zone into the chiral network and causes the DHV Magellan to materialize nearby.
Also read – Death Stranding 2 review: The stick, the rope, and the sequel that embodies it all
Meeting Drawbridge & Navigating the First BT Zone
Return to the DHV Magellan not for a face-to-face meeting with its patron, Drawbridge, but for an audience with Charles—a talking mannequin serving as Drawbridge’s medium. This conversation clarifies the roles of Sam, the UCA President, and the various factions. You’ll be given a narrative choice to customize Charles’s appearance; note that your first selection is final, so choose deliberately. Following a holographic briefing from the President, visit the ship’s delivery terminal to receive your next assignment.
Preparation is critical for this next leg. The delivery location is a maze-like rocky area teeming with BTs (Beached Things). Your Odradek scanner will activate, and the sky will darken as you approach. Essential gear includes multiple ladders and climbing anchors, but use them sparingly. The key strategy is stealth: crouch and move slowly, constantly monitoring your Odradek for BT locations. Engaging BTs is risky; prioritize evasion. Carrying Blood Grenades and MP-series weapons provides a safety net. After traversing this hazardous zone, soothe Lou to maintain her stability, then cross the subsequent river by finding narrow points to deploy ladders, all while managing Sam’s stamina.
Your objective is to deliver a Chiral Decontaminator to the Government’s Base. Upon successful delivery and connecting the base to the network, the DHV Magellan will reappear, and you’ll be rewarded with the Bola Gun blueprint.
Bandit Encounters & Meeting the Musician
The next mission is relatively straightforward. You must deal with bandits surrounding the West Environmental Observatory. Efficiency is key: use the Tranq Sniper Rifle and Smoke Grenades to neutralize threats quickly before proceeding to the delivery terminal to establish a chiral network connection.
Your journey then leads to the Musician, but the path is blocked by a bandit camp housing a communication disruptor. Advanced Tip: Before assaulting the camp, always use Dollman to scout the area, marking enemy positions. While close-quarters combat is possible, the Tranq Sniper Rifle allows for safe, ranged takedowns. The newly acquired Bola Gun is also highly effective for incapacitating enemies non-lethally. Clear the camp, destroy the disruptor, and continue to the Musician.
Connecting the Musician to the network grants you the Music Player, a valuable tool for morale. Additionally, hand over the file from Tarman, prompting the Musician to agree to investigate its contents, potentially unlocking side narrative threads.
Confronting the Giant Mech Boss Fight
This segment culminates in the episode’s only major boss battle. Preparation is non-negotiable: stock up on Assault Rifle ammunition and Blood Bags. A trike provides the fastest route to West Fort Knot, though skilled parkour can bypass the river crossing.
At the fort, you’ll re-encounter the red-clad figures and their coffin. This time, the antagonist Higgs emerges, summoning a formidable Giant Mech with eight tentacles and a glowing red orb for a face.
Boss Strategy: This mech is dangerous at close and medium range due to sweeping tentacle attacks. Maintain distance. Its primary weak points are glowing spots on each tentacle’s midsection and two additional ones on its rear. The face is also a critical weak spot. Focus fire on these points to deplete its yellow health bar. In its final phase, it unleashes a devastating six-tentacle attack. If you run low on ammo, scour the surrounding tar pools, as they often spawn usable weapons.
Upon victory, connect Fort West Knot to the chiral network. This unlocks the Floating Carrier (Level 1) and triggers a debriefing between Sam and Fragile, discussing Higgs’s return and setting up an investigation into Lou’s past as BB-28.
Read more – How to complete Episode 1 in Death Stranding 2 (Walkthrough)
Logistical Support: Restoring the Monorail
Sam returns to core porter duties with a resource-heavy delivery mission. You must transport the following to the Mine north of F1 to restore its monorail system:
A trike is mandatory for this cargo. Critical Route Advice: The path is littered with tar pits inhabited by chiral creatures. The safest, most efficient route is to take an immediate right turn and bypass the pits entirely, heading directly for the mine.
The mine requires an investment of 2000 Chiral Crystals to produce 4800 Special Alloys. Pro-Tip: Gather as many Chiral Crystals as possible from the environment outside the mine before activating it to minimize post-activation grinding. Once the monorail is operational, remember the correct procedure: Load Cargo, Load Vehicle, then toggle the Get On/Off monorail control. Deliver all shipments to F1 to complete the mission. Fragile will subsequently provide the requested intel on Lou, revealing a previous, decommissioned BB-28 and Lou’s storage history prior to the first game’s events.
Final Delivery & Unlocking Rainy
The episode’s climax involves a delicate delivery to Rainbow Valley. Fragile informs Sam that a Drawbridge researcher is nearby. Load 6x Terraforming Equipment onto your trike and depart promptly.
Navigation is the paramount challenge here. The route is fraught with BT zones. The most common and costly mistake is crossing the river prematurely. Do not cross until you are precisely opposite Rainbow Valley’s location. Identify the narrowest point in the riverbank and use your trike’s jump function (X button) to clear it in one bound. Crossing elsewhere will force you through dense BT territories.
Connect Rainbow Valley to the network to unlock the Tar Cannon data for Episode 4. An NPC named Glenn Rain directs you to a ravine across the river. Follow the right-hand path to trigger a cinematic where a figure dances in the rain. Seek shelter and follow her inside. Descend the stairs, turn right, and descend again to meet Rainy (portrayed by Shioli Kutsuna), who joins your journey back to the DHV Magellan, concluding Episode 3.
For more articles on Death Stranding 2, check out the following:
No reproduction without permission:Tsp Game Club » How to complete Episode 3 in Death Stranding 2 (Walkthrough) Master Episode 3's extensive missions with strategic tips for efficient BT navigation, boss fights, and story progression in Death Stranding 2.