Master Gladius, Beast of Night with advanced strategies, positioning tactics, and team coordination for victory
Understanding the Beast: Gladius Overview
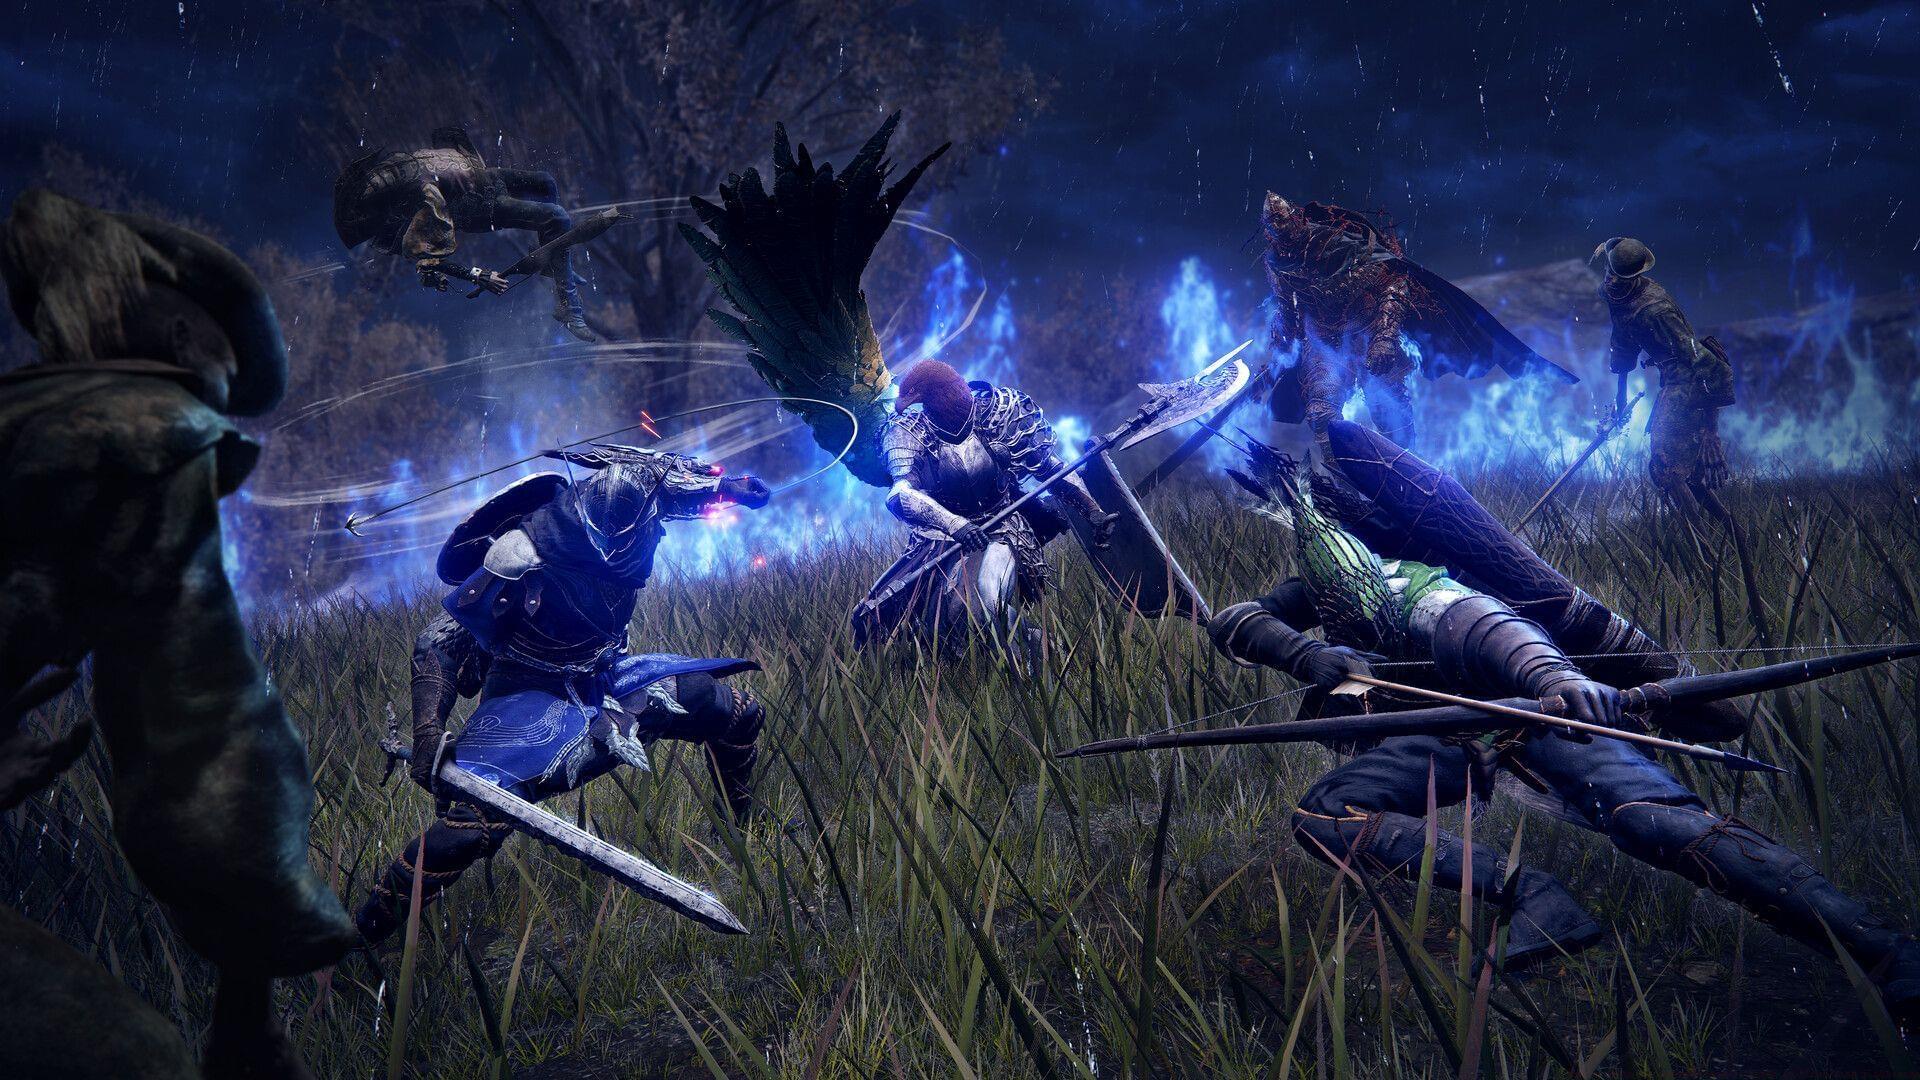
Elden Ring Nightreign introduces numerous formidable adversaries, with Gladius, the Beast of Night (also called Tricephalos) serving as a crucial skill-check encounter early in your journey. Overcoming this three-headed monstrosity represents a significant milestone that separates novice adventurers from seasoned veterans prepared for the expansion’s greater challenges.
This demanding boss confrontation unfolds across two distinct combat phases, each presenting unique attack sequences and strategic considerations. Mastering timing and spatial awareness remains essential throughout both stages, though the specific application of these skills varies dramatically between phases.
Phase One: Single-Entity Combat Strategy
During the initial phase, Gladius operates as a unified three-headed entity employing a dangerous combination of melee assaults and fiery breath attacks. The creature wields a chained sword with devastating wide-arcing swings and powerful vertical slams capable of depleting health bars rapidly. Its most unpredictable maneuver involves sudden fire breath emissions that prove challenging to anticipate during initial encounters. Particularly lethal is the grab attack signaled by distinctive purple energy gathering around its jaws.
Optimal positioning proves paramount during this stage. Maintaining proximity to the beast reduces exposure to its sweeping sword arcs, while constant movement helps evade both fire breath discharges and grab attempts. Learning the precise moments to reposition requires careful observation of attack animations and telegraphing cues.
Advanced Technique: Experienced players can bait specific attacks by positioning at precise distances. Standing at medium range often triggers the more easily dodged vertical slam, creating extended damage windows.
Phase Two: Multi-Entity Mayhem Management
At approximately 75% health depletion, Gladius undergoes a dramatic transformation, separating into three distinct entities representing its individual heads. Only one retains the signature sword, though all three manifestations remain highly aggressive and employ various area-of-effect attacks. This phase dramatically increases battlefield chaos, demanding exceptional calmness and coordinated teamwork for success.
While each separated entity possesses reduced individual health pools compared to the combined form, their simultaneous assault patterns create overwhelming pressure. Concentrating offensive efforts on the sword-wielding entity first typically yields the most efficient approach, as eliminating it simplifies managing the remaining heads. Ensuring team members maintain adequate separation prevents multiple players suffering damage from singular area-effect assaults.
Team Strategy: Designate specific roles pre-fight – one player should focus solely on distracting the non-sword heads while others eliminate the primary threat. Communication regarding target switching proves essential when health levels become critical.
Advanced Preparation and Optimization
Victory against Gladius demands thorough preparation beyond mere combat skill. The ideal team composition includes a dedicated tank for maintaining aggression focus, ranged damage specialists for consistent pressure application, and support specialists for healing and statistical enhancements. This balanced approach maximizes survivability while ensuring sustained damage output.
Essential preparation includes:
- Utilizing Holy-infused weapons capitalizes on Gladius’s significant vulnerability to holy damage types
- Equipping fire resistance gear or protective talismans substantially reduces damage taken from fiery breath attacks
- Reaching level 13 minimum prevents instant elimination from the creature’s most powerful assaults
- Bringing stamina-regeneration consumables ensures adequate dodging capability throughout the extended encounter
Also read: Best beginner tips and tricks for Elden Ring Nightreign
Common Mistakes and Pro Tips
Many unsuccessful attempts stem from fundamental positioning errors and reaction timing miscalculations. Below are critical considerations for optimizing your approach:
Positioning Fundamentals:
- Maintain team dispersion to minimize multiple players being affected by singular area-effect attacks
- Dodge directly into fire breath rather than away to minimize exposure duration
- Immediately backpedal or execute sideways rolls upon observing purple glow indicators signaling grab attacks
Advanced Combat Insights:
- During phase two, the non-sword heads have specific attack patterns that can be manipulated by positioning – learn these to create safer damage windows
- Certain weapon arts provide temporary hyper-armor that can withstand lesser attacks while you deliver crucial damage
- The sword-wielding head in phase two has slightly longer recovery animations after certain attacks – capitalize on these moments
While Gladius represents an early-game challenge in Elden Ring Nightreign, it demands exceptional situational awareness and may require multiple attempts, particularly for players new to soulslike combat mechanics. Persistence and adaptation ultimately lead to victory.
No reproduction without permission:Tsp Game Club » How to defeat Gladius, Beast of Night in Elden Ring Nightreign Master Gladius, Beast of Night with advanced strategies, positioning tactics, and team coordination for victory