Master The Fear boss fight in Metal Gear Solid Delta with expert strategies and tactical approaches
Understanding The Fear: Boss Profile and Combat Mechanics
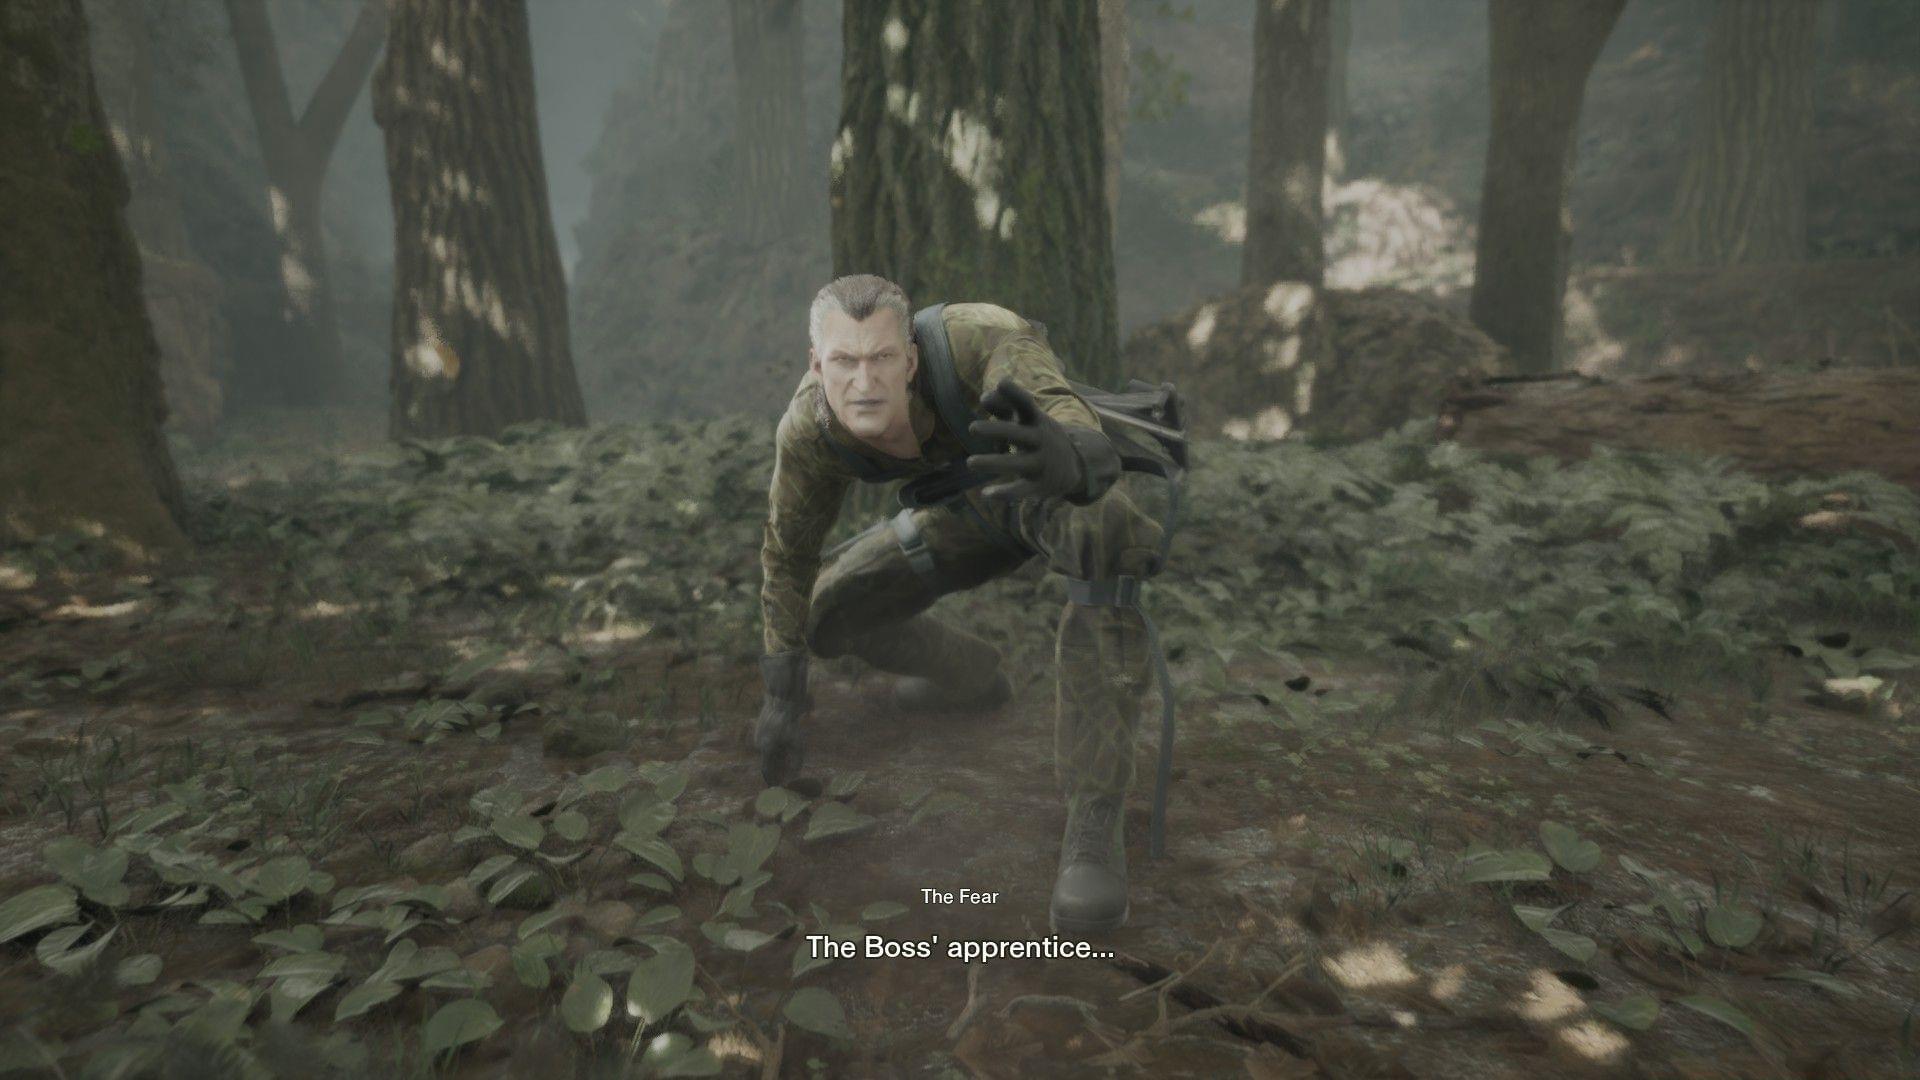
Among the formidable members of The Boss’ Cobra Unit in Metal Gear Solid Delta Snake Eater, The Fear presents a unique challenge as the third major story encounter. This genetically enhanced soldier possesses extraordinary agility and employs a specialized crossbow that delivers debilitating poison darts. His signature Venom Poison status effect can rapidly deplete Snake’s health if not promptly treated, making this confrontation particularly dangerous.
The combat arena itself becomes a weapon against you, meticulously rigged with concealed tripwires and environmental hazards. Unlike previous boss encounters, The Fear leverages verticality and camouflage to create a disorienting battlefield where traditional cover-based tactics prove insufficient. Understanding his movement patterns and attack tells becomes crucial for survival.
Phase One Strategy: Tree-Based Combat Tactics
Immediately following the introductory cutscene, you’ll find Snake injured and vulnerable. Prioritize applying Blood Serum and utilizing your combat knife for immediate medical treatment before engaging The Fear. This preparatory step is critical as the poison darts will exacerbate existing injuries.
During the initial phase, The Fear primarily operates from the treetops, using his advanced camouflage to blend with the environment. While his stealth capabilities seem formidable, trained observation reveals subtle visual distortions and irregular branch movements that betray his position. When he momentarily stabilizes on a particular branch to aim his crossbow, you have a narrow window to land retaliatory shots before he releases poisoned projectiles.
Strategic positioning involves frequently rotating between cover locations to avoid becoming a predictable target for his volleys. The AK-47 Assault Rifle, acquired during the earlier confrontation with Ocelot, provides optimal stopping power against The Fear’s rapid movements. Its rate of fire and damage output make it superior to alternative weapons for this specific encounter.
Phase Two Strategy: Ground Combat and Advanced Tactics
As the battle progresses into its secondary stage, The Fear alters his tactics by periodically descending to ground level for direct engagements. This behavioral shift creates new vulnerabilities while introducing additional threats. His ground-based attacks include close-range explosive devices that require constant lateral movement to evade.
The forest floor remains saturated with concealed tripwires that trigger incapacitating traps when activated. Maintaining visual scanning of your immediate vicinity while tracking The Fear’s movements demands heightened situational awareness. These traps not only inflict immediate damage but also create openings for The Fear to land follow-up attacks while you’re recovering.
Advanced players can exploit The Fear’s ground phase by anticipating his landing locations and pre-aiming those areas. His temporary visibility during transitions between trees and ground provides prime opportunities for dealing significant damage. However, over-committing to aggressive plays during these windows can leave you exposed to his explosive countermeasures.
Weapon Loadout and Equipment Optimization
While the AK-47 serves as the primary recommended weapon, players who missed this acquisition can utilize alternative firearms with reasonable effectiveness. The M16 or any scoped rifle provides adequate range for engaging The Fear in the treetops, though with reduced damage output. Shotguns prove largely ineffective due to the engagement distances involved.
Medical supply management deserves particular attention throughout this encounter. Always maintain at least two Blood Serums in reserve, as multiple poison dart hits can create compounding health crises. The regenerative properties of rations work slowly compared to the rapid damage from Venom Poison, making them secondary treatment options.
For players seeking additional challenge or variety, stealth-based approaches using suppressed weapons can extend the encounter duration while minimizing damage taken. However, this method requires exceptional patience and marksmanship as The Fear’s movements become less predictable when not under direct fire.
Successfully overcoming The Fear rewards players with the If It Bleeds, We Can Kill It trophy, marking your progression through the Cobra Unit hierarchy. This achievement represents mastery over one of the game’s most mechanically complex boss encounters.
No reproduction without permission:Tsp Game Club » How to defeat The Fear in Metal Gear Solid Delta Master The Fear boss fight in Metal Gear Solid Delta with expert strategies and tactical approaches