TL;DR
- Bipods provide 60-80% recoil reduction and eliminate weapon sway for LMGs and snipers
- Deploy using R3 on controller or V on keyboard when prone or behind cover
- Support class players can create devastating mounted turret positions with proper bipod use
- Always deploy in covered positions with escape routes to avoid sniper counterattacks
- Master weapon unlocks through Assignments to equip bipods on DMRs and assault rifles
The Bipod represents a critical tactical attachment within Battlefield 6, engineered to deliver substantial weapon stability enhancements during sustained fire engagements. This specialized underbarrel accessory provides distinct advantages to specific combat roles, enabling Light Machine Guns to maintain continuous accurate suppressive fire while assisting Recon specialists by virtually eliminating scope oscillation.
Proper bipod implementation unlocks exceptional precision capabilities and dramatically diminishes recoil patterns during extended-range combat scenarios. However, this substantial performance enhancement necessitates strategic acceptance of mobility restrictions and positional constraints. The comprehensive guide below delivers actionable intelligence on accessory utilization alongside deeper strategic applications within Battlefield 6.
Understanding bipod mechanics begins with recognizing its core function: enabling weapon stabilization on terrain features or defensive structures to significantly reduce recoil. This directly translates to enhanced shot accuracy since snipers operating without stabilization experience pronounced weapon sway that requires compensation before firing. The bipod eliminates this movement entirely and makes maintaining aim down sights considerably more manageable.
How to Deploy Bipod in Battlefield 6
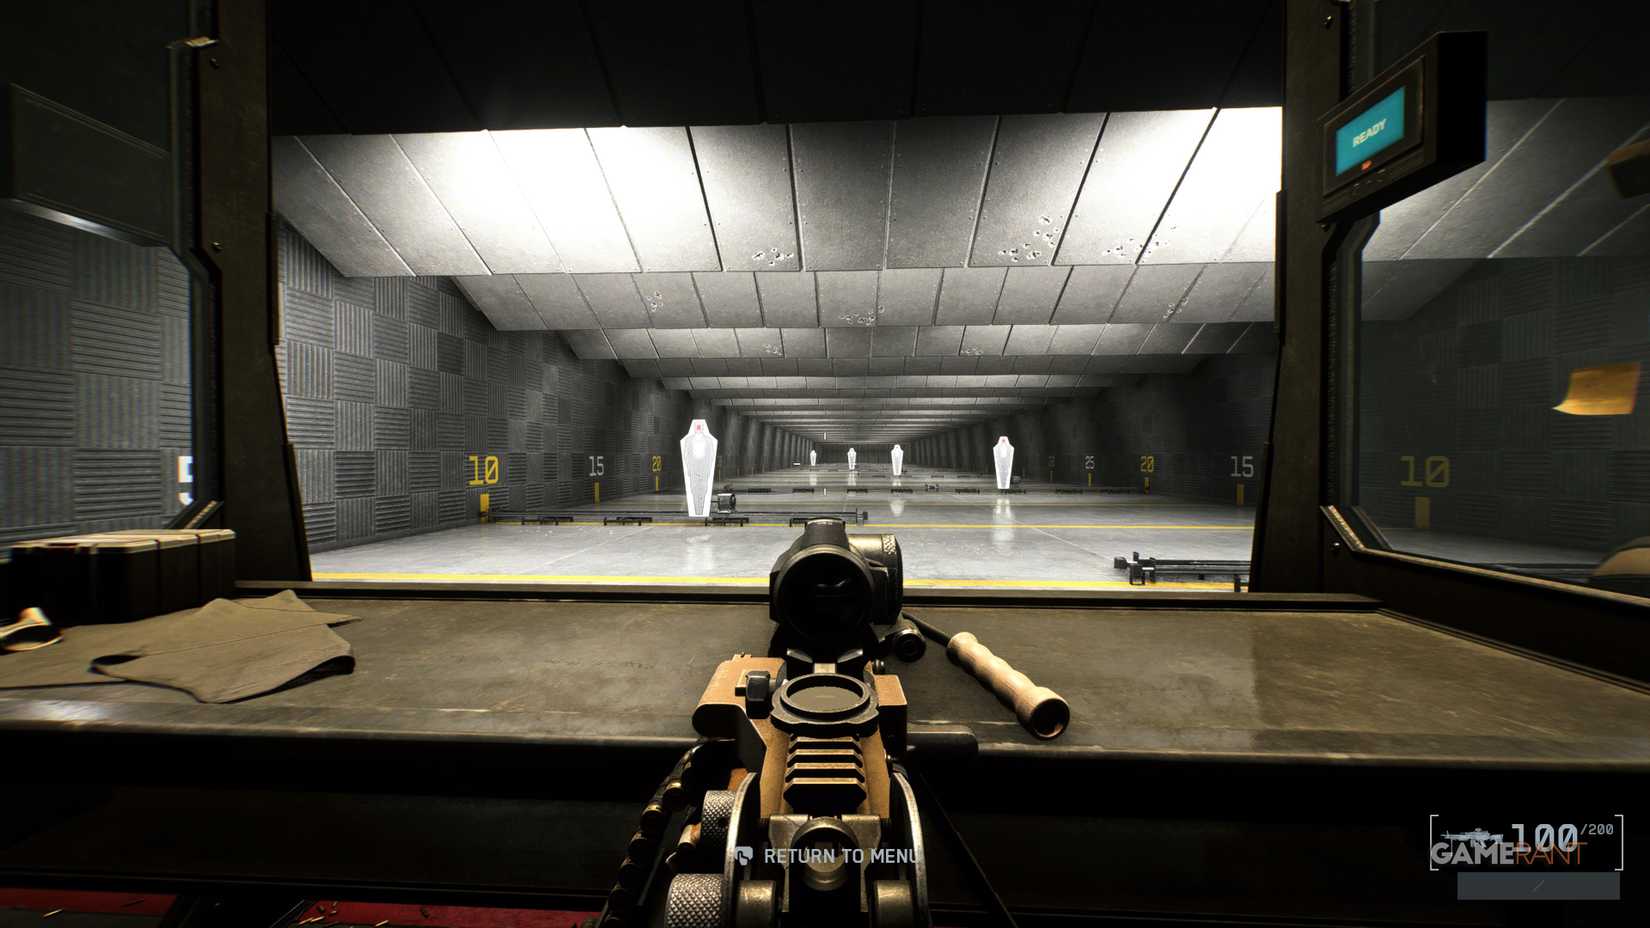
To activate a bipod, operators must first properly mount it on their selected firearm. Not all weapon categories support bipod attachments, with only Snipers and LMGs having immediate access at game initialization. For DMRs and Assault Rifles, players must achieve proficiency milestones through weapon-specific Assignments. Choose your desired firearm and access the customization interface. The accessory resides within the Underbarrel classification, and once installed, you’re prepared for combat implementation.
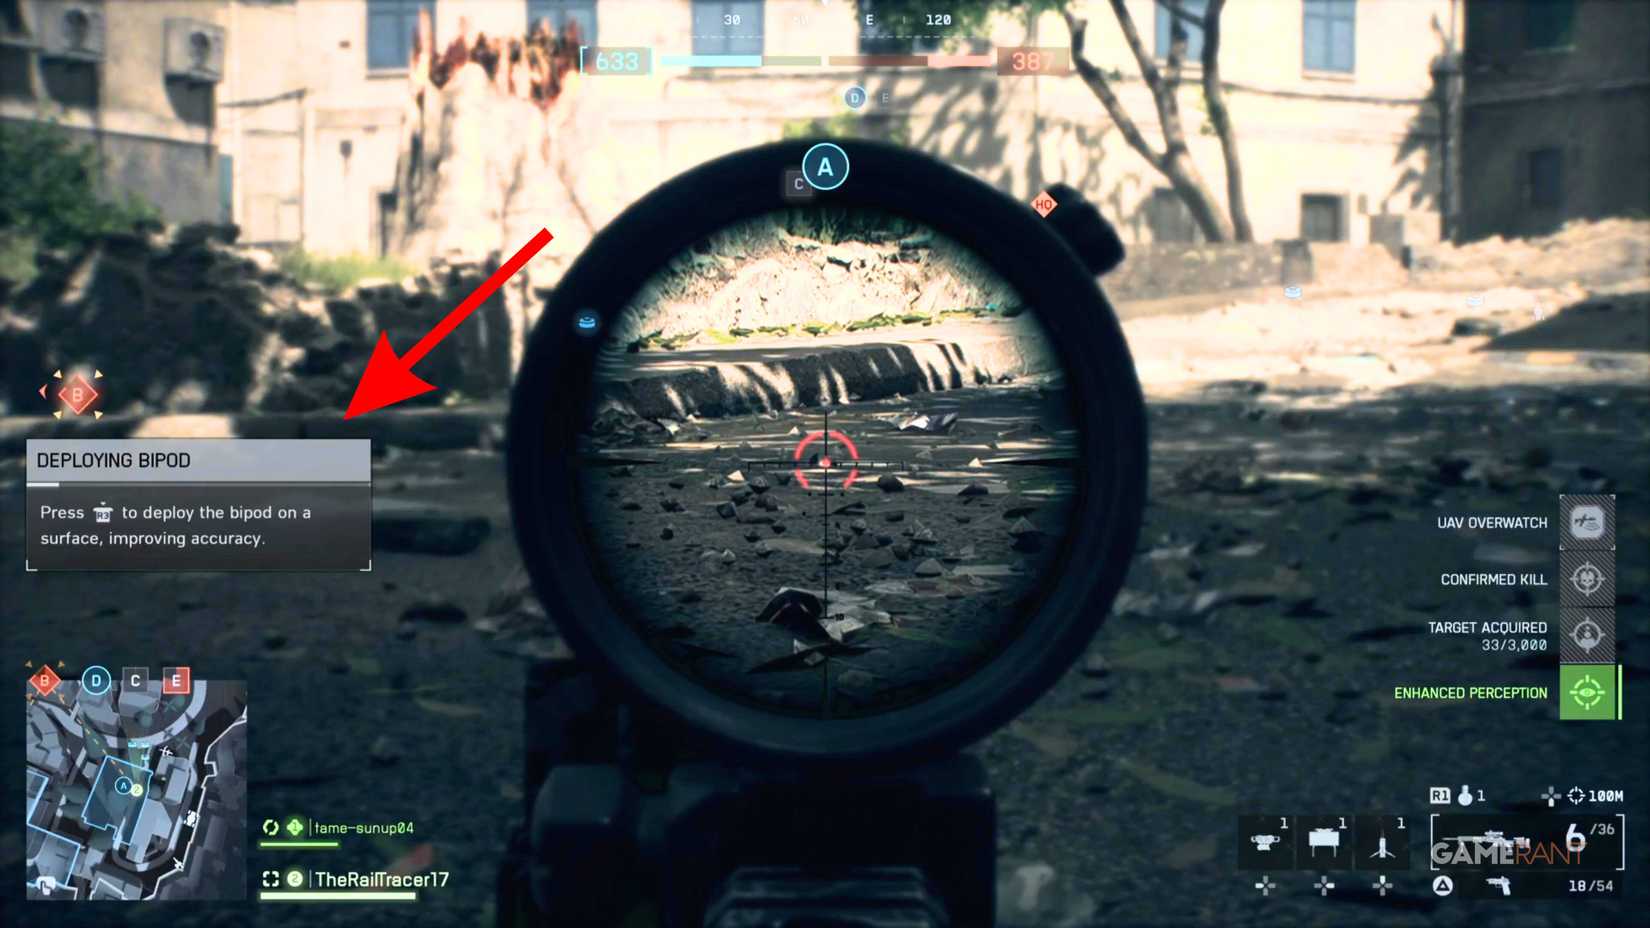
When a Multiplayer environment loads and your operator spawns, immediately assume prone position or locate suitable cover and engage the designated input on your controller or keyboard. The interface’s left quadrant displays a prompt indicating the requirement to depress R3 on controllers or V on keyboard systems. This action configures the bipod, and attempting to disengage ADS while scanning your surroundings will maintain your locked position until voluntary elevation.
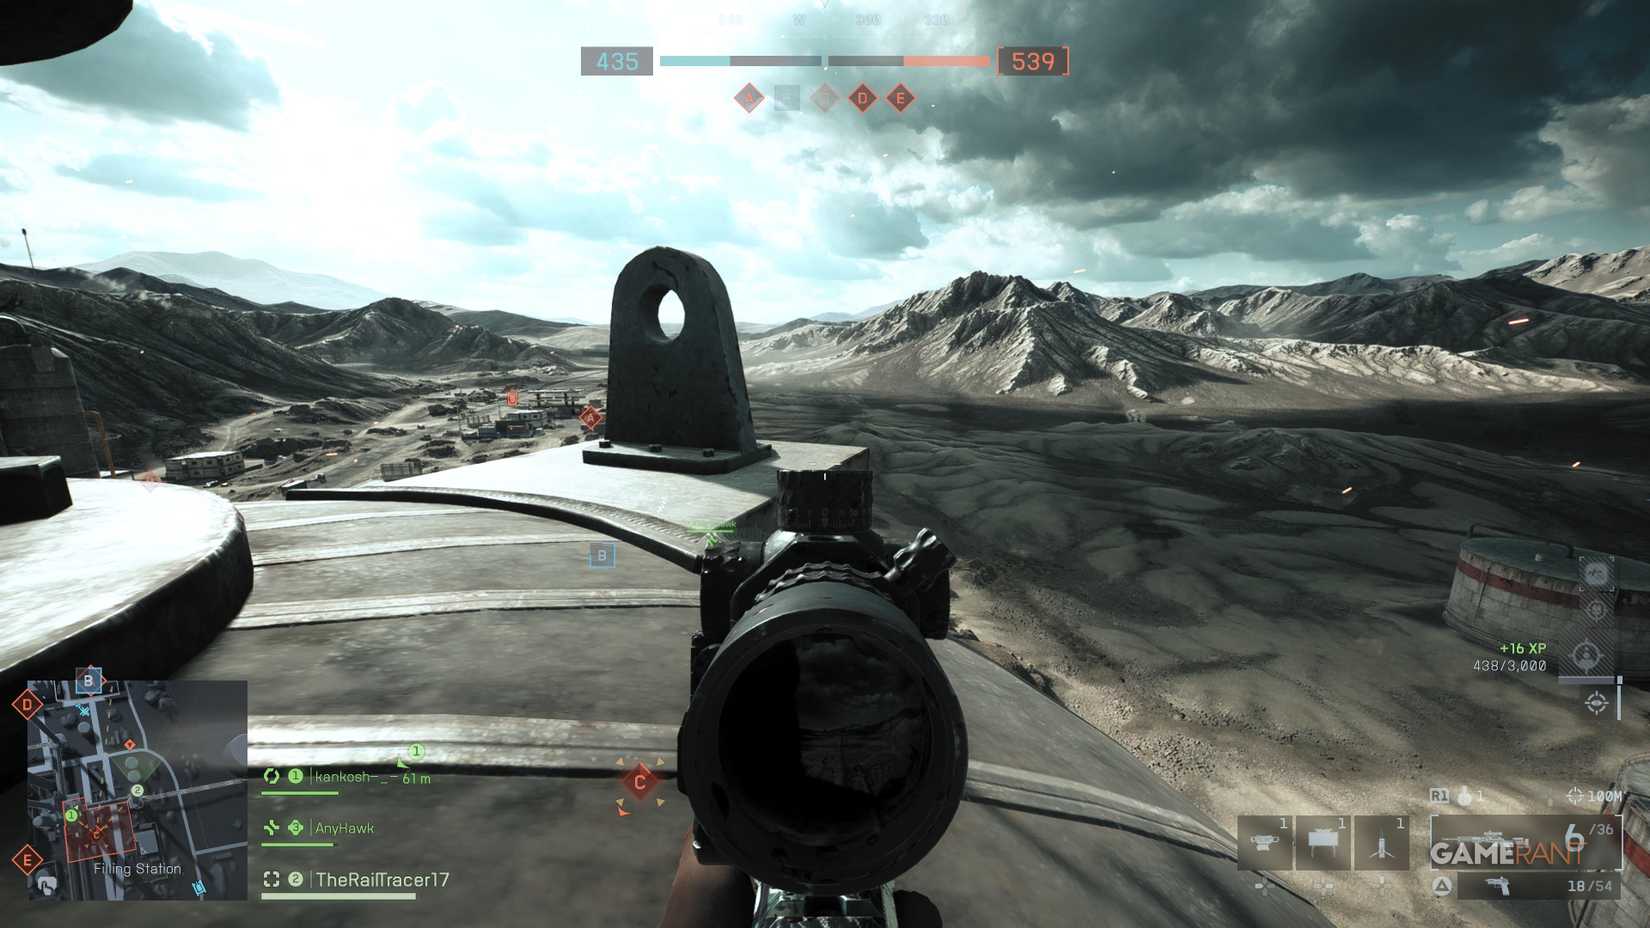
Pro Tip: The most effective bipod positions combine elevation advantages with partial concealment. Window ledges, low walls, and destroyed vehicle hulls provide ideal deployment surfaces while minimizing your silhouette exposure.
What Does the Bipod Do in Battlefield 6?
Operators preferring the Support class role can leverage bipod functionality with LMG platforms to eliminate multiple hostiles efficiently. The LMG naturally features substantial magazine capacity, effectively transforming your weapon into a positional turret system. However, significant bipod utilization disadvantages exist, including maintaining static standing or prone positions. This vulnerability creates prime targeting opportunities for enemy snipers when deployed in exposed terrain. The bipod additionally imposes a restricted engagement arc, meaning operators can direct their weapons along a constrained horizontal plane and cannot monitor rear sectors without positional adjustment.
Advanced Tactical Insight: The most successful bipod operators consistently rotate between 2-3 predetermined positions each life cycle. This prevents enemy teams from predicting your location while maintaining covering fire lanes. In Conquest game modes, prioritize deployment near objective zones where your sustained fire can influence capture progress.
Considering these strategic elements, the bipod functions as an exceptional situational accessory that can decisively impact specific engagements, though it remains not essential for every loadout configuration.
Common Deployment Errors: New operators frequently make three critical mistakes: deploying on completely flat terrain without cover, remaining in one position too long, and failing to check flanking routes before setup. Always ensure you have at least one escape path and avoid becoming predictable through repetitive positioning.
Action Checklist
- Equip bipod in weapon customization under Underbarrel category
- Identify 2-3 covered deployment positions with overlapping fields of fire
- Deploy using R3 (controller) or V (keyboard) when prone or behind cover
- Rotate positions every 60-90 seconds to avoid enemy counter-sniper fire
- Complete weapon Assignments to unlock bipods for DMRs and assault rifles
No reproduction without permission:Tsp Game Club » How to Deploy Bipod in Battlefield 6 Master the bipod in Battlefield 6 to dominate long-range engagements with expert positioning and tactical awareness