Master rope mechanics in PEAK with advanced techniques, strategic placement tips, and common mistake avoidance.
Introduction: The Rope as Your Essential Mountaineering Tool
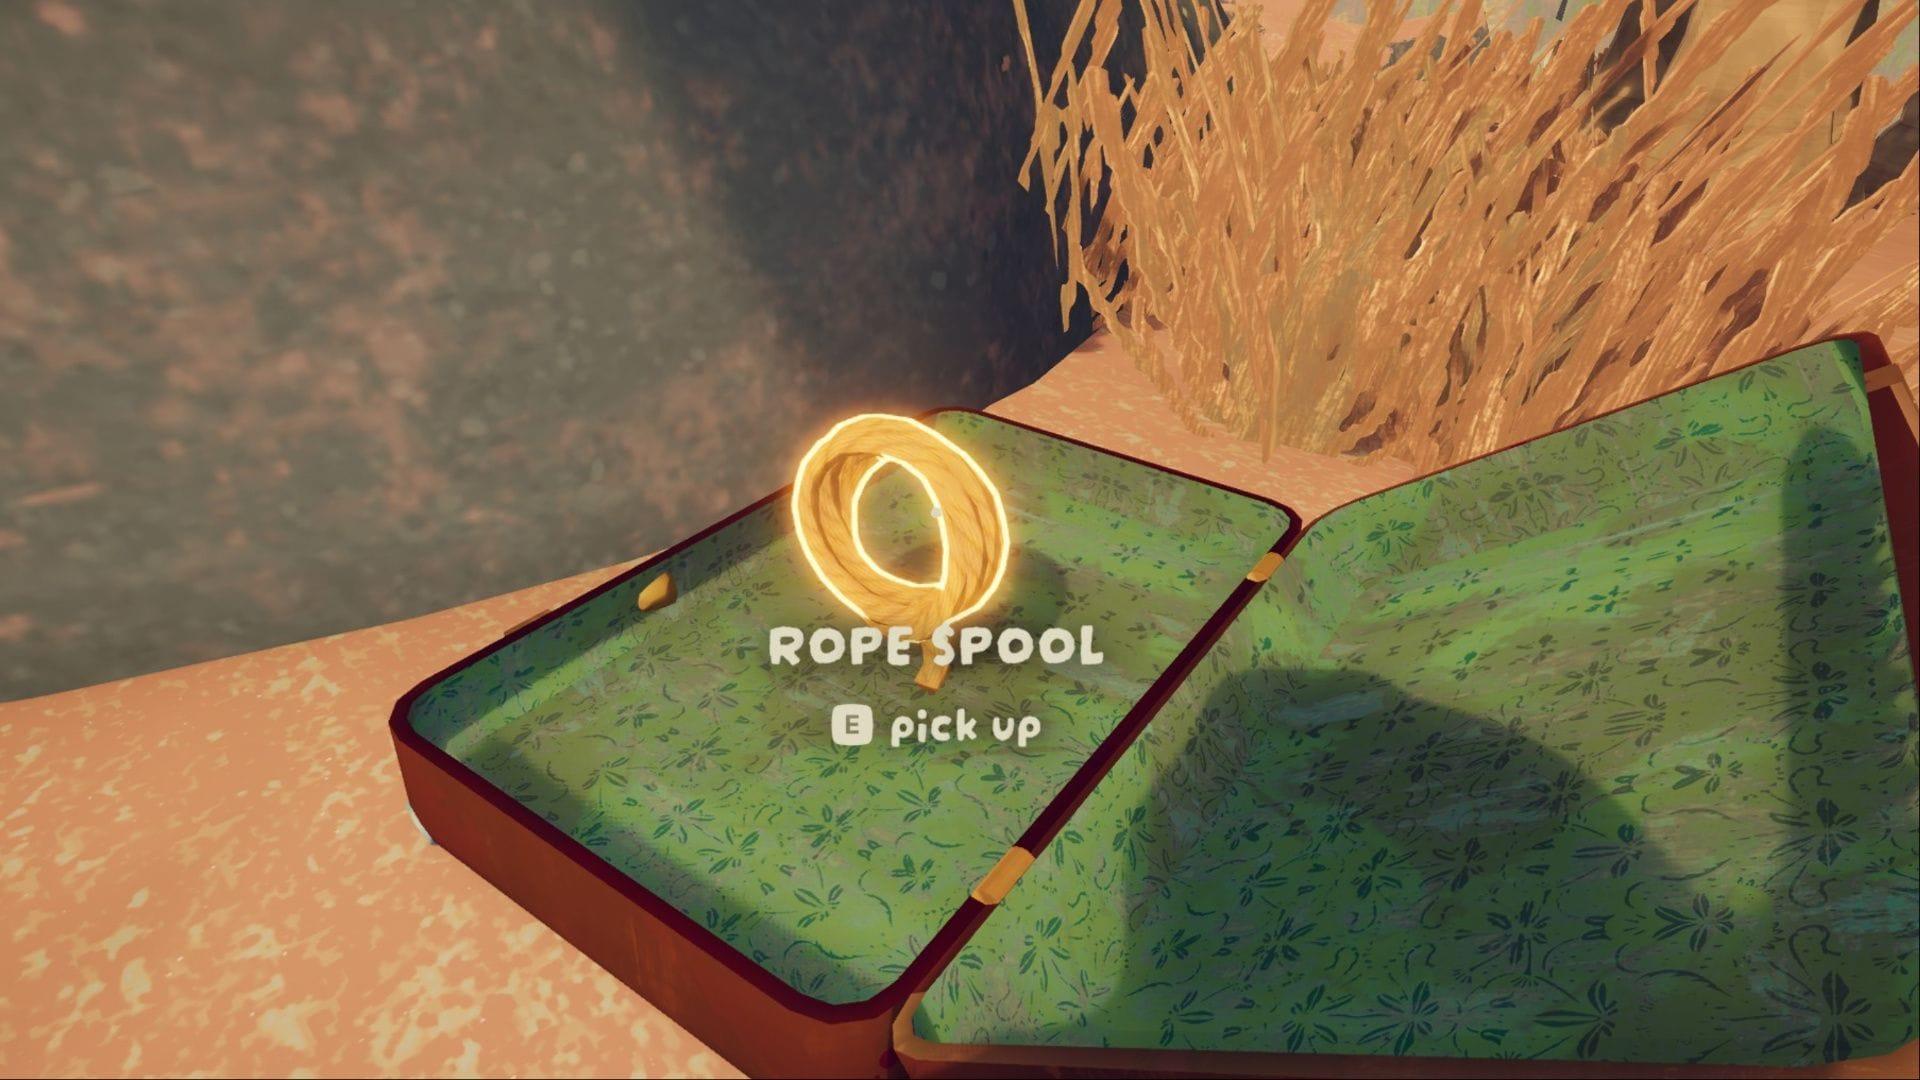
While navigating PEAK’s dynamically generated mountain landscapes, survival tools become your most valuable assets. Among these, climbing ropes stand out as fundamentally transformative equipment that shifts gameplay from arduous struggle to strategic ascension. These vital implements appear frequently within abandoned luggage during initial exploration zones, offering immediate accessibility for cooperative climbing teams.
Unlike many survival items with singular purposes, ropes serve multiple critical functions: they establish secure vertical pathways, conserve precious stamina resources, enable tactical repositioning, and facilitate team coordination. Understanding their full potential separates novice climbers from seasoned mountaineers in PEAK’s challenging environments.
Key Finding Locations: Concentrate search efforts around expedition base camps and wreckage sites in lower elevation zones. Suitcases typically contain 1-3 rope units, while specialized climbing caches occasionally offer bulk quantities for ambitious ascents.
Core Mechanics: How Rope Physics Actually Work
PEAK implements surprisingly realistic rope mechanics that reward thoughtful deployment. The core interaction revolves around establishing suspended connection points between stable surfaces. This isn’t merely cosmetic – properly anchored ropes physically reduce climbing effort through intelligent game mechanics.
Control Scheme Essentials:
- Tie Knot: Left Mouse Click (hold for secure anchoring)
- Spool Control: Mouse Scroll Wheel (precise length management)
The ghost spool system provides crucial visual forecasting before commitment. This translucent rope preview displays maximum possible extension from your current position, allowing careful measurement of required length. Successful mountaineers learn to interpret this preview to avoid both wasteful over-extension and dangerously short deployments.
Stamina Mathematics: Internal testing reveals rope climbing consumes approximately 60% of the stamina required for equivalent free climbing distances. This efficiency multiplies when establishing routes for multiple team members, making early rope deployment one of the most valuable long-term investments in PEAK.
Step-by-Step Deployment: From Beginner to Expert Placement
Mastering rope deployment requires methodical execution rather than rushed placement. Follow this optimized sequence for reliable results across diverse terrain conditions.
Phase 1: Position Assessment
Secure yourself on stable terrain before attempting deployment. The anchoring system requires firm footing – attempting placement while sliding or falling guarantees failure. Ideal positions include flat rock outcroppings, secured ledges, or other verified stable surfaces.
Phase 2: Depth Calibration
Face downward and activate the ghost spool preview with careful scroll wheel adjustments. Professional climbers recommend extending approximately 15-20% beyond your target destination to accommodate anchoring requirements and minor positioning adjustments. The preview system shows exact extension limits – trust this visualization completely.
Phase 3: Anchor Creation
With optimal length established, click and maintain left mouse pressure until the anchoring confirmation sound occurs. Visual indicators include rope tensioning and secure knot formation. Critical Check: Verify anchor stability by applying slight weight before committing fully. Failed anchors display visible slippage or unusual rope movement.
Phase 4: Route Testing
Always test new rope installations with cautious partial climbs before team deployment. Ascend 25% of the route, checking for consistent tension and secure attachment points. Successful installations feel smooth with predictable movement resistance.
Advanced Strategies: Beyond Basic Climbing
Once basic mechanics are mastered, ropes transform from simple climbing aids into sophisticated mountain navigation systems. Advanced deployment strategies separate recreational climbers from expedition leaders.
Team Coordination Networks: Instead of individual ropes, create interconnected systems. Place primary ropes on main ascent paths, then deploy secondary ropes branching toward resource zones or exploration areas. This creates a navigable web that allows team splitting without abandonment risks.
Strategic Descent Pathways: While ascending dominates early planning, deliberate descent routes enable valuable behaviors: resource retrieval from lower areas, teammate assistance, exploration of alternative paths, or retreat from dangerous weather systems. Install descent ropes before they’re urgently needed.
Tricky Terrain Solutions: For overhangs, narrow chimneys, or unstable surfaces, deploy ropes in staged sequences. First rope reaches interim ledge, second rope continues upward. This “laddering” technique conserves stamina across impossible free-climb sections. Particularly effective in PEAK’s procedurally generated challenge zones where standard solutions often fail.
Emergency Applications: Beyond planned routes, always carry reserve ropes for emergency scenarios: teammate falls, sudden weather deterioration, or unexpected obstacle encounters. The 60% stamina advantage becomes survival-critical in crisis situations.
Common Rookie Mistakes and Pro Avoidance Tactics
Learning from others’ errors accelerates mastery faster than personal trial-and-error. These frequent missteps undermine many climbing expeditions during initial PEAK experiences.
Mistake 1: Over-spooling Without Preview
Error: Rapid scroll wheel spinning without ghost spool consultation wastes irreplaceable rope length.
Solution: Implement “preview-then-commit” discipline. Always check maximum extension before deploying actual rope segments.
Mistake 2: Poor Anchor Point Selection
Error: Anchoring to visually appealing but physically unstable surfaces.
Solution: Develop surface assessment protocol: flat > textured > sloped > fragile. Test suspect surfaces with quick save-scumming if uncertain.
Mistake 3: Solo Deployment Mentality
Error: Placing ropes only for personal use without team consideration.
Solution: Design every installation with at least one teammate’s climbing style in mind. Communicate placement plans via text or voice before commitment.
Mistake 4: Neglecting Descent Planning
Error: Focusing exclusively on upward progress without retreat options.
Solution: Apply “up-two-down-one” rule: for every two ascent ropes, install one deliberate descent pathway.
Mistake 5: Resource Hoarding
Error: Saving ropes for hypothetical future needs while struggling presently.
Solution: Implement aggressive early deployment strategy. The stamina savings from early ropes accelerate progression more than conserved inventory.
Optimization Guide: When and Where to Deploy Ropes
Strategic rope deployment follows identifiable patterns in successful PEAK expeditions. These optimization principles maximize utility while minimizing resource expenditure.
Resource Management Philosophy: Treat ropes as renewable through discovery rather than strictly limited. Early zones contain sufficient rope supplies for 3-5 major installations. Balance conservation against immediate progression needs.
Terrain Analysis Protocol: Before climbing any significant section, assess: distance, stability, team needs, and alternative routes. Ropes justify themselves on sections exceeding 15 vertical meters, featuring unstable surfaces, or requiring multiple team traversals.
Progression-Based Deployment:
– Early Game: Focus on team unification routes and essential resource pathways
– Mid Game: Establish interconnected networks with redundancy
– Late Game: Create specialized ropes for challenge zones and elite ascents
Priority Installation Checklist:
1. Primary team ascent paths
2. Resource zone access routes
3. Descent/retreat pathways
4. Exploration branch connections
5. Challenge zone specialty installations
Also Read: How to find the Scoutmaster in PEAK
PEAK continues evolving on PC through Steam, with rope mechanics receiving ongoing refinement based on community climbing experiences.
No reproduction without permission:Tsp Game Club » How to use a rope in PEAK Master rope mechanics in PEAK with advanced techniques, strategic placement tips, and common mistake avoidance.