Defeat Shadow Master with expert strategies: Phase tactics, loadout optimization, and execution timing for Shinobi Art of Vengeance’s toughest boss
Introduction: The Ultimate Challenge Awaits
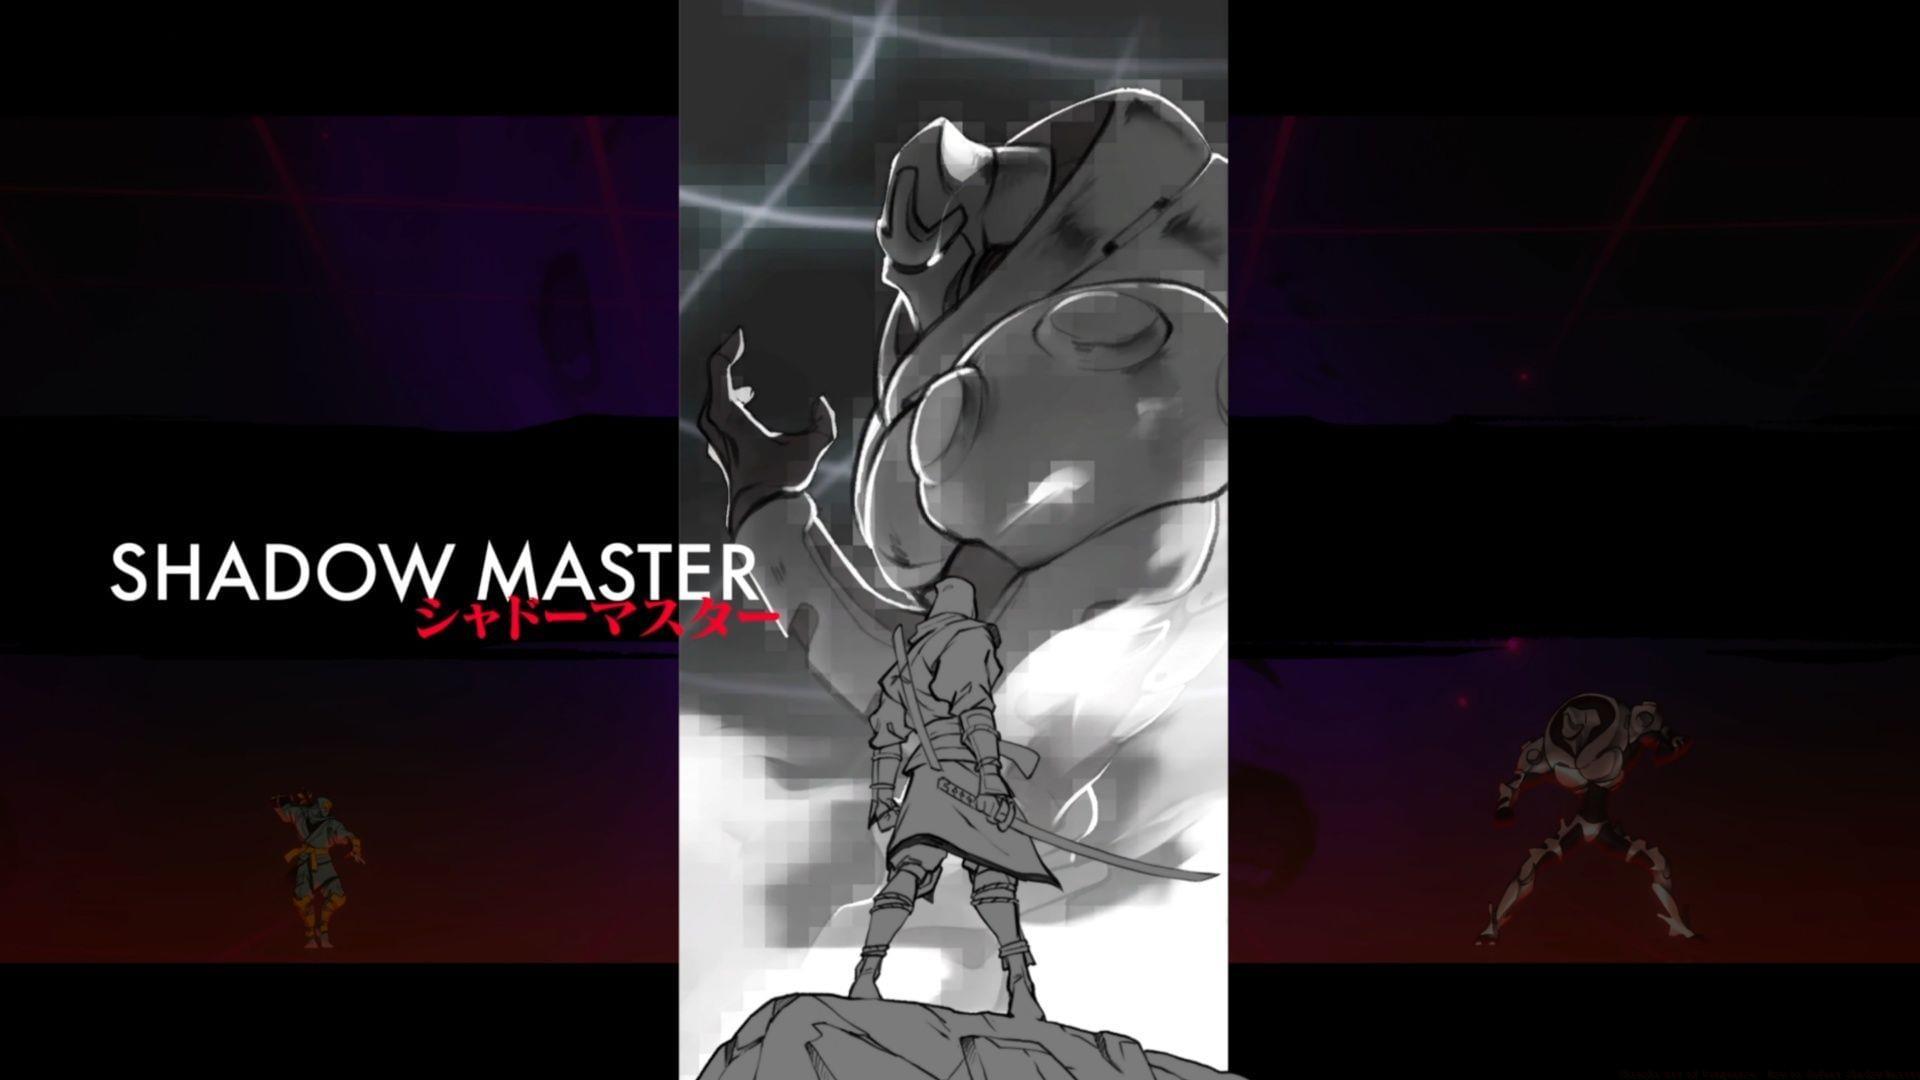
Shinobi Art of Vengeance presents players with an extraordinary optional encounter against the Shadow Master, a replica of the iconic antagonist from Shinobi III: Return of the Ninja Master. This formidable opponent stands as the game’s ultimate test of skill, designed to challenge even the most experienced ninja warriors. Gaining access to this epic confrontation requires significant progression, as you must first collect 6 Lab Keys through extensive gameplay. The final key essential for this fight is obtained by defeating the main story’s concluding boss, Lord Ruse, making this superboss encounter truly endgame content.
Many players struggle with timing their attacks against Shadow Master’s relentless assault patterns. Understanding his movement rhythm and attack tells becomes crucial for survival in this high-stakes duel where a single mistake often means instant defeat.
Optimal Loadout and Preparation
Strategic ability selection dramatically impacts your success probability against Shadow Master. I strongly advise employing the same equipment configuration that proved effective against Lord Ruse: Vampire for health sustainability, Rage Regenerator for consistent damage output, and your preferred Ninpo technique based on personal comfort and playstyle. The Water Ninpo ability serves as an exceptional safety net when health reserves dwindle, providing crucial healing opportunities that can turn the tide of battle.
For players seeking alternative approaches, consider these specialized loadouts:
Practice your chosen loadout extensively before attempting the Shadow Master encounter. Muscle memory for ability activation timing becomes critically important when reacting to his unpredictable attack chains.
Phase 1 Attack Patterns and Counters
Shadow Master employs six distinct offensive maneuvers during the initial combat phase, each requiring specific countermeasures:
Shadow Master’s exceptional threat level stems from his minimal damage reception, resistance to stun effects, and remarkably swift attack chaining. His Laser Kunai Toss frequently follows immediately after Energy Blast discharges, creating deadly combinations that demand preemptive positioning. The Laser Kunai Bombardment becomes manageable through sustained mobility, as the projectiles track your current location—requiring last-second jumps or evasion rolls when necessary.
Every attack inflicts substantial damage, mirroring Lord Ruse’s final form intensity. Adopt conservative hit-and-run tactics: execute a Dive Kick initiation, deliver 2-3 quick strikes, then immediately disengage. Crucially, never assault him during Counter activation—the retaliation dash possesses incredible speed and tracking. You can deliberately trigger this move using long-range kunai, but prepare immediate evasion upon activation.
Phase 2 Escalation and Adaptation
Shadow Master maintains his attack rotation until approximately 50% health depletion, then initiates a glowing power-up sequence. This transformation presents an ideal healing window if required. Phase 2 introduces significant modifications to his existing arsenal:
The Laser Kunai Bombardment duration extends substantially, demanding extended evasion periods. His previously manageable Dive Kick now generates extensive area-of-effect damage upon impact, comparable to Lord Ruse’s Dive Bomb technique. The Energy Blast transforms into consecutive dual-projectile volleys, and overall damage output increases across all abilities.
Critical Phase 2 survival tips:
Shadow Master fortunately doesn’t introduce completely new attacks until the phase transition at approximately 10% health remaining, allowing experienced players to leverage their Phase 1 knowledge while adapting to the enhanced intensity.
Final Phase: The Race Against Time
At roughly 10% health threshold, Shadow Master performs a ground punch initiating his ultimate power-up sequence. This critical moment demands maximum aggression—unleash your most powerful attacks continuously. When you hear the distinctive shield-shattering sound effect, his vulnerability returns temporarily.
You face an absolute time limit to secure victory before he completes casting the devastating Green Dragon Jutsu. Based on extensive testing, this ultimate technique consistently delivers fatal damage regardless of health or defenses. When his health bar diminishes to approximately 1-2%, an execution indicator appears—activate it immediately to conclude the confrontation and claim your victory.
Final phase execution strategy:
Succeeding against this monumental challenge rewards you with the prestigious Golden Shinobi cosmetic skin, symbolizing your mastery over the game’s most demanding encounter. This achievement demonstrates complete comprehension of Shinobi Art of Vengeance’s combat mechanics and represents the pinnacle of player skill.
Shinobi Art of Vengeance represents SEGA’s newest action-platformer contribution, scheduled for release on August 29, 2025, across PC, Nintendo Switch, PlayStation 4 and 5, Xbox Series X|S, and Xbox One platforms. For comprehensive gameplay analysis and mechanics breakdown, explore our detailed game review.
No reproduction without permission:Tsp Game Club » Shinobi Art of Vengeance: How to defeat Shadow Master Defeat Shadow Master with expert strategies: Phase tactics, loadout optimization, and execution timing for Shinobi Art of Vengeance's toughest boss