Complete guide to finding all 64 Kerotan frogs in Metal Gear Solid Delta with expert strategies
Introduction to Kerotan Frogs
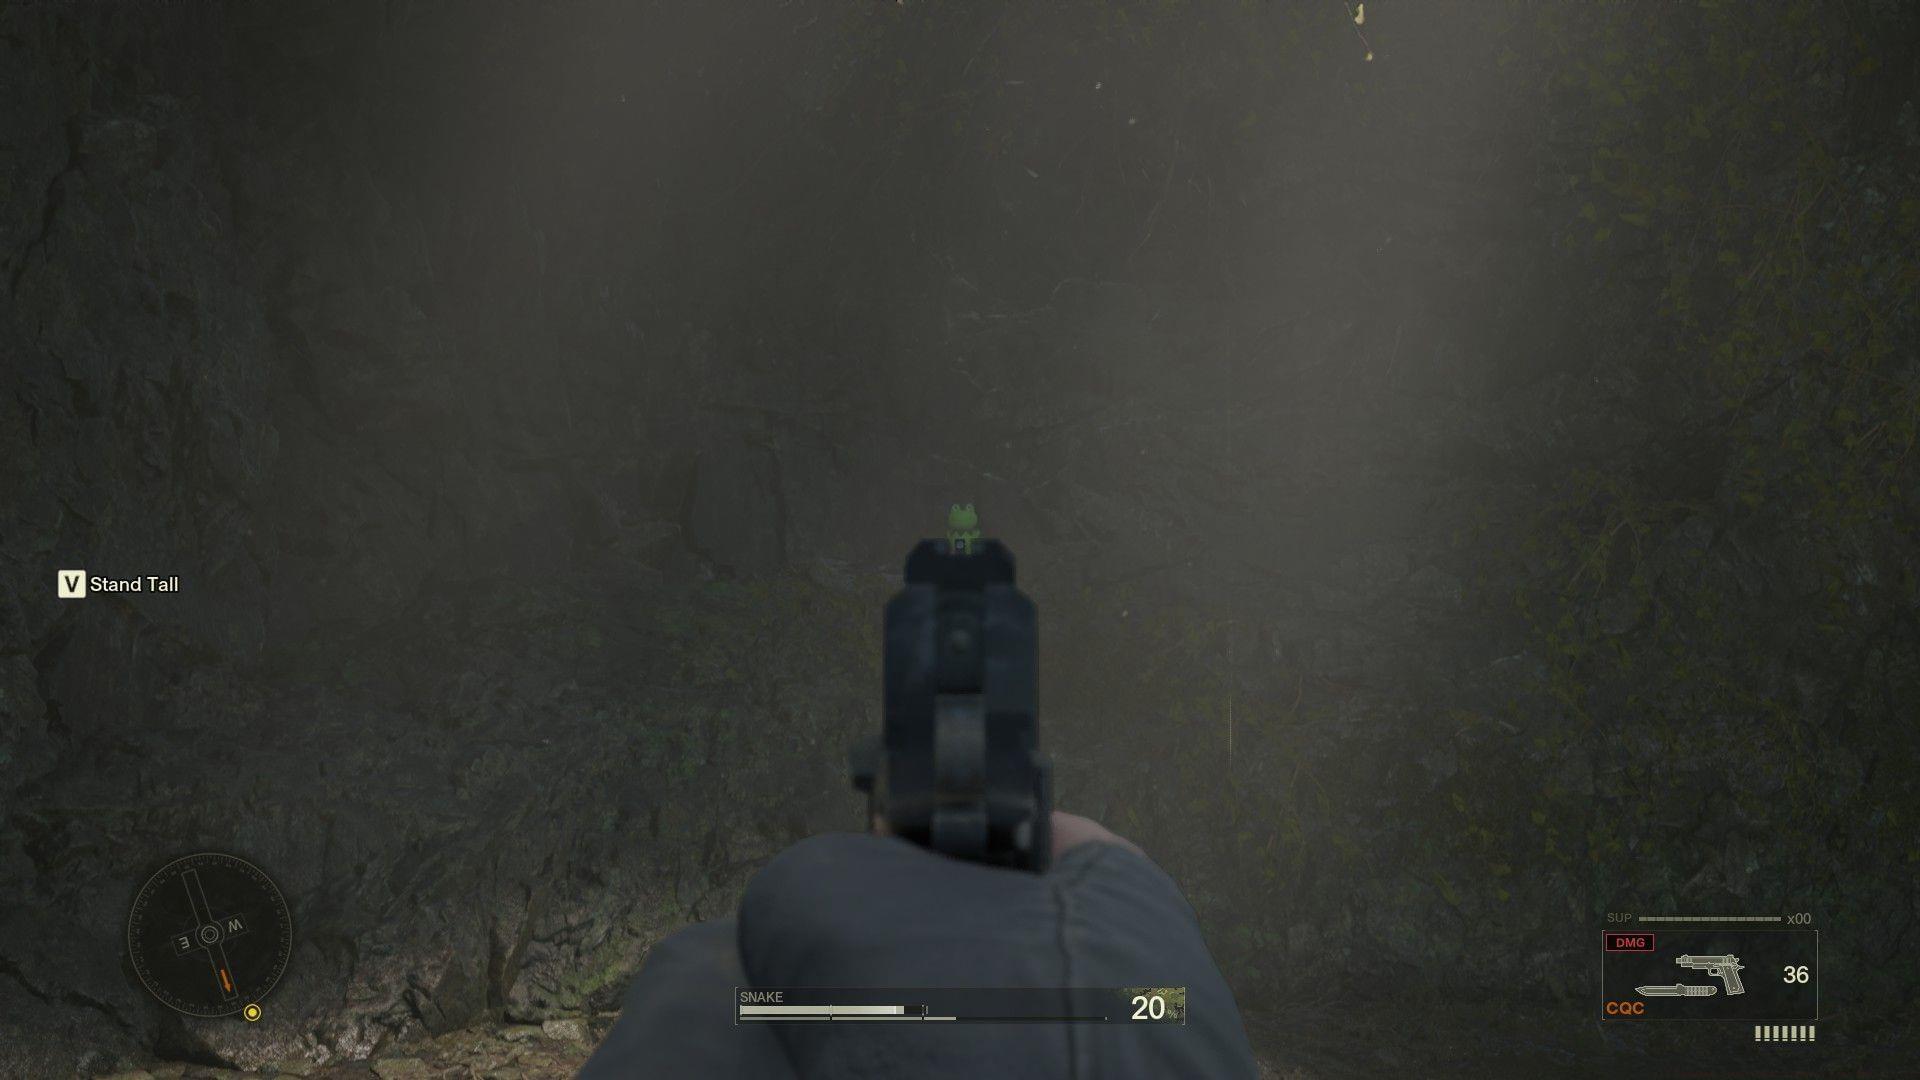
Kerotan frogs represent one of Metal Gear Solid Delta’s most challenging collectible systems, with 64 strategically placed amphibian toys scattered throughout the game world. Successfully locating and shooting every frog unlocks the prestigious “It Ain’t Easy Being Green” trophy, a testament to player dedication and exploration skills. These collectibles maintain identical placement to the original MGS 3: Snake Eater, allowing series veterans to leverage their existing knowledge while providing new players with a substantial hunting challenge.
Understanding the strategic importance of these collectibles requires recognizing their placement patterns. Developers positioned Kerotans in locations that encourage thorough environmental exploration, often rewarding players who deviate from main mission paths. Many frogs require specific timing or combat scenarios, making systematic collection essential for completionists. The achievement not only demonstrates mastery of the game’s environments but also serves as a gateway to enhanced replay value and bragging rights among the Metal Gear community.
Early Game Locations (Dolinovodno to Rassvet)
Your Kerotan hunting journey begins in the swamp regions of Dolinovodno, where the first frogs establish the collection pattern for the entire game. The initial amphibian rests near the eastern edge of the exit passage, requiring players to navigate swampy waters and identify subtle environmental cues. Pro tip: Use the water’s surface reflections to spot hidden ledges that might conceal these collectibles.
Bridge crossings provide prime Kerotan placement opportunities, with the massive wooden swinging bridge hosting one on the left-side post at its beginning. This positioning tests player observation during traversal sequences. In Rassvet, strategic elimination of two perimeter guards grants access to a ruined building where a frog awaits in the back wall opening. Critical timing note: Always collect region frogs before initiating main objectives, as many areas become inaccessible post-mission completion.
The Western edge of early areas often contains dual collectibles, with Ga-Ko ducks frequently appearing near Kerotan locations. This pairing creates visual markers that help hunters identify potential frog placements. After confronting The Boss in cutscenes, immediately scout climbable trees in the arrival area, as developers often position collectibles in these transitional spaces. Swamp re-entry reveals additional frogs on small islands, requiring careful aquatic navigation and environmental scanning.
Return visits to previously explored locations like Dolinovodno bridge yield additional collectibles, emphasizing the importance of revisiting areas with new equipment or story progression. The ruined building in Rassvet contains a second frog underneath red stairs during subsequent visits, demonstrating how game advancement unlocks previously inaccessible collectibles.
Mid-Game Collectibles (Bolshaya to Graniny Gorki)
Mid-game progression introduces more complex Kerotan placements in the Bolshaya region, where a small central building hides one collectible underneath a chair in the barracks room. During the Ocelot confrontation, use cover mechanics to safely scan the eastern grass area for a strategically placed frog. This teaches combat-zone collection techniques that become crucial in later stages.
The Chyornaya Peschera cave system presents navigation-based challenges, with frogs positioned along narrow paths and crawlspaces. One requires traversing a precarious pathway without falling, then navigating a crawlspace to locate a frog paired with Night Vision goggles. Boss arenas like The Pain’s battle zone contain ceiling-mounted frogs, encouraging players to alter their perspective during and after combat encounters.
Ponizovje regions introduce underwater collection, with one Kerotan hidden behind a drain near the North-Eastern armory. This teaches aquatic hunting skills necessary for later water-based segments. The red gate in this area hosts a frog on its left extremity, training players to examine architectural features for hidden collectibles.
Graniny Gorki’s laboratory complex represents a collection hotspot, with frogs distributed across multiple floors and sections. The warehouse basement contains a ceiling-mounted frog on beams, requiring upward scanning often overlooked by players. External areas feature tree-mounted collectibles on branch networks, while the laboratory proper hides frogs in window panels, locker areas, jail cells, and break rooms. This density teaches systematic building clearance techniques.
Advanced Hunt (Svyatogornyj to Sokrovenno)
Svyatogornyj’s post-boss fight layout places Kerotans in retrospective positions, like the building entrance’s left extremity after The Fear confrontation. This teaches players to re-examine entry points after narrative developments. Forest pathways conceal frogs near rock formations and climbable trees, while broken windows in area buildings provide access to interior collectibles without formal entry.
The End’s sniper duel arena contains a Kerotan behind the concrete building on the left path, accessible via rooftop climbing. This placement encourages environmental manipulation during boss encounters. Sokrovenno North continues the tree-based placement pattern with ground-level frogs at tree bases, training players to scan both vertical and horizontal spaces.
River navigation in Sokrovenno South reveals one of the game’s more clever placements, where following water streams to cavern entries yields hidden frogs. Tunnel systems employ spatial awareness tests, with one collectible requiring a 180-degree turn after ladder climbing to spot a pillar-adjacent frog. Mountainous regions introduce elevation-based challenges, with frogs on northern cliff-sides and building rooftops accessible only after guard elimination.
Turret gun areas teach weapon-relative positioning, with one Kerotan placed in the direction the mounted gun points, slightly left-adjusted. Radio tower bases provide obvious but easily overlooked locations, while ruined shacks contain shelf-mounted collectibles above beds. These placements reinforce the importance of examining civilian structures during military operations.
Endgame Challenges (Groznyj Grad to Finale)
Groznyj Grad’s industrial complex presents the game’s most challenging Kerotan placements, beginning with The Fury’s boss arena where a frog hides on balcony beams. Storage units with slightly ajar doors conceal collectibles, requiring precise navigation through stair systems and immediate area reorientation. Tank storage areas demand stealthy movement between vehicle rows before accessing box-climbing routes to roof-based frogs.
Office environments introduce desk-based hiding spots, with one Kerotan underneath a guard’s workstation requiring neutralization before collection. Underground networks accessible via grates provide tunnel-based collection challenges, while laboratory windows offer external frogs on poles necessitating sniper employment. The wake-up sequence in Tikhogornyj places a frog on a rear-positioned log, teaching players to immediately scan their surroundings after narrative transitions.
Motorcycle chase sequences introduce moving-target collection, arguably the game’s most difficult Kerotan challenges. Eva’s pit stops provide limited-time opportunities to collect tower-window and forklift-seat frogs. During continuous chase segments, numbered boxes (7 and 18) host frogs on left and right roadside positions. Bridge support beams and roadblock barriers contain frogs requiring precise shooting during high-speed movement.
Final arena collection against The Boss culminates with a tree-top frog in the combat zone, providing a satisfying conclusion to the 64-collectible journey. This final placement symbolizes the comprehensive environmental mastery required throughout the entire hunting experience.
Pro Strategies & Common Pitfalls
Successful Kerotan hunting requires strategic save management, particularly before point-of-no-return moments and challenging sequence entries. Create multiple save files at region transitions to avoid missing time-sensitive collectibles. Weapon selection proves crucial – sniper rifles handle distant stationary frogs while RPG-7 works better for moving targets during chase sequences due to its blast radius.
Common mistakes include progressing too quickly through story objectives before thorough area exploration, missing frogs that become inaccessible post-mission. Many players underestimate the importance of revisiting locations with new equipment or story context. Another frequent error involves inadequate stealth preparation for guarded areas, resulting in missed collection opportunities during alarm states.
Advanced optimization includes using the Ga-Ko duck collectibles as Kerotan indicators, as their proximity often signals nearby frog placements. Develop systematic scanning patterns for each environment type: upward scans in buildings, waterline checks in aquatic areas, and architectural feature examination in industrial zones. During chase sequences, pre-aim in expected directions based on road layout to reduce reaction time.
Master players recommend creating a regional checklist and crossing off frogs immediately upon collection to avoid redundant searching. Pay special attention to frogs placed during boss fights, as these require multitasking combat and collection. The most frequently missed locations include underwater frogs, ceiling-mounted collectibles, and chase sequence targets – prioritize these during your hunting strategy.
No reproduction without permission:Tsp Game Club » All Kerotan locations in Metal Gear Solid Delta Complete guide to finding all 64 Kerotan frogs in Metal Gear Solid Delta with expert strategies