Master COTA’s technical challenges with this optimized F1 25 setup guide featuring pro driving strategies
Understanding COTA’s Technical Demands
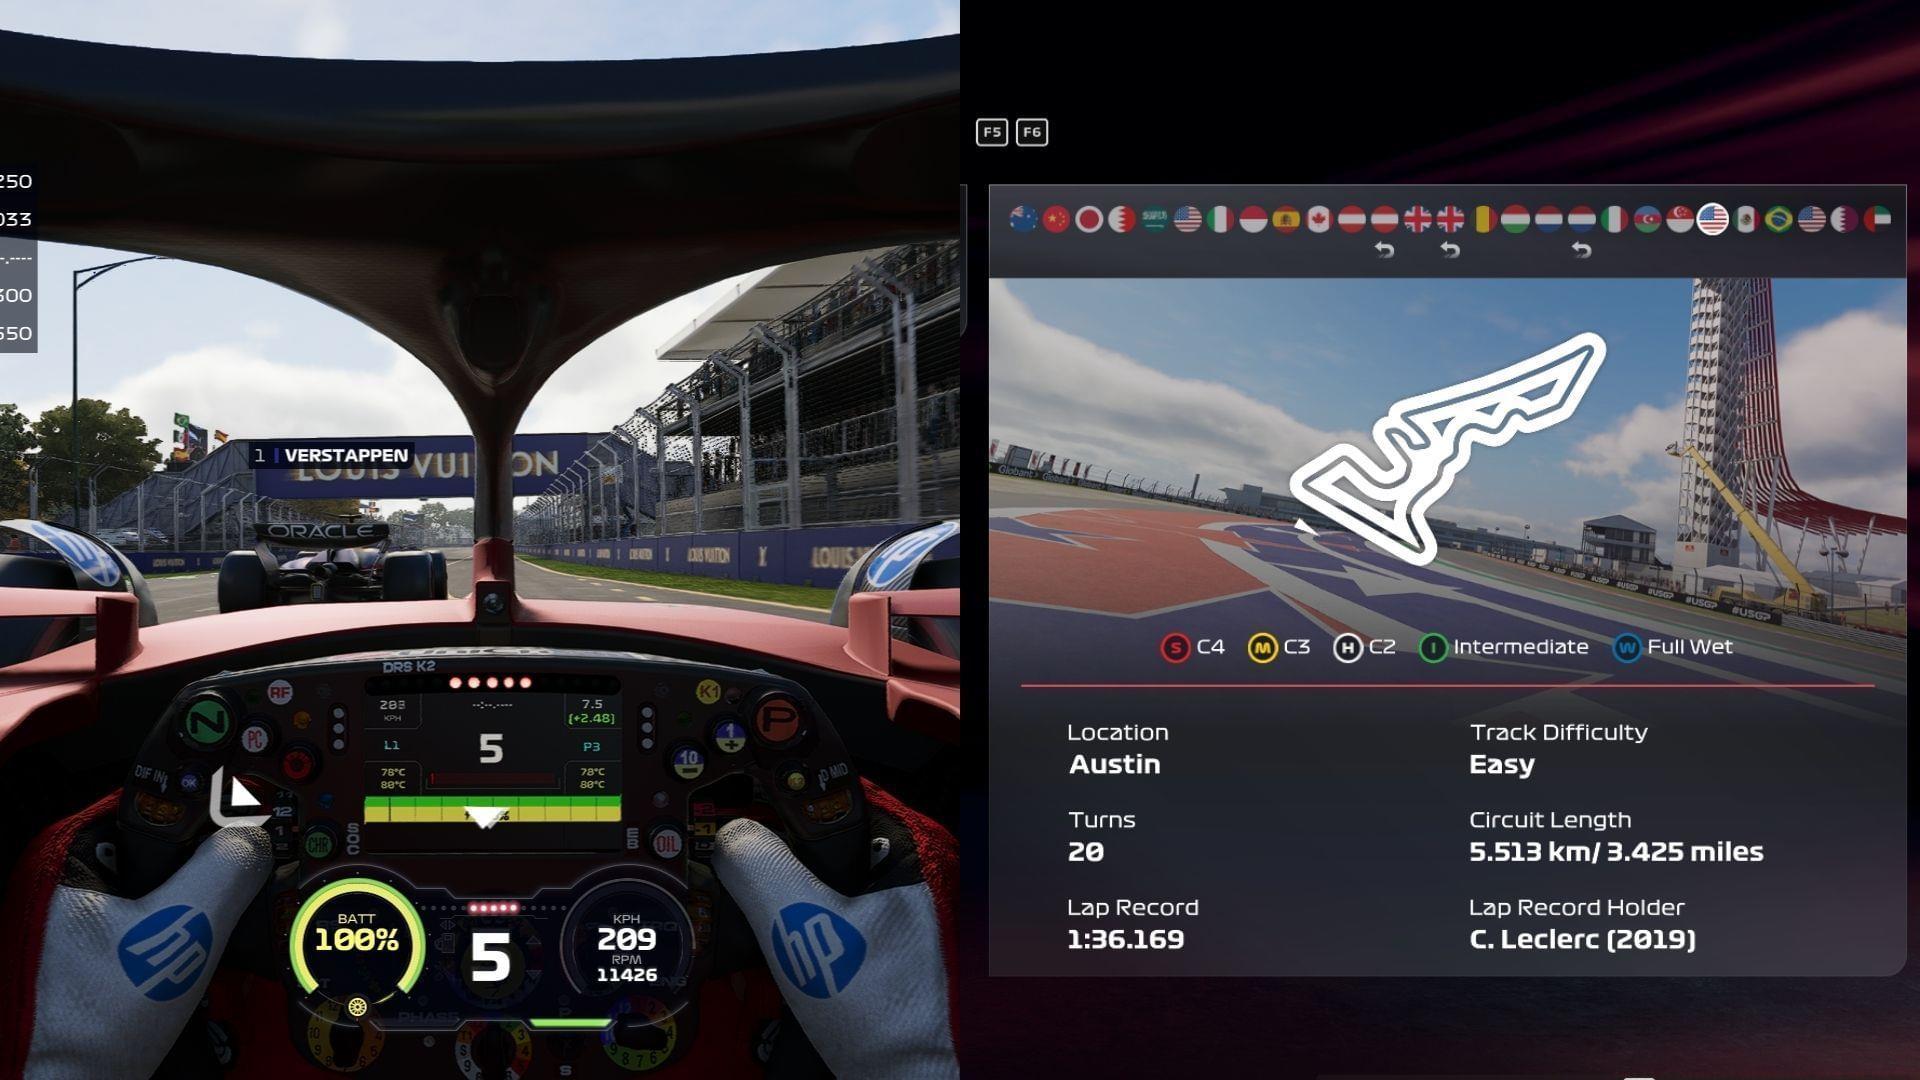
The Circuit of the Americas stands as one of Formula 1’s most demanding modern circuits, blending high-speed straights with technically complex corner sequences that test both car and driver. Located in Austin, Texas, this 5.513-kilometer track features dramatic elevation changes and a mix of corner types that demand precise setup optimization.
COTA’s layout combines elements from legendary circuits worldwide, creating a unique challenge for F1 25 competitors. The opening sector features a replica of Silverstone’s Maggots-Becketts complex, while the middle sector incorporates technical medium-speed corners reminiscent of Hockenheim. The final sector’s tight, twisting section from turns 12 through 16 requires exceptional mechanical grip and traction.
Understanding the track’s three distinct sectors is crucial for setup optimization. Sector 1 emphasizes aerodynamic efficiency and high-speed stability, Sector 2 rewards balanced mechanical grip, while Sector 3 demands maximum traction and responsive chassis behavior. This diversity makes COTA one of the most setup-sensitive circuits on the calendar.
Optimized Setup Configuration
Here’s the comprehensive car configuration that delivers competitive performance at the US Grand Prix:
This configuration creates a car that excels in COTA’s diverse challenges. The aggressive differential settings provide the rotation needed for the technical final sector while maintaining stability through the high-speed Esses. The balanced anti-roll bar configuration prevents excessive understeer in Sector 1 while maintaining rear stability under braking for Turn 12.
The asymmetric tire pressure strategy accounts for COTA’s left-biased loading in Sector 1 while ensuring equal traction from both rear tires in the crucial acceleration zones. This setup particularly shines through the perilous turns 12-16 complex, where precise throttle application and balanced chassis behavior determine lap time.
Advanced Driving Techniques
Mastering COTA requires more than just the right setup—it demands specific driving techniques to extract maximum performance. The circuit’s combination of high-speed sweeps and technical sections means drivers must adapt their style throughout the lap.
Through the demanding Sector 1 Esses (turns 3-6), maintain momentum by carrying maximum speed through the entry of each corner. The key is smooth, progressive steering inputs and early throttle application on exit. Avoid the common mistake of over-slowing the car, which kills momentum through the entire sequence.
The Turn 11 hairpin requires precise braking technique. Brake in a straight line, trail brake gently to the apex, and focus on a clean exit. This is one of the best overtaking opportunities, so maintaining exit speed is crucial for defending position down the back straight into the DRS zone.
Through the critical Sector 3 complex (turns 12-16), the setup truly proves its worth. Use the responsive differential to rotate the car through the tight left-right transitions, but be disciplined with throttle application to avoid traction loss. The common mistake here is being too aggressive with steering inputs—smoothness generates faster lap times.
DRS zone optimization is particularly important at COTA. The long back straight following Turn 11 provides the main overtaking opportunity, but the setup down the straight following Turn 20 can also be crucial for late-braking moves into the final corner.
Setup Adjustments for Conditions
While the base setup provides an excellent starting point, mastering COTA requires adaptation to changing conditions. Track temperature, fuel loads, and tire wear all influence optimal configuration throughout the race weekend.
In hotter conditions, consider reducing front tire pressures by 0.5-1.0 psi to combat understeer as the track rubberizes. The rear pressures can typically remain stable, as the lower baseline already provides good traction. If the car becomes too loose on corner exit, increasing off-throttle differential to 25% can help stabilize the rear without sacrificing turn-in response.
For qualifying versus race trim, the setup requires subtle adjustments. In qualifying, you might reduce both anti-roll bars to 20 for more aggressive rotation, accepting some instability for ultimate single-lap pace. For the race, the balanced 21/21 configuration provides better tire management and consistency over long runs.
Fuel load significantly affects car balance at COTA. With high fuel early in the race, the car will tend toward understeer. Consider preparing an alternate setup with slightly more front wing or reduced front anti-roll bar for the race start, then adjust as fuel burns off.
Also read: Best F1 25 Marina Bay Street Circuit Setup for the Singapore GP
No reproduction without permission:Tsp Game Club » Best F1 25 Circuit of the Americas Setup for the US GP Master COTA's technical challenges with this optimized F1 25 setup guide featuring pro driving strategies