TL;DR
- Jackal PDW dominates close-range with near-zero recoil and 0.55s TTK
- KSV excels in tight corridors but requires aggressive positioning
- Ames 85 and GPR-91 control mid-to-long lanes with predictable recoil
- Essex 07 provides one-shot potential at 25m+ with proper setup
- Map-specific weapon selection gives crucial competitive advantages
Ever wonder why elite players eliminate you instantly while your shots barely register? After extensive analysis of Season 4’s competitive landscape, I’ve identified the five weapons that define high-level play. This guide reveals precisely which loadouts, positioning strategies, and combat techniques will elevate your Ranked performance.

Season 4 Ranked Meta Snapshot
Season 4’s competitive restrictions have dramatically narrowed the viable weapon pool. Recent balance changes combined with tournament bans have created a clear hierarchy where five weapons dominate every lobby. Entering matches without these optimized loadouts puts you at a significant disadvantage before the first engagement.
Meta Overview Table
| Weapon | Class | Ideal Range | Close-Range TTK | Handling | Meta Role |
|---|---|---|---|---|---|
| Jackal PDW | SMG | 0 – 20 m | 0.55 s | Snappy, no-recoil beam | All-purpose entry |
| KSV | SMG | 0 – 15 m | 0.60 s | Hard kick, short burst | Point-blank bully |
| Ames 85 | AR | 15 – 35 m | 0.45 s | Moderate kick, predictable | Lane anchor |
| GPR-91 | AR | 20 – 45 m | 0.50 s | Laser accuracy | Long-lane lockdown |
| Essex 07 | Marksman | 25 m+ | 1-shot | Fast ADS, lever-action | Pick maker |
This data reveals why these weapons dominate competitive play. Each excels within specific engagement distances, delivering superior time-to-kill ratios that make them essential for Ranked success. Understanding these range brackets is crucial for optimal positioning and target selection.
Jackal PDW – Well-Rounded Aggressor
The Jackal PDW stands as the most versatile close-range option in Season 4. Its exceptional fire rate combined with minimal recoil patterns makes it devastating in objective modes. When entering Hardpoint hills or capturing flags, this weapon’s consistency allows you to eliminate multiple targets quickly while maintaining mobility. The key is leveraging its forgiving nature during chaotic engagements where precision aiming becomes difficult.
Go-To Build
| Slot | Attachment | Why It Matters |
|---|---|---|
| Barrel | Gain-Twist | Extra bullet speed for longer reach |
| Underbarrel | Ranger Foregrip | Horizontal recoil vanishes |
| Rear Grip | Ergonomic | Faster sprint-out keeps you mobile |
| Stock | Balanced | Strafe to dodge return fire |
| Mod | Recoil Springs | Turns the gun into a laser |
Play Tip
Initiate every engagement with a slide cancel to maintain momentum. The Jackal’s controllable recoil allows you to stay on target during aggressive movement patterns, giving you an edge in 1v2 situations. Practice transitioning between targets quickly while maintaining proper trigger discipline to maximize its effectiveness.
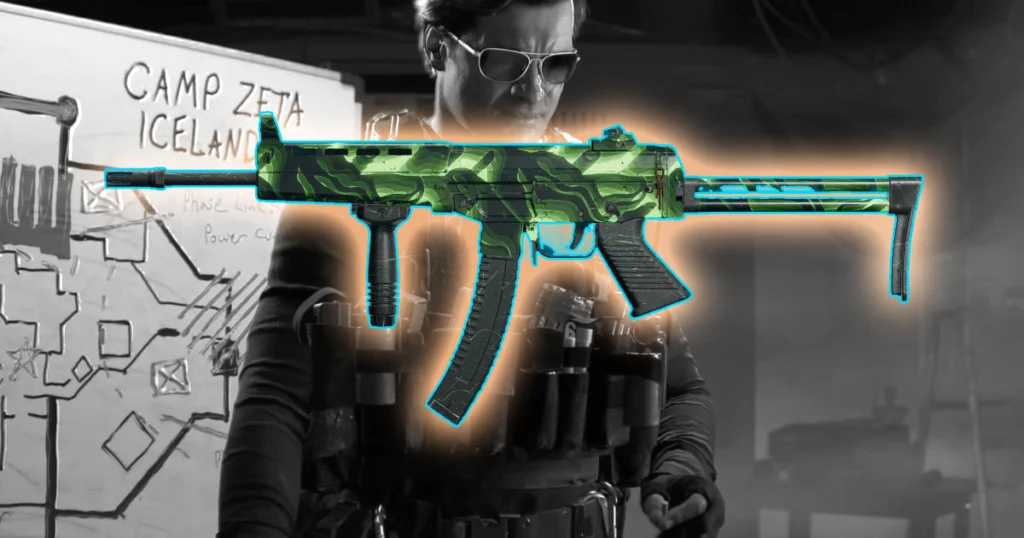
KSV – Close-Quarters Bulldozer
For raw stopping power at point-blank range, the KSV reigns supreme. Its devastating damage output makes it unbeatable within 15 meters, essentially functioning as a fully automatic shotgun with superior magazine capacity. However, its effectiveness drops sharply beyond this range, requiring disciplined positioning and map awareness to avoid engaging in unfavorable distances.
Burst Build
| Slot | Attachment | Purpose |
|---|---|---|
| Barrel | Reinforced | Extends one-burst range to 18 m |
| Underbarrel | Ranger Foregrip | Tames vertical bounce |
| Magazine | Ext. Mag II | 40 rounds for feed streaks |
| Stock | Balanced | Faster ADS strafe |
| Rear Grip | Quickdraw | Instant snap sight |
Play Tip
Master tight corner play and pre-aim common angles. The KSV thrives in confined spaces where its damage output can’t be matched. Use jump shots sparingly to catch opponents off guard, but prioritize maintaining cover and using sound cues to anticipate enemy movements. Success with this weapon requires aggressive but calculated positioning.
Honorable Mention: LC10 – Low-Recoil Laser
The LC10 emerges as an excellent alternative for players struggling with recoil management. While it doesn’t match the KSV’s raw damage potential, its exceptionally smooth recoil pattern makes every shot count, especially for those transitioning from other shooters. New players should consider this weapon as a stepping stone before advancing to more demanding options like the Jackal or KSV.
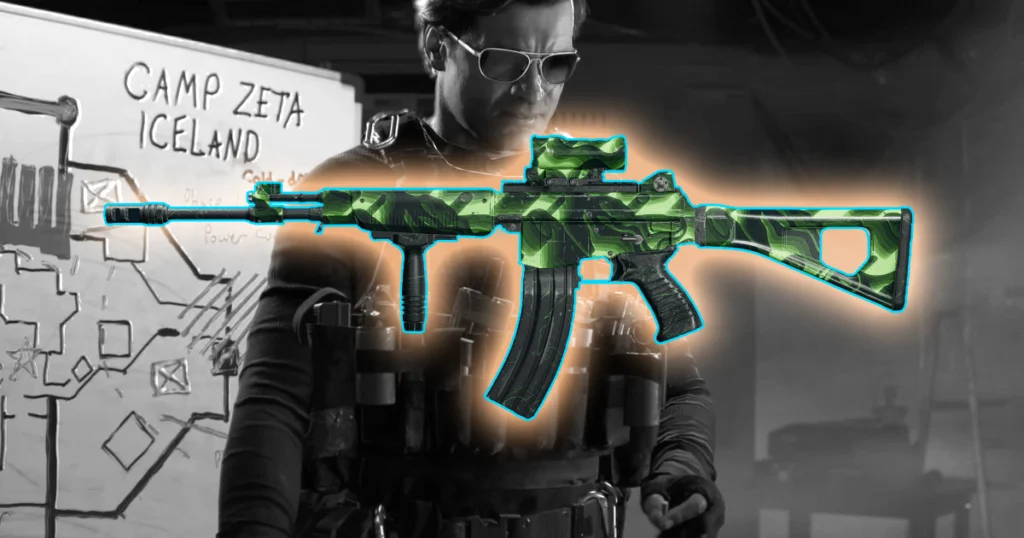
Ames 85 – Competitive Workhorse
Professional players consistently choose the Ames 85 for its reliability in mid-range engagements. Four precisely placed upper-torso shots eliminate targets within 30 meters, making it incredibly effective for holding sightlines and controlling rotations. The weapon’s predictable vertical recoil pattern allows for easy compensation, giving you consistent performance across multiple engagements.
Pro Setup
| Slot | Attachment | What It Fixes |
|---|---|---|
| Muzzle | Brake or Comp | Shrinks initial kick |
| Barrel | Reinforced Heavy | Extends damage range |
| Underbarrel | Vertical Grip | Keeps bursts tight |
| Optic | Microflex | Clear head-shot picture |
| Rear Grip | Ergonomic | Faster weapon ready |
Play Tip
Employ controlled bursts of 3-4 rounds for optimal accuracy. Full-automatic fire wastes ammunition and increases recoil spread, reducing your effectiveness at range. Practice timing your bursts to maintain pressure while preserving accuracy, especially during prolonged engagements where every bullet counts.
GPR-91 – Long-Range Laser
Season 4’s balance changes transformed the GPR-91 into a formidable long-range option. Its damage profile now remains consistent up to 45 meters, with headshots significantly reducing time-to-kill. This makes it particularly effective for players with precise aim who can capitalize on its superior damage potential at distance.
Headshot Build
| Slot | Attachment | Advantage |
|---|---|---|
| Barrel | CHF | One headshot drops kill-time |
| Muzzle | Agency Comp | Horizontal recoil almost zero |
| Underbarrel | Field Agent | Fine-tunes control |
| Optic | 3× Kepler | Better long-lane vision |
| Mod | Recoil Springs | Faster re-center for flick shots |
Play Tip
Establish dominant angles and force opponents to peek into your advantage. Two well-placed headshots eliminate targets before they can effectively return fire. Patience is key – wait for enemies to expose themselves rather than pushing aggressively, as this weapon excels at defensive positioning and long-range engagements.
Side Option: FFAR-1 – High-RPM Flex
The FFAR-1 offers the highest fire rate among assault rifles, providing overwhelming suppressive fire in close-to-mid range situations. While its recoil pattern makes it challenging to control in competitive matches, it can serve as an effective backup weapon when you need to adapt to different engagement distances. Consider this option when the Ames 85 feels too restrictive for your playstyle.
Struggling to climb the Ranked ladder in CoD Bo6? Constant defeats and stagnant progression can be incredibly frustrating. Our professional CoD Boost service connects you with elite players who can rapidly improve your rank and statistics, allowing you to experience the thrill of dominating matches without the grind.
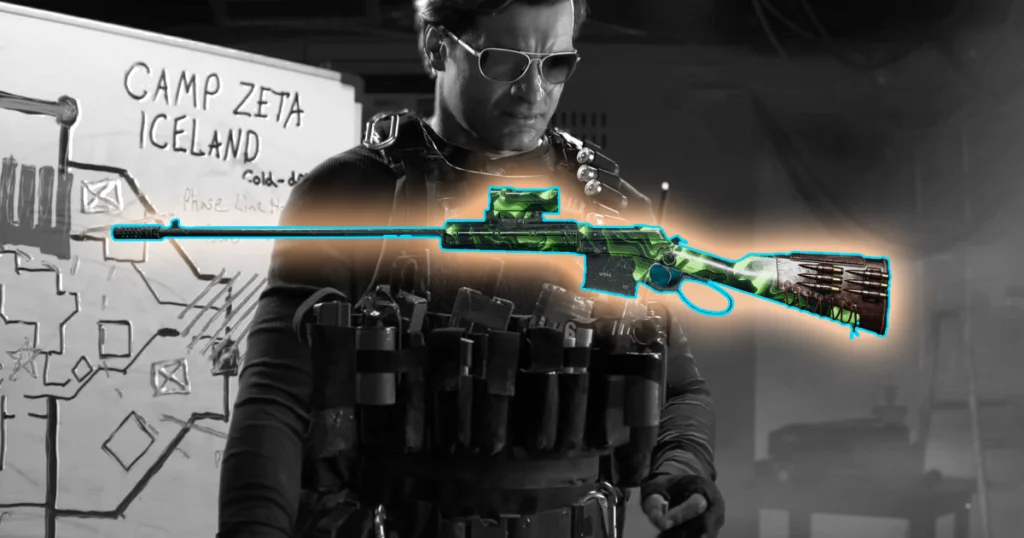
Essex Model 07 – One-Shot Wonder
The Essex Model 07 lever-action marksman rifle delivers unparalleled stopping power at distance. Upper-torso shots eliminate targets instantly, while its rapid cycling capability allows you to engage multiple enemies during a single peek. This weapon fundamentally changes how opponents approach open areas, forcing them to respect your kill potential.
Sniper-Lite Build
| Slot | Attachment | Benefit |
|---|---|---|
| Barrel | CHF | Expands one-hit zone to stomach |
| Optic | Willis 3× | Clean reticle and fast ADS |
| Muzzle | Brake | Reduces muzzle climb |
| Rear Grip | Quickdraw | Snaps onto peekers |
| Stock | Heavy | Lowers flinch on return fire |
Play Tip
In Search & Destroy, establish crossfires on bomb lanes. A single well-placed shot can force entire teams to abandon their push or risk instant elimination. Coordinate with teammates to create overlapping fields of fire, maximizing your impact on round outcomes. Practice quick-scoping to handle unexpected close-range encounters.
| Weapon | Recoil Control | ADS Speed | Bullet Velocity | Mag Size |
|---|---|---|---|---|
| Jackal PDW | 95 % | 220 ms | 570 m/s | 30 (base) |
| KSV | 88 % | 210 ms | 540 m/s | 25 (40 with Ext. Mag II) |
| Ames 85 | 82 % | 260 ms | 650 m/s | 30 |
| GPR-91 | 90 % | 270 ms | 720 m/s | 30 |
| Essex 07 | 70 % | 300 ms | 880 m/s | 6 |
These performance metrics illustrate why each weapon dominates its respective niche. The Jackal PDW combines exceptional recoil control with lightning-fast ADS speeds, making it ideal for aggressive playstyles. Meanwhile, the GPR-91 trades fire rate for superior bullet velocity and accuracy at distance. Understanding these statistical advantages helps you select the right tool for each engagement scenario.
| Map | Best Primary | Alternate | Why It Works |
|---|---|---|---|
| Hostel | KSV | Jackal | Tight corridors favor instant TTK |
| Villa | Jackal | Ames 85 | Mixed sightlines require flexibility |
| Blitz | GPR-91 | Essex 07 | Long lanes reward accuracy |
| Depot | Ames 85 | Jackal | Rotations need mid-range control |
| Icelab | Essex 07 | GPR-91 | Wide angles enable one-shot picks |
Strategic weapon selection based on map design and game mode provides significant competitive advantages. On Hostel’s confined spaces, the KSV’s devastating close-range damage ensures victory in inevitable close-quarters encounters. Conversely, Blitz’s expansive sightlines demand the precision and range of the GPR-91 or Essex 07 to control long engagements. Adapting your loadout to each map’s unique characteristics maximizes your effectiveness across different scenarios.
-
Warm Up Aim
Dedicate five minutes to aim training in a private lobby before ranked matches. Practice tracking moving targets with each meta weapon to build muscle memory. Consistent warm-ups significantly improve your recoil control and target acquisition during actual matches. -
Set Sensitivity in Stone
Constant sensitivity adjustments destroy consistency. Establish your optimal DPI and in-game sensitivity, then stick with it. Daily practice with the same settings builds reliable muscle memory that translates to better performance under pressure. -
Use Audio to Pre-Aim
Footstep audio in BO6 provides crucial positioning information. When you hear enemy movement, pre-aim common choke points and angles. The Jackal or Ames 85 can eliminate rushing opponents before they have time to react, giving you a decisive advantage. -
Trade Every Death
Ranked matches reward coordinated team play. Always communicate your death location and call for teammates to trade kills. Meta weapons excel at finishing weakened opponents quickly, turning disadvantageous situations into net positive outcomes for your team. -
Keep a Flex Class
The meta evolves during competitive series. Maintain a secondary loadout slot with the GPR-91 for Control matches and the Jackal for Hardpoint. Quick weapon adaptations counter enemy strategies and maintain your competitive edge throughout extended play sessions.
Conclusion
Season 4’s competitive landscape clearly favors five dominant weapons across different engagement ranges. The Jackal PDW and KSV control close-quarters battles with superior time-to-kill ratios, while the Ames 85 and GPR-91 establish dominance in mid-to-long range engagements. The Essex 07 provides game-changing one-shot potential that can single-handedly determine round outcomes. Mastering these weapons, understanding their optimal engagement distances, and adapting to map-specific requirements eliminates the frustration of fighting against the meta.
Select a primary weapon that complements your natural playstyle, dedicate time to mastering its attachment configuration, and apply the tactical strategies outlined in this guide. In your next ranked match, you’ll be the player leaving opponents wondering how they were eliminated so efficiently.
Action Checklist
- Master one meta weapon completely before diversifying
- Practice 5-minute aim warm-up before every ranked session
- Lock in sensitivity settings and avoid adjustments
- Learn optimal positioning for each map’s weapon meta
- Develop communication habits for effective trading
- Create flex loadouts for different game modes
No reproduction without permission:Tsp Game Club » CoD BO6 Ranked Season 4 Weapon Meta: Top 5 Guns & Builds Master Season 4's top weapons with optimized builds and tactical strategies