TL;DR
- Paladin offers balanced offense/defense with holy magic and emergency invulnerability
- Master the Fast Blade → Riot Blade → Royal Authority combo for optimal DPS
- Use mitigation ladder: Rampart → Sentinel → Sheltron for survival
- Prioritize weapon damage, then Crit/Direct Hit stats for maximum effectiveness
- Practice situational awareness and cooldown management for team success

Have you ever found yourself mid-dungeon, heart pounding as devastating boss attacks rain down, wondering how seasoned Paladins maintain such unshakeable composure? I vividly recall my first terrifying tanking experience, where every mechanic felt overwhelming. Through countless hours wielding blade and shield, I’ve discovered the intricate rhythms, advanced techniques, and optimal gear choices that transform anxious newcomers into formidable defensive pillars. This comprehensive guide delivers proven strategies—from precision rotations to sophisticated mitigation plans—enabling you to tank with unwavering confidence while contributing meaningful damage to your party’s success.

Paladin Job Overview
Why Pick Paladin?
-
Experience exceptional versatility combining potent offense, robust defense, and valuable team support capabilities.
-
Harness holy-powered magic that adds devastating flair and crucial emergency healing when needed most.
-
Activate invulnerability on demand, dramatically reducing unexpected party wipes during critical moments.
Snapshot Table
| Aspect | What It Means |
|---|---|
| Role | Primary tank – maintains threat absorption and damage mitigation |
| Weapon | Single-handed sword plus shield (enables critical blocking mechanics) |
| Armor | Fending equipment prioritizing maximum Vitality stats |
| Gauge | Oath – expend 50 points for Sheltron (personal) or Intervention (ally protection) |
| Signature Moves | Hallowed Ground, Divine Veil, Passage of Arms (defensive toolkit) |
| Play Feel | Aggressive holy warrior capable of emergency healing support |
| Learning Curve | Accessible fundamentals with rewarding mastery complexity |
Paladin’s legendary status as Eorzea’s protector translates into dynamic gameplay involving strategic AoE management for trash control, precisely timed holy burst executions during optimal damage windows, and calculated shield deployments when danger escalates. This engaging variety maintains freshness throughout your entire progression journey.
Struggling with repeated wipes on Omega Protocol while raid nights become frustrating marathons? Secure our FFXIV TOP Boost service and let veteran raiders handle the execution, ensuring you obtain coveted loot and clears without the stress and time investment.
Rotation & Damage Flow
Core Single‑Target Loop
| Step | Button | Why It Matters |
|---|---|---|
| 1 | Fast Blade | Initiates your primary damage combination |
| 2 | Riot Blade | Restores essential MP resources for abilities |
| 3 | Royal Authority | Generates Divine Might buff plus 3 Atonement charges |
| 4 | Holy Spirit | Becomes instant cast during Divine Might activation |
| 5 | Atonement x1 | Cost-free strike that replenishes MP resources |
Continue this sequence until either Fight or Flight (FoF) or Requiescat (Req) becomes available for activation.
Physical Burst Window
-
Activate FoF for a powerful 25 second damage enhancement.
-
Execute Goring Blade within this enhanced damage window.
-
Complete your Royal Authority combination and expend all Atonement charges.
-
Integrate Expiacion and Circle of Scorn whenever available.
Magical Burst Window
Once Fight or Flight concludes, Requiescat typically becomes ready:
| Sequence | Action |
|---|---|
| Start | Requiescat |
| • | Confiteor |
| • | Blade of Faith |
| • | Blade of Truth |
| End | Blade of Valor |
This devastating combination delivers massive area damage, provides modest healing, and consumes neither Oath nor MP resources during Requiescat’s effect.
AoE Rule of Thumb
-
Two mobs? Either approach viable—utilize spin AoE for efficiency when preferred.
-
Three or more? Completely abandon single-target rotations and cycle through Total Eclipse → Prominence → Holy Circle.
-
Maintain Expiacion and Circle of Scorn on cooldown for bonus damage output.

Fatigued by tedious early-level grinding instead of enjoying exciting endgame content? Leverage our FFXIV Leveling service, allowing professional players to handle the repetitive progression while you jump directly into thrilling raids and glamour hunting without sacrificing valuable leisure time.
Tanking Basics & Cooldown Map

Keep Hate Like a Pro
| Tool | Use Case |
|---|---|
| Iron Will | Activate before engaging—every attack generates maximum enmity |
| Shield Lob | Ranged threat generator for distant enemy targets |
| Provoke | Instantly redirects stray enemy attention back to you |
| Shirk | Transfer threat to co-tank during tactical position swaps |
Mitigation Ladder
| Cooldown | Reduction / Duration | Typical Timing |
|---|---|---|
| Rampart | 20 % / 20 s | Multiple enemy pulls, standard boss auto-attacks |
| Sentinel | 30 % / 15 s | Critical tank-buster mechanics and high-damage phases |
| Sheltron | Block + 15 % / 8 s | Major incoming attacks (requires 50 Oath gauge) |
| Intervention | 10 %+ / 8 s | Protect co-tank during dangerous mechanics |
| Reprisal | Enemy −10 % / 10 s | Boss-wide area damage abilities |
| Arm’s Length | Slow attackers / 15 s | Large trash mob groups with rapid attacks |
| Divine Veil | Party shield 10 % | Pre-emptive protection before incoming raid-wide damage |
| Passage of Arms | Party −15 % while maintained | Scripted massive area damage requiring party stacking |
| Hallowed Ground | Immunity / 10 s | Emergency survival or scripted one-shot mechanics |
Strategic planning proves essential. Deploy Rampart immediately upon engagement, layer Sentinel for initial tank busters, and utilize Sheltron whenever your Oath gauge reaches 50. Your healing team will recognize and appreciate this proactive approach to damage management.
Gear & Stat Priority

Fresh Level‑Cap Checklist
| Slot Priority | Why First? |
|---|---|
| Weapon | Weapon Damage significantly outweighs all other stats |
| Chest / Legs | Provide highest primary stat increases per item |
| Head / Hands / Feet | Complete your main armor set configuration |
| Accessories | Essential Vitality increases; cost-effective upgrades |
Farm maximum-level dungeons, acquire tomestone equipment, or purchase high-quality crafted gear while awaiting weekly raid lockout resets.
Best‑in‑Slot Snapshot (Patch 7.2)
| Source | Item Level | Notes |
|---|---|---|
| Arcadion Savage | 760 armor / 765 weapon | Primary Best-in-Slot equipment pieces |
| Ultimate (FRU) Weapon | 765 | Additional materia slot and prestige value |
| Augmented Tomestone | 760 | Fill specific stat distribution gaps |
| Extreme Trial Weapons | 745 + | Temporary solution if Savage weapon acquisition delays |
| HQ Crafted | 740 | Budget-friendly entry point for Savage progression |
Stat Hierarchy
-
Item Level (Strength + Weapon Damage)
-
Critical Hit
-
Direct Hit
-
Determination
-
Tenacity (prioritize only when maximizing survivability)
-
Skill Speed (maintain minimal investment)
Meld Plan: Prioritize Critical Hit until reaching individual piece caps, then focus on Direct Hit, with Determination as filler where Critical/Direct Hit caps are achieved.
Real‑World Tips & Quick‑Reference Tables
Situational Cheatsheet
| Scenario | Fast Fix |
|---|---|
| Mass pull panic | Activate Rampart + Arm’s Length → execute AoE rotation → utilize Sheltron for damage spikes → deploy Sentinel if healing delayed → reserve Hallowed for critical HP depletion |
| Raid‑wide incoming | Pre-cast Divine Veil → self-heal to activate shield → apply Reprisal to boss → channel Passage if party positioning allows stacking |
| Co‑tank picks up boss | Execute Shirk → provide Intervention during tank busters → remain stance-off unless additional enemies require attention |
| Stray add on healer | Utilize Provoke → follow with Shield Lob → execute single Total Eclipse to establish threat |
| Healer KO at 10 % boss HP | Cast Clemency on self → activate Rampart → complete encounter—heroic achievement unlocked |
Common Mistakes and Fixes
| Oops | Fix It Fast |
|---|---|
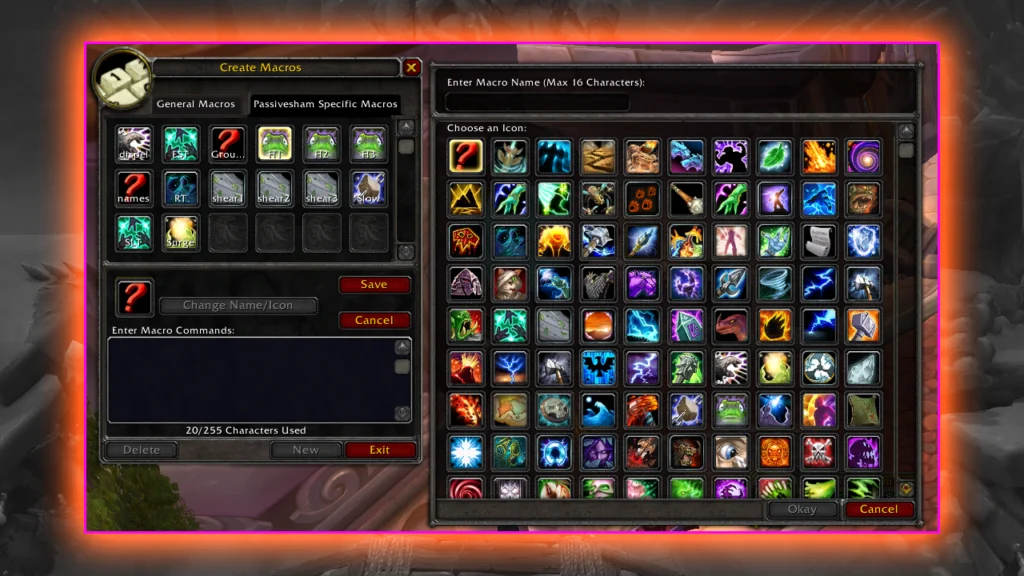
| Forgetting Iron Will | Create stance warning macro for party chat when deactivated |
| Sitting on 100 Oath | Regularly expend on Sheltron; unused gauge equals wasted mitigation potential |
| Excessive Clemency casting | Trust healer capabilities; reserve for genuine emergency situations |
| Early overlap of Rampart & Sentinel | Stagger cooldowns unless specific mechanics require simultaneous usage |
| Neglecting Reprisal | Configure alert on boss cast bars; provides free group damage reduction |
Experiencing repeated failures on the latest Savage tier while raid nights become exhausting chores? Secure our FFXIV Savage Raid Boost and let professional players handle the challenging content, guaranteeing clears, loot, and achievements while you relax and enjoy the rewards.
Frequently Asked Questions
Is Paladin beginner‑friendly?
Absolutely. Features straightforward early abilities and numerous defensive safety nets for learning.
Do Paladins deal enough damage?
When executing optimal rotations, Paladin DPS remains competitive within 3-5% of other tank classes.
Which materia should I slot?
Prioritize Critical Hit first, Direct Hit second, with minimal Determination as needed for balance.
When do I hit Hallowed Ground?
Deploy strategically to prevent death rather than for showmanship. Ten seconds of immunity can salvage any deteriorating situation.
How do I unlock the job quickly?
Begin as Gladiator in Ul’dah, progress to level 30, complete class quests, then acquire the Soul of the Paladin item.
Finding Series Malmstones progression endlessly tedious and draining enjoyment from PvP? Skip the grind with our FFXIV Series Malmstones Boost and let experienced players accumulate points efficiently, ensuring you obtain all rewards while preserving valuable time and mental energy.

Conclusion
Paladin excels through its unique combination of exceptional durability and spectacular holy-powered damage bursts. Master the rotation systems outlined above, strategically align defensive cooldowns using the mitigation ladder, and consistently upgrade your equipment. Your reward will be the ability to bring stability to chaotic party dynamics and survive attacks that would defeat lesser tanks. Equip your shield, trust the comprehensive strategies provided, and lead your party forward—Eorzea perpetually needs additional dedicated holy warriors.
Action Checklist
- Activate Iron Will before every pull and create stance warning macro
- Practice Fast Blade → Riot Blade → Royal Authority combo until muscle memory
- Master Fight or Flight burst window with Goring Blade and Atonement usage
- Learn Requiescat magical burst sequence for maximum AoE damage
- Set up mitigation ladder: Rampart → Sentinel → Sheltron timing practice
- Prioritize weapon upgrade, then chest/legs, followed by remaining armor slots
- Configure materia: Crit → Direct Hit → Determination priority
- Practice situational responses using the cheatsheet for common scenarios
No reproduction without permission:Tsp Game Club » FFXIV Paladin Guide – DPS Rotation, Tank Strategies & BiS Gear Master Paladin tanking with expert rotations, mitigation strategies, and gear optimization