TL;DR
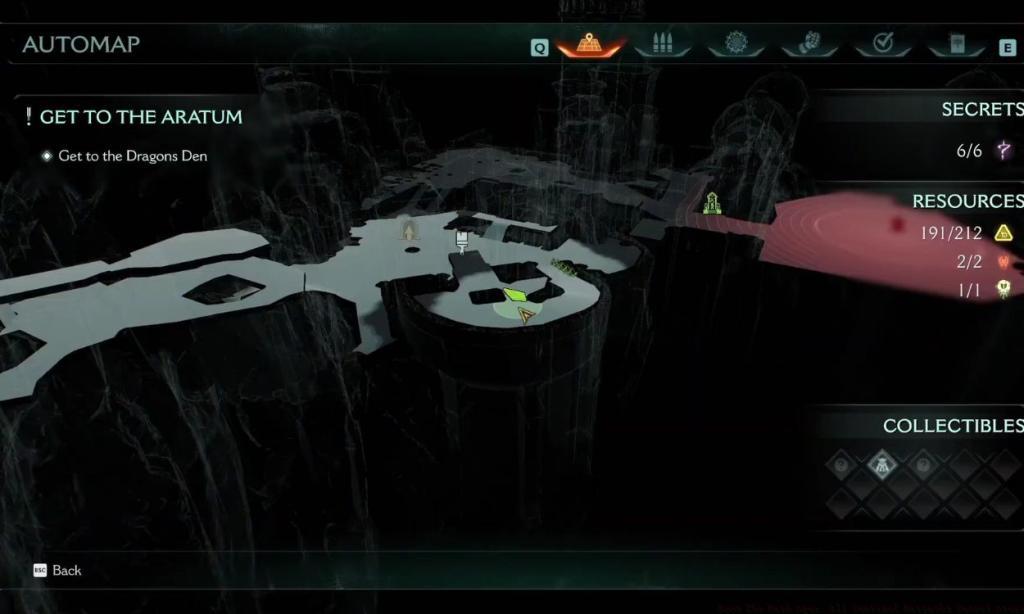
- Sentinel Barracks contains six distinct secret areas with unique access mechanics
- Rewards include collectible toys, weapon skins, upgrade materials, and Life Sigils
- Advanced navigation requires shield teleportation, climbing, and map awareness
- Common mistakes include missing environmental clues and inadequate combat preparation
- Complete exploration significantly boosts chapter completion percentage and resource collection
Doom The Dark Ages transforms exploration into a rewarding treasure hunt throughout the Sentinel Barracks chapter. These concealed zones offer far more than just completion metrics—they provide essential gameplay advantages through exclusive collectibles and power-ups. Understanding their locations and access methods becomes crucial for players aiming to maximize their chapter progression and arsenal capabilities.
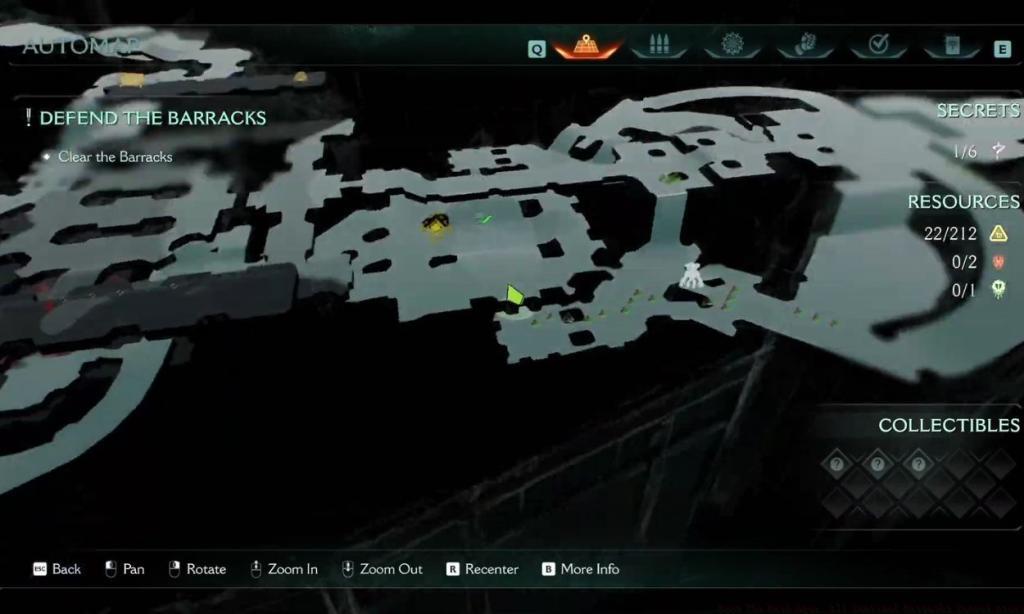
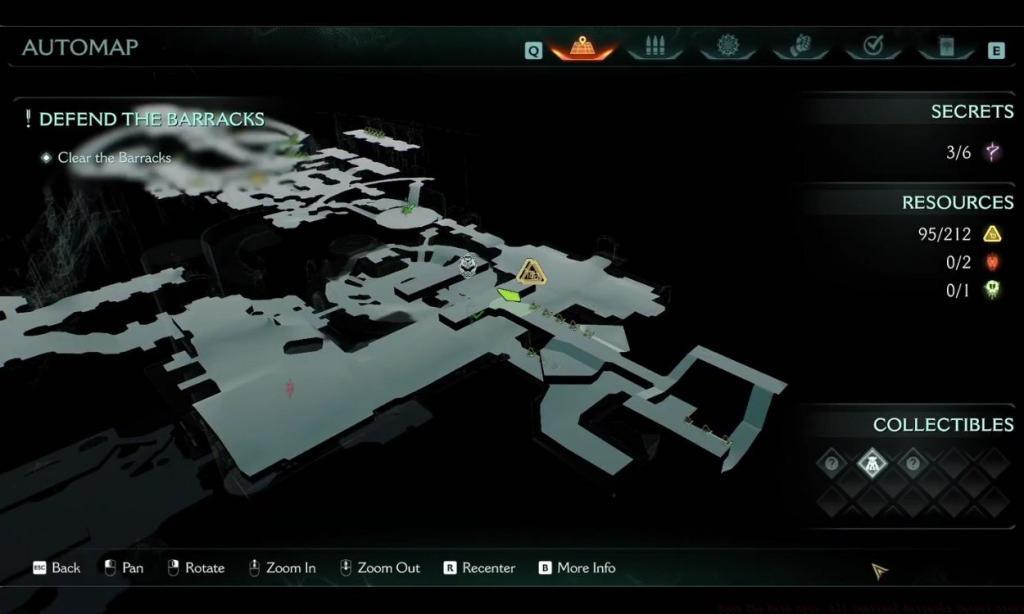
Within this military complex, you’ll discover six distinct secret areas that require keen observation and puzzle-solving skills. Each location presents unique environmental challenges and rewards that significantly enhance your gaming experience. The strategic value extends beyond immediate loot to long-term character development.
Seasoned players recognize that these hidden zones often contain upgrade materials that aren’t available through standard gameplay progression. This makes systematic exploration not just optional but essential for optimizing your loadout and combat effectiveness against increasingly formidable enemies.
Your initial concealed discovery awaits behind a destructible surface marked with distinctive purple shield insignia. These markings serve as universal indicators throughout the game, alerting attentive players to potential hidden pathways. The visual design ensures they’re noticeable without being obvious to casual observers.
Upon breaching this barrier, you’ll secure the Hell Knight Collectible Toy, a valuable addition to your growing inventory of demonic memorabilia. This particular collectible forms part of a larger set that, when completed, unlocks additional gameplay bonuses and lore insights.
Pro Tip: Systematically scan corridor walls for the purple emblem while moving through metallic environments. The symbol often appears at eye level but may be partially obscured by environmental details or lighting effects.

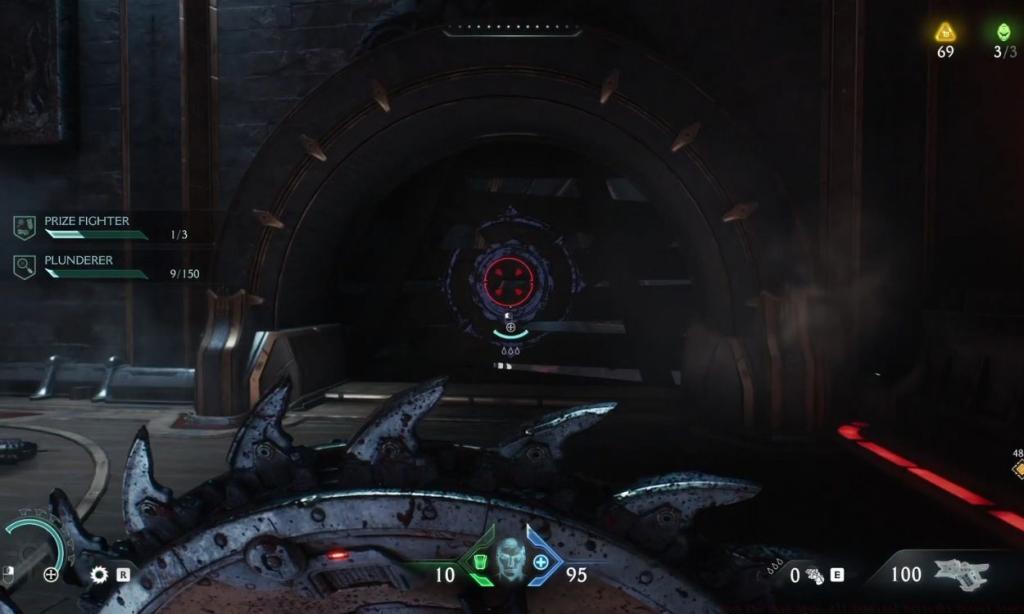
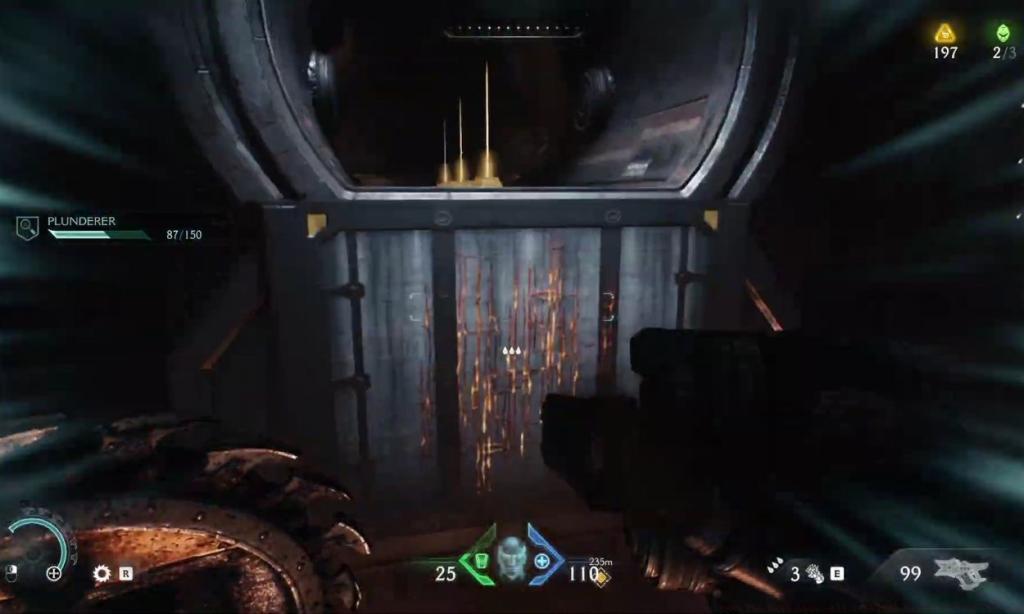
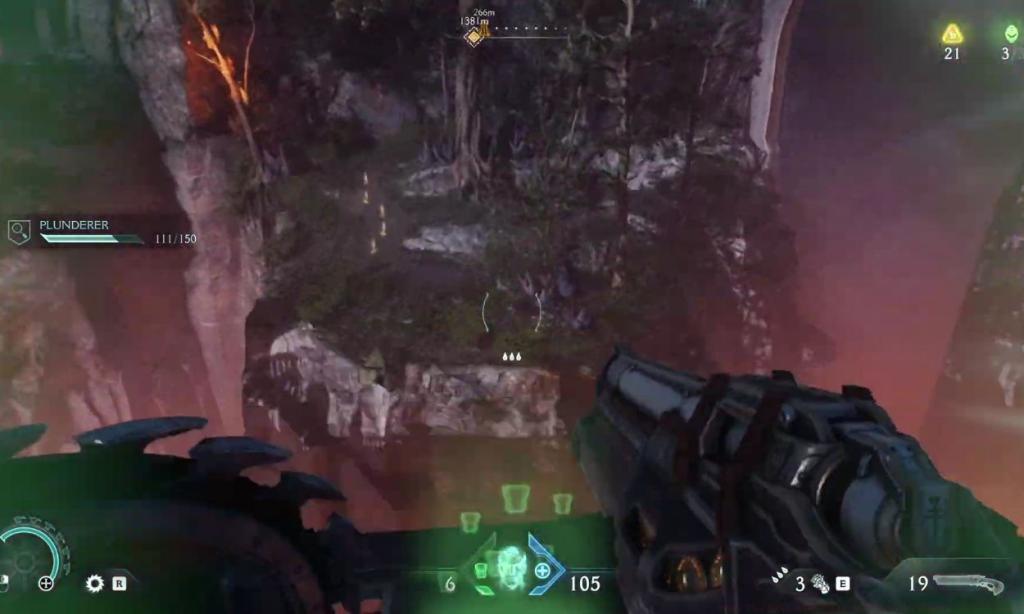
Progressing through the industrial corridors reveals an intriguing environmental puzzle involving your shield mechanics. A ledge marked with glowing green residue draws attention upward to an illuminated skeletal structure bathed in emerald light. This visual composition deliberately invites shield interaction as a solution mechanism.
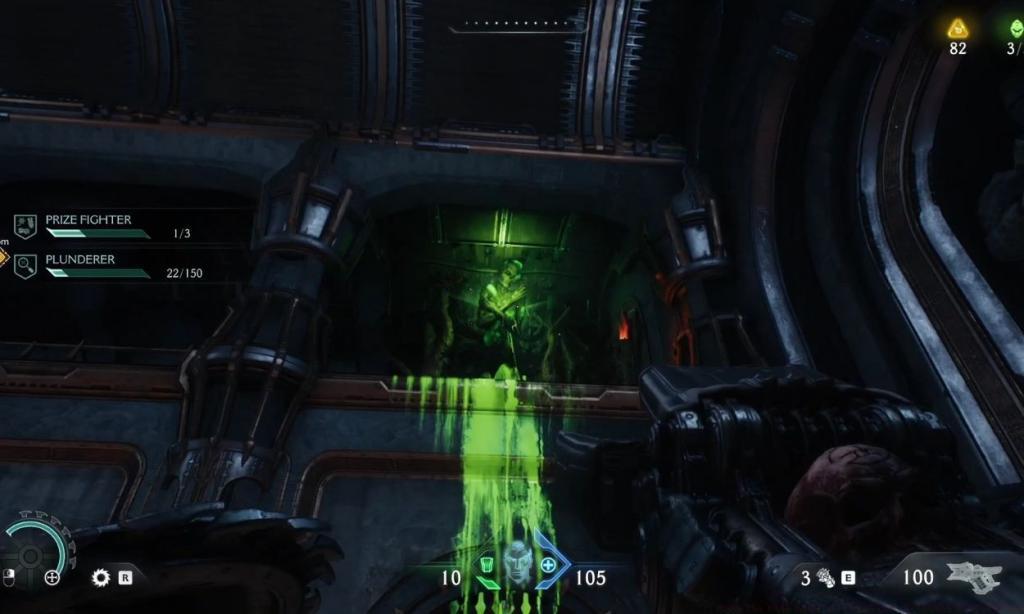
The sequence requires precise execution: first launch your shield at the glowing target, then immediately activate teleportation to reach the previously inaccessible platform. This demonstrates the game’s sophisticated integration of combat tools with environmental navigation.
Common Mistake: Players often misjudge the throwing trajectory or delay teleportation activation, resulting in failed attempts. Practice the timing in safer areas before attempting this maneuver during combat-intensive sequences.
Mechanical ingenuity defines this hidden location, accessible through a lever mechanism that extends climbable surfaces. The control interface typically appears as a prominent, interactable object within the environment, often positioned near architectural transitions or corridor intersections.
Activating the lever transports you to an elevated position above the activation corridor. From this vantage, carefully navigate the newly available walkways, paying close attention to structural details that indicate the correct path toward the concealed chamber.
Navigation Strategy: Before pulling the lever, survey the area for enemy presence. The platform transition may trigger combat encounters, so securing the vicinity first prevents interruptions during precise navigation sequences.
While progressing toward the Dragon’s Den objective, maintain heightened awareness for natural camouflage concealing access points. Specifically, search for ascent opportunities hidden behind foliage clusters adjacent to the destroyed bridge structure. These environmental elements deliberately obscure but don’t completely block the pathway.
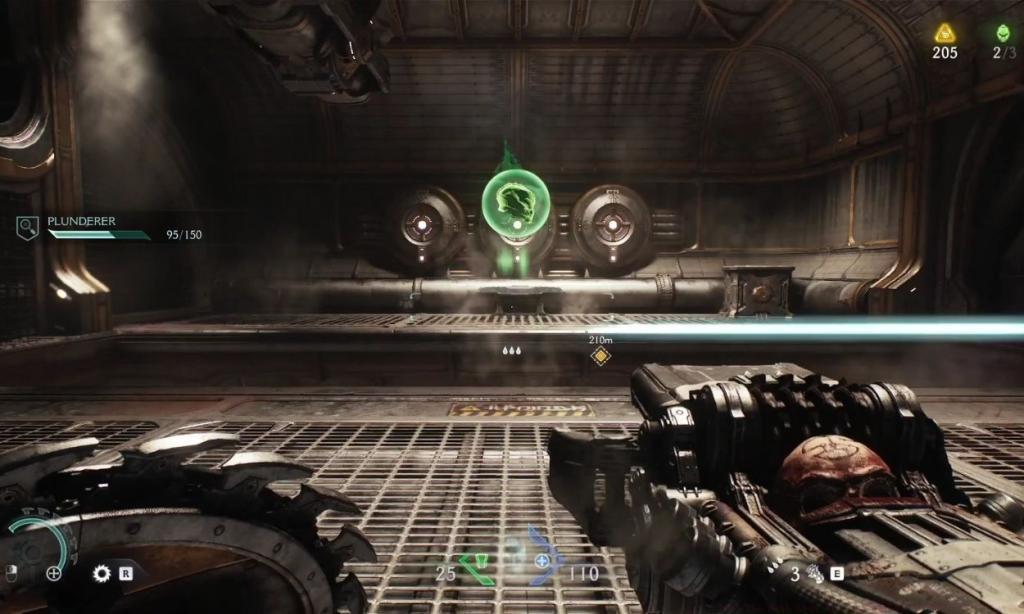
Descending into the subterranean chamber reveals multiple tiered climbing surfaces requiring sequential ascension. Each platform presents slight variations in positioning and accessibility, testing your spatial reasoning and movement precision.
The culmination of this vertical journey rewards you with the radiant green Doom The Dark Ages Life Sigil power up. This enhancement provides temporary health regeneration capabilities, proving invaluable during subsequent combat engagements.
Time Estimate: Allocate approximately 3-5 minutes for this climbing sequence, accounting for potential missteps and enemy interruptions that may occur during the ascent.
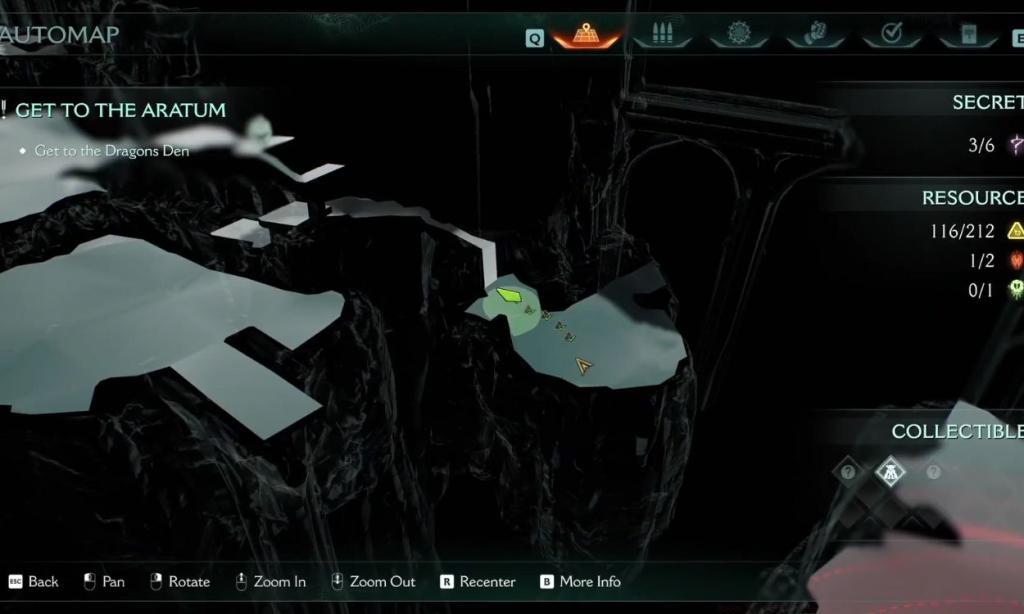
Continuing along the Dragon’s Den route reveals another concealed opportunity marked by metallic barriers and a distinctive crimson sculpture. The Ruby statue serves as both reward and navigational beacon, its vibrant coloration contrasting sharply with the industrial environment.
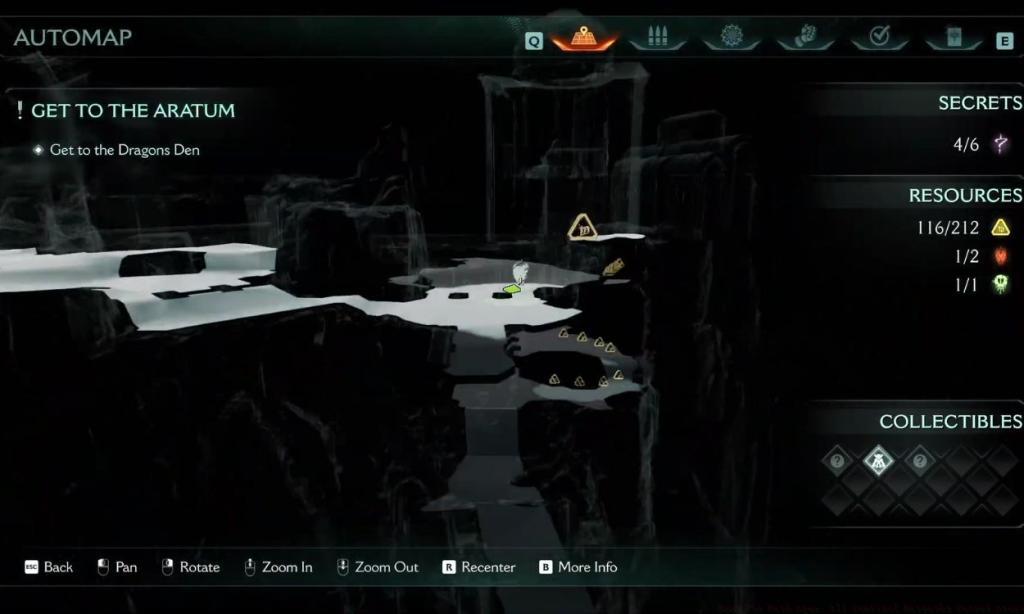
Strategic map consultation becomes essential here. Examine your tactical display carefully, focusing on the area directly beneath your current position. You’ll identify a dimmed pathway indicating subterranean access previously overlooked during standard navigation.

Descend into this concealed corridor prepared for combat encounters. The pathway typically contains moderate enemy resistance that must be cleared before reaching the prized Ruby artifact and securing this hidden zone.
Combat Preparation: Ensure your weapon is fully loaded and abilities are off cooldown before dropping down. The confined space limits mobility, making area-of-effect weapons particularly effective for clearing opposition efficiently.
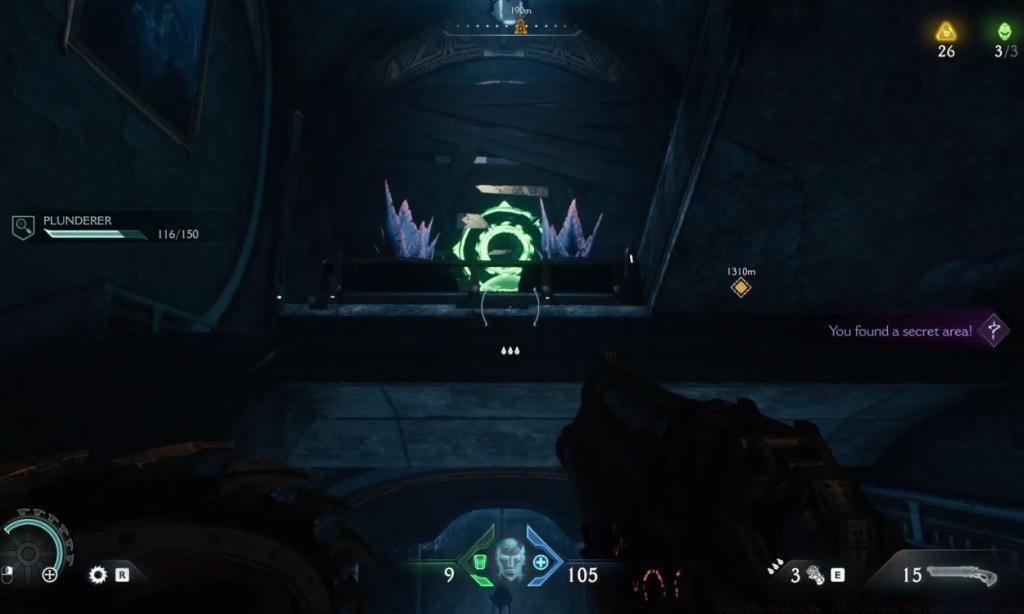
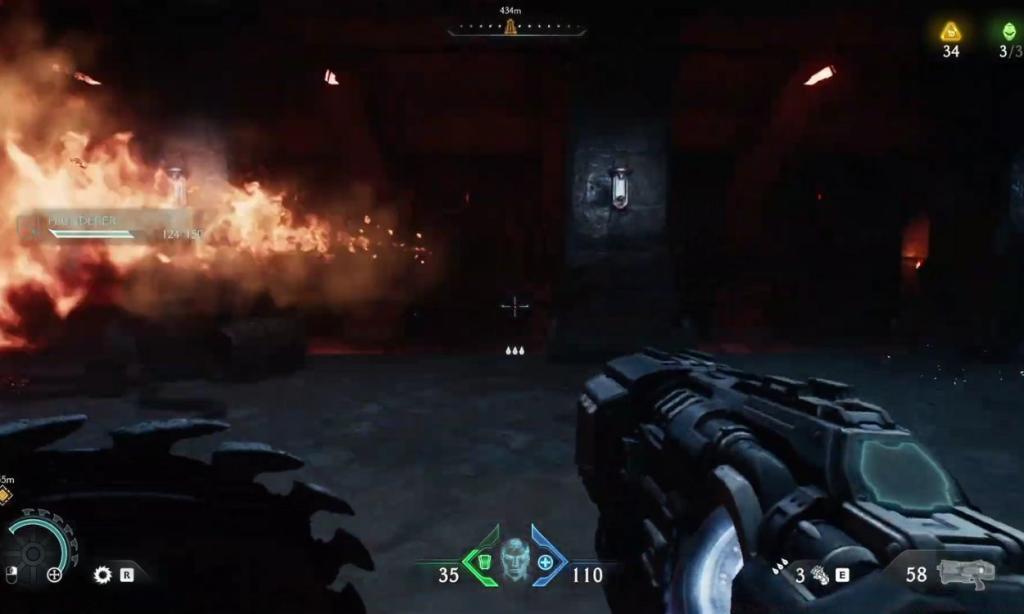
The concluding concealed location lies just beyond the primary objective path within an incendiary settlement environment. The blazing structures and aggressive flaming skull ambushes serve as environmental storytelling and practical navigation markers simultaneously.
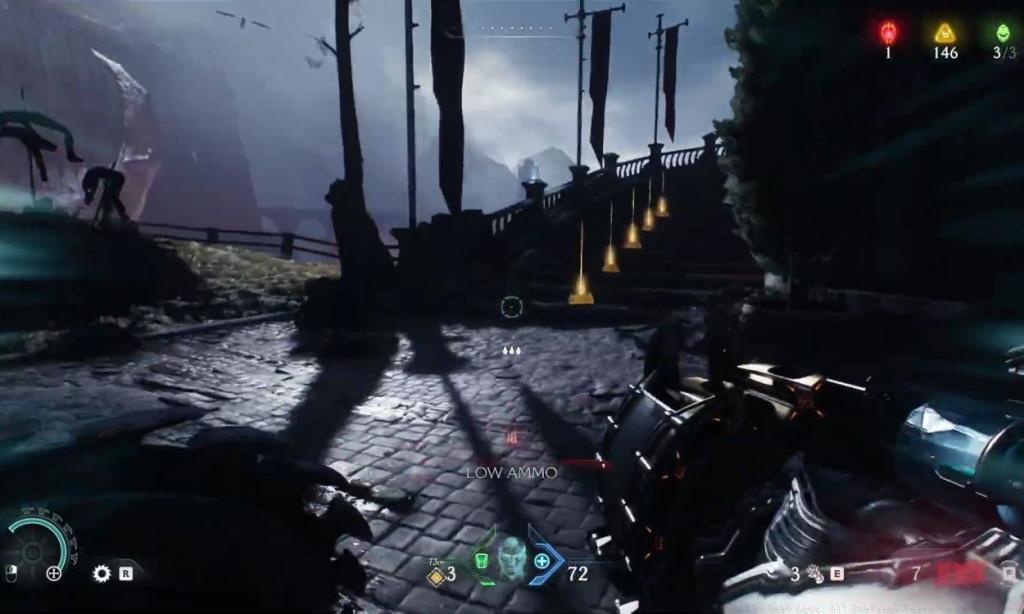
Within this chaotic setting, locate the distinctive circular staircase positioned beyond the central conflagration. This architectural element stands out through its deliberate design and positioning within the settlement layout.

Ascending these steps reveals both narrative elements through distressed non-player characters and practical rewards in the form of an exclusive Doom The Dark Ages weapon skin. This cosmetic enhancement allows for personalization while commemorating your exploration achievements.
Optimization Tip: Approach this area with crowd-control capabilities ready. The flaming skull adversaries attack in groups, making area-denial weapons or abilities particularly effective for creating safe navigation windows.
Mastering secret area discovery requires developing systematic scanning habits and environmental literacy. Regularly pause movement to thoroughly examine your surroundings, particularly noting unusual color patterns, structural anomalies, or interactive elements that seem intentionally placed rather than randomly generated.
Efficiency Techniques:
– Methodically check corners and recessed areas where visual obstructions might hide entrances
– Listen for distinctive audio cues that often accompany hidden mechanisms
– Utilize your map frequently, but remember that some pathways only appear when you’re in close proximity
– Mark discovered locations mentally or with waypoints to avoid redundant searching
Common Exploration Mistakes:
– Rushing through environments without proper scanning
– Ignoring minor visual details that serve as intentional clues
– Attempting complex maneuvers without adequate preparation or resources
– Overlooking the connection between enemy placement and hidden area proximity
Seasoned players recommend allocating specific play sessions purely for exploration rather than combining it with objective completion. This focused approach significantly increases discovery rates while reducing frustration from missed opportunities.
Comprehensive exploration of Sentinel Barracks’ six secret areas delivers substantial gameplay advantages beyond mere completion percentages. The collected items contribute to both immediate combat effectiveness and long-term character progression through upgrade materials and collectible sets.
Successful navigation hinges on understanding the game’s visual language—recognizing that specific colors, symbols, and architectural features consistently indicate hidden content. This knowledge transforms random searching into targeted investigation.
For players seeking to expand their Doom The Dark Ages expertise beyond secret hunting, our Complete Guide provides comprehensive coverage of game mechanics and advanced strategies. Additionally, weapon enthusiasts will find detailed progression guides in our Weapons Unlock resource, while those optimizing combat roles should consult our Class Guide for specialized loadout recommendations.
Should any location prove particularly challenging to locate, the community discussion sections provide valuable crowd-sourced insights and alternative approaches from fellow players.
Action Checklist
- Scan all corridor walls for purple shield markings indicating breakable surfaces
- Practice shield teleportation mechanics in safe areas before attempting skeleton puzzles
- Clear enemy presence before activating lever mechanisms to prevent interruptions
- Examine map thoroughly for grayed-out pathways beneath current position
- Prepare crowd-control weapons before entering fiery settlement areas with group enemies
- Dedicate specific play sessions exclusively to exploration rather than combining with main objectives
No reproduction without permission:Tsp Game Club » Doom The Dark Ages: All Sentinel Barracks Secret Areas Complete guide to all six secret locations in Sentinel Barracks with expert navigation tips and rewards