TL;DR
- Kreed Maykr features two distinct phases with escalating difficulty requiring different strategies
- Phase 1 focuses on countering specific attacks while Phase 2 introduces environmental hazards and faster patterns
- Mastering parry timing for energy beams is crucial for creating damage opportunities
- Proper positioning and movement patterns are essential for avoiding area-of-effect attacks
- Strategic use of Shield Saw and shield charge abilities determines fight efficiency
Kreed Maykr stands as one of the most formidable adversaries in Doom: The Dark Ages, transitioning from a key narrative character to a challenging late-game boss encounter. This battle presents significant difficulty across all game settings due to his rapid, high-impact attack combinations that demand precise execution and strategic thinking. For players encountering obstacles in overcoming this opponent, comprehensive guidance is available to transform frustration into victory.
According to in-game Codex documentation, Kreed Maykr holds the position of newly appointed Bishop of the Ministry, tasked with managing the consistent transmission of Sentinel Energy to the Maykr homeworld. His responsibilities included overseeing the Slayer’s deployment as a weapon against Hell’s forces under the Maykr Council’s directives.
However, following the Slayer’s deviation from control, Azhrak extended an alliance invitation to Kreed Maykr to confront the rogue warrior. While their combined efforts temporarily eliminated the Slayer, this victory proved insufficient to prevent his supernatural return from death to pursue vengeance.
The resurrected Slayer’s primary target becomes Kreed Maykr during Chapter 20, titled The Resurrection. This chapter culminates in an intense boss confrontation between the Slayer and Kreed Maykr within Doom The Dark Ages. Now, we proceed to the detailed combat analysis.

The initial combat phase against Kreed Maykr introduces four primary offensive patterns, each requiring specific countermeasures for successful navigation. Understanding these mechanics fundamentally determines your survival probability and damage output efficiency.
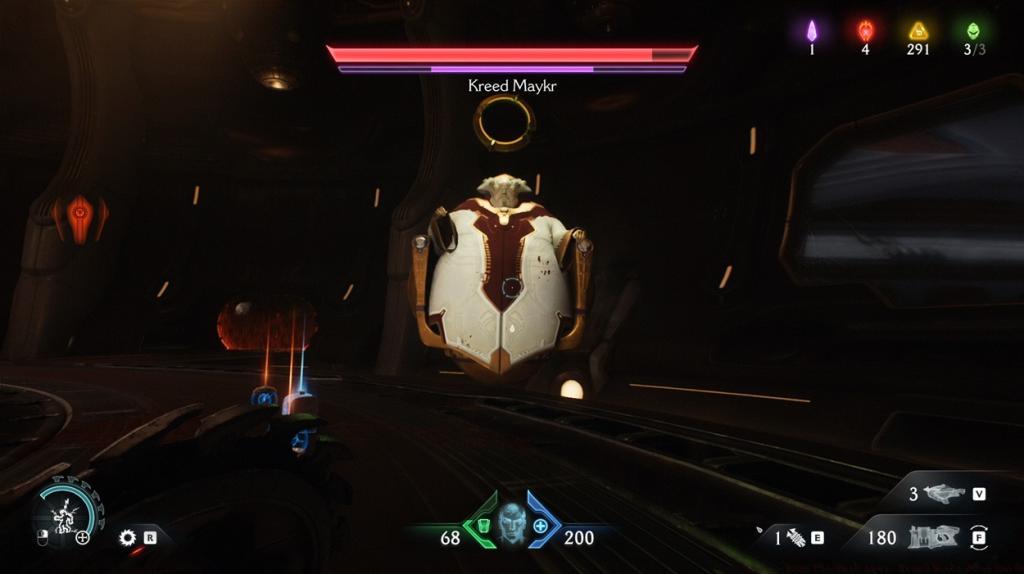
Roaming Energy Ball Management: Kreed Maykr generates a mobile energy sphere that traverses the combat arena, inflicting substantial damage upon contact with the Slayer. Strategic Response: Deploy your Shield Saw projectile directly at the energy orb to dismantle it effectively. Optimal timing involves waiting until the ball approaches mid-range for maximum accuracy.
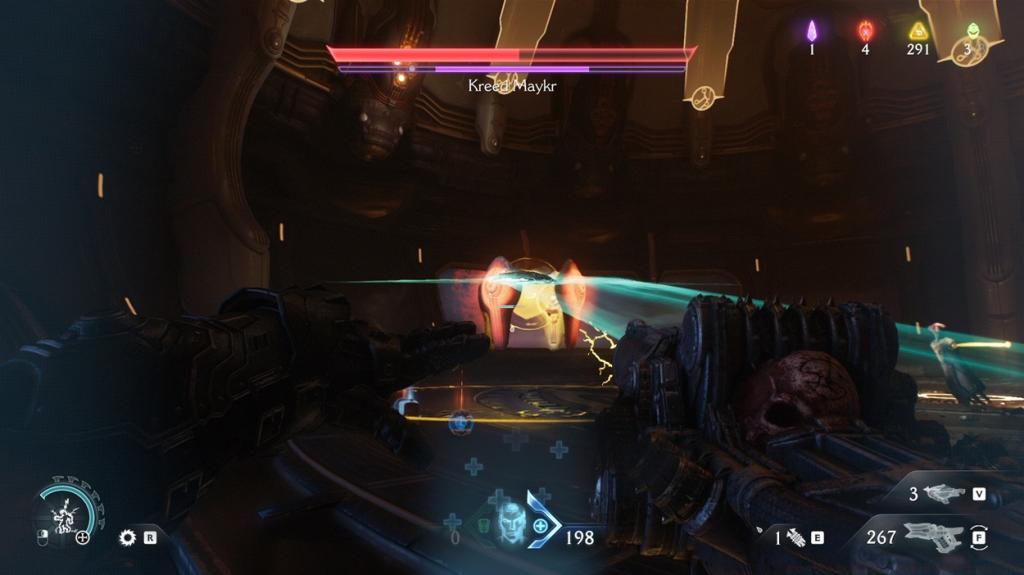
Maykr Drone Summoning Tactics: Continuous reinforcements of Maykr Drones appear throughout the battlefield. Priority Assessment: These units generally represent secondary threats that can be strategically ignored since eliminating them entirely triggers immediate respawning. Focus primary attention on the main antagonist while utilizing shield charge maneuvers for rapid drone clearance when necessary.
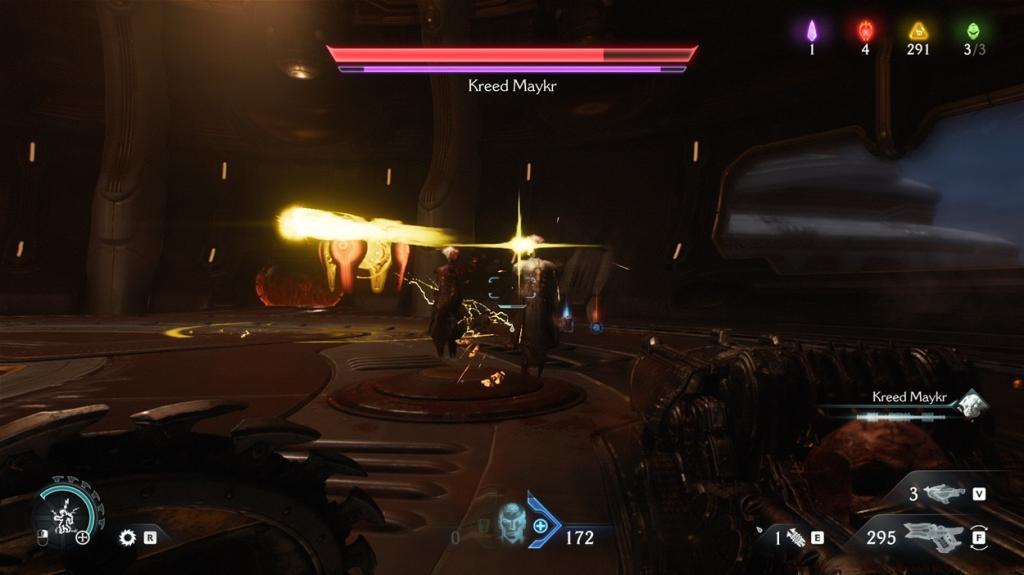
Non-parryable Projectile Defense: This represents Kreed Maykr’s most frequently utilized assault during Phase 1. The energy projectiles cannot be deflected through parrying mechanics but remain vulnerable to shield blocking or evasive maneuvers at extended ranges.
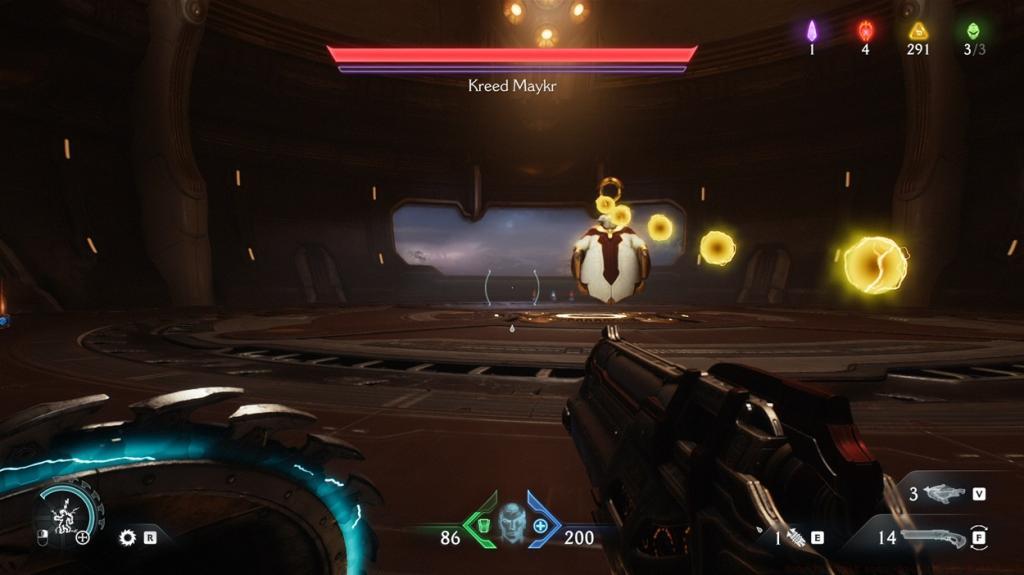
Parryable Energy Beam Opportunities: Kreed Maykr periodically discharges rapid energy beams that present initial timing challenges. These attacks become parryable upon mastery, and successful deflection stuns the boss while eliminating his protective shield temporarily.
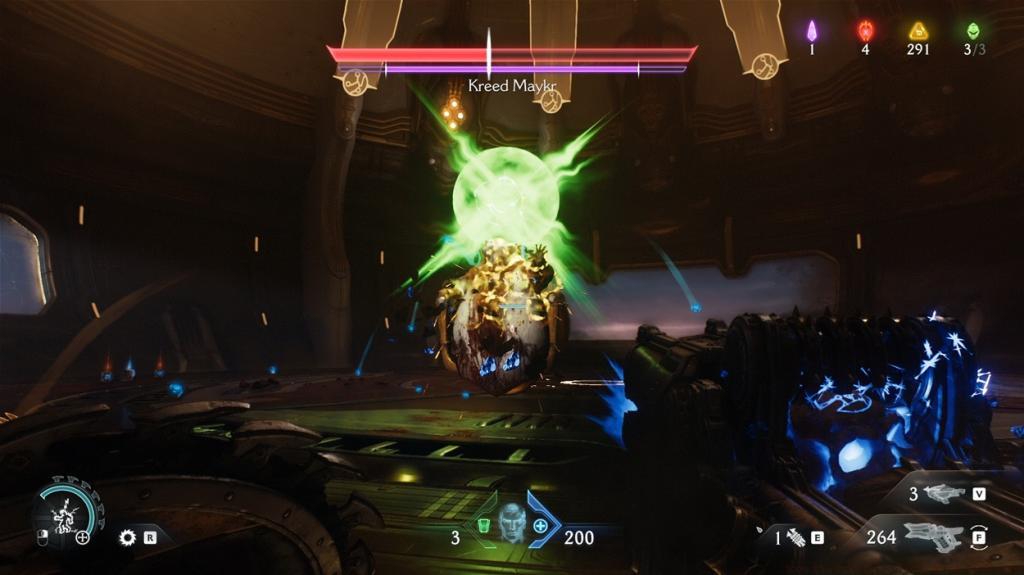
Shielded Energy Wave Evasion: This constitutes Kreed Maykr’s primary area denial technique, where he assumes central positioning, activates full shielding, and emits concentric slow-moving energy waves. Optimal Positioning: Maximize distance from Kreed Maykr to create sufficient temporal and spatial gaps between wave iterations for straightforward dodging.
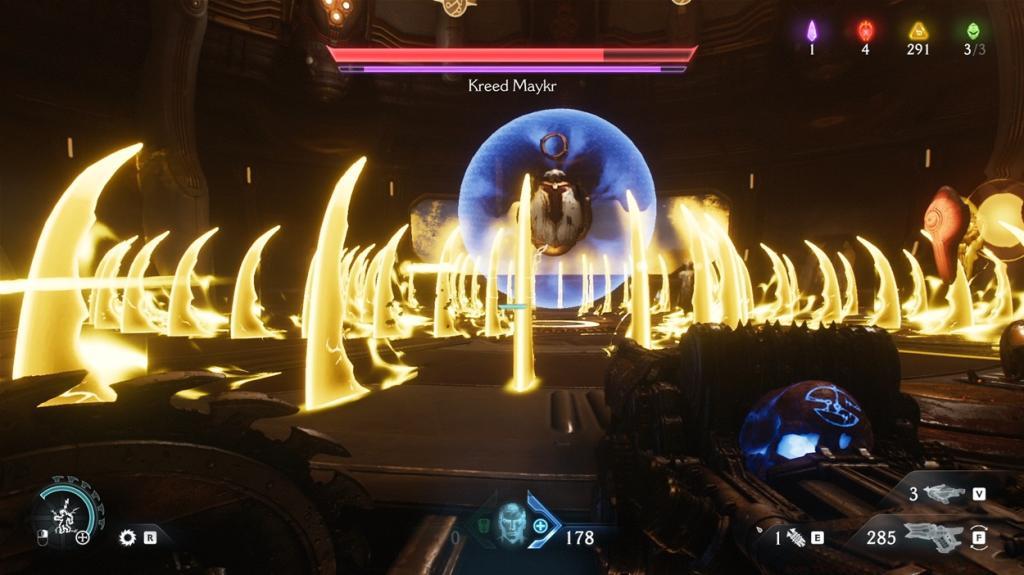
Upon reaching approximately 50% health depletion, Kreed Maykr initiates his secondary combat phase, introducing significantly more aggressive behavior patterns and environmental complications. This escalation demands adaptive strategies and heightened situational awareness for successful navigation.
Rotating Energy Wall Assault: Kreed Maykr generates massive energy barriers that rotate around the arena perimeter. Navigation Strategy: Identify and exploit the directional gaps between rotating segments, maintaining constant mobility to avoid compression against arena boundaries.

Energy Rain Barrage: The boss levitates while saturating extensive portions of the battlefield with falling energy projectiles. Survival Technique: Monitor his elevation as an attack telegraph, then relocate to unaffected zones while maintaining offensive pressure.
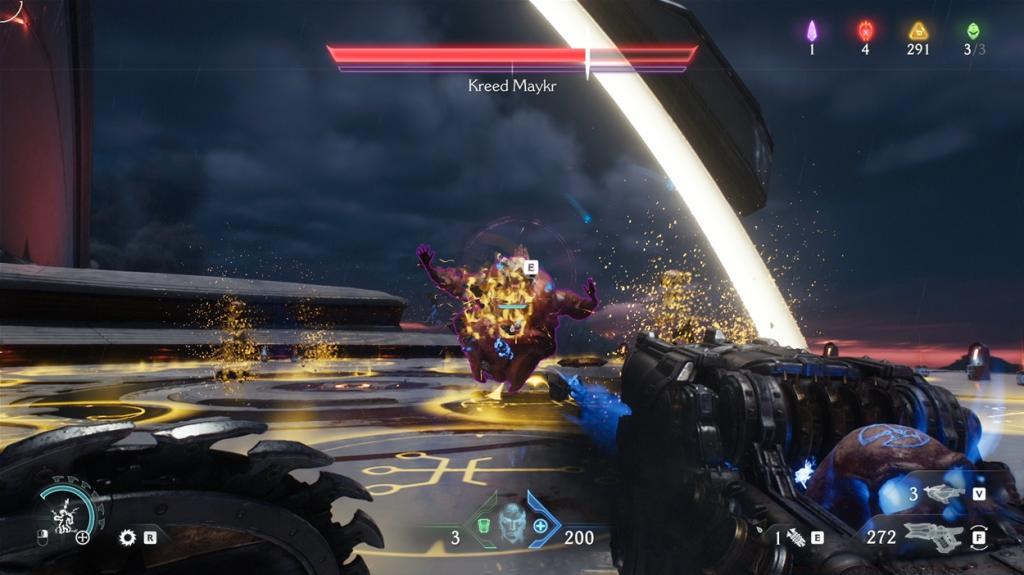
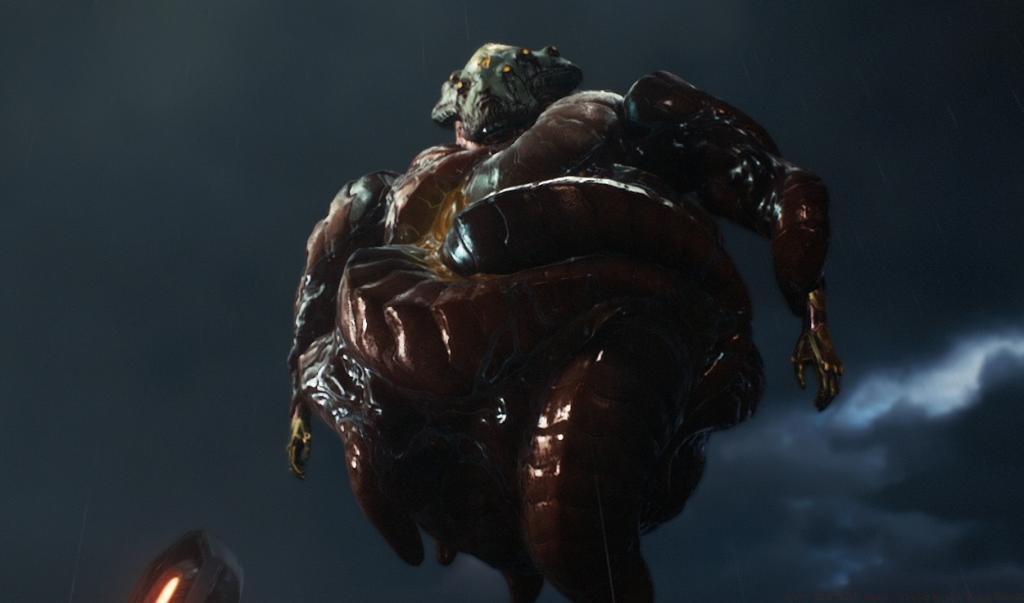
Enhanced Movement Patterns: Kreed Maykr demonstrates increased mobility during Phase 2, frequently teleporting to advantageous positions. Countermeasure: Maintain 360-degree awareness and anticipate sudden positional changes to avoid flanking attacks.
Execution Priority: During Phase 2, prioritize surviving the environmental hazards over dealing damage. The rotating walls and energy rain create natural windows where survival takes precedence, with damage opportunities emerging during attack cooldowns. This phase typically lasts 3-5 minutes for average players, requiring patience and precision over aggression.
Mastering Kreed Maykr requires more than basic pattern recognition—it demands strategic optimization and advanced execution techniques that separate proficient players from masters.
Weapon Selection Optimization: The Shield Saw remains your primary tool for countering specific attacks, but complement it with rapid-fire weapons for consistent damage during mobility phases. The combat shotgun proves particularly effective for dealing sustained damage while maintaining movement capability.
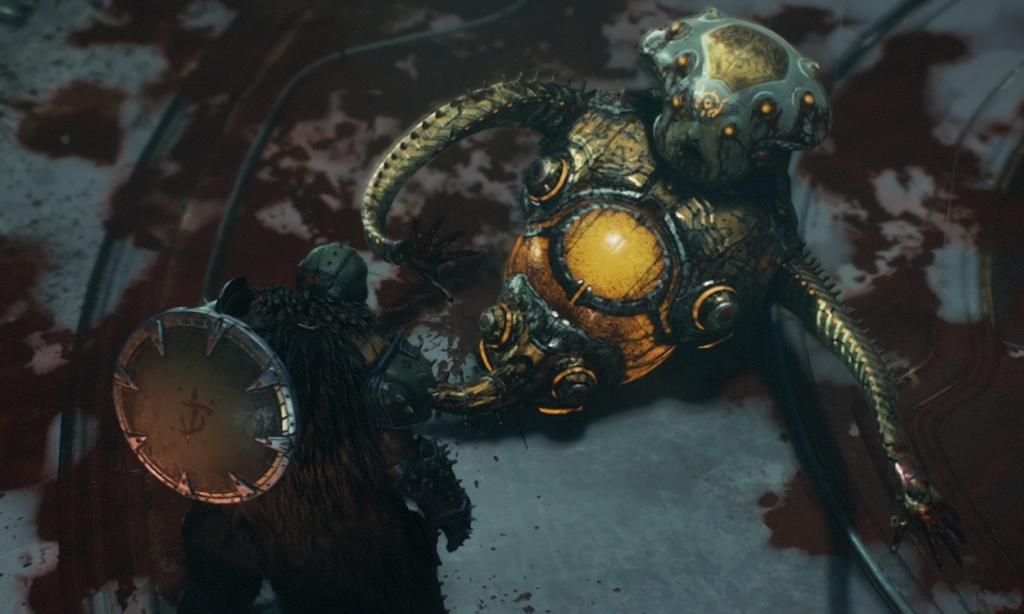
Movement Pattern Mastery: Develop consistent circular movement patterns around the arena periphery, adjusting distance based on current attack mechanics. This approach minimizes sudden directional changes that often lead to positioning errors.
Resource Management: Conserve shield energy for critical defensive moments rather than continuous blocking. Similarly, manage ammunition strategically to ensure availability during critical damage windows.
Common Execution Errors: Many players fail by overcommitting to damage during unsafe periods or misjudging parry timing windows. Practice recognizing visual and audio cues that telegraph specific attacks to improve reaction accuracy.
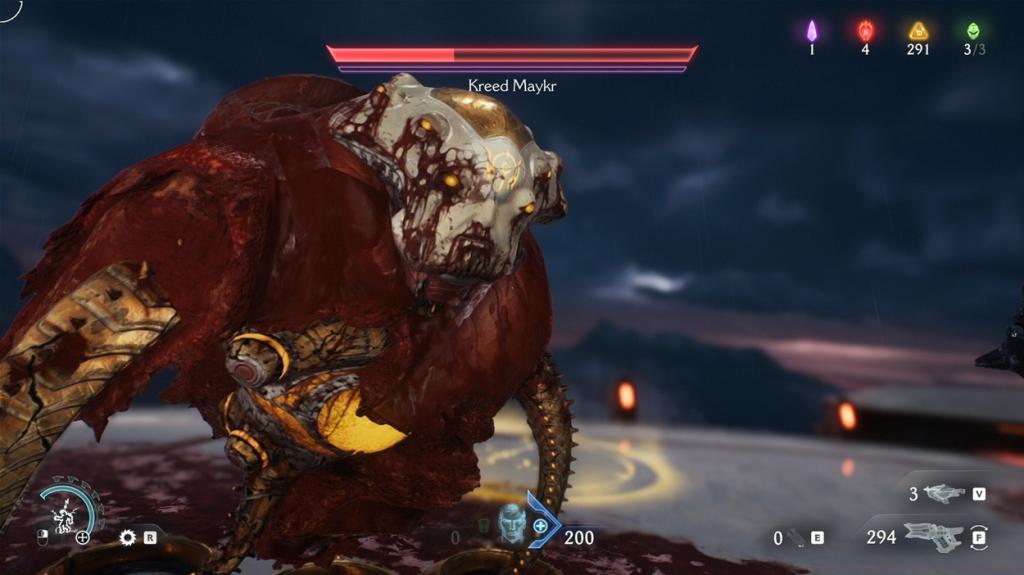
Advanced Technique: Master the timing for consecutive parries during Phase 1 to create extended vulnerability periods. Similarly, learning to optimize your weapon loadout specifically for this encounter can reduce completion time by 25-30% for experienced players. Understanding these mechanics aligns with broader combat fundamentals that apply across multiple game scenarios.
For players struggling with specific aspects of the encounter, reviewing class-specific abilities may provide alternative approaches to challenging mechanics.
Action Checklist
- Practice parry timing against energy beams in Phase 1 to create damage windows
- Master Shield Saw deployment against roaming energy balls at mid-range
- Develop circular movement patterns for Phase 2 environmental hazards
- Optimize weapon selection for sustained damage during mobility phases
- Execute final damage phase during stunned periods after successful parries
No reproduction without permission:Tsp Game Club » Doom The Dark Ages: Kreed Maykr Boss Guide Master Kreed Maykr's complex boss fight with advanced strategies, phase breakdowns, and expert execution tips
