Complete guide to Durin constellations ranking and strategic pull recommendations for optimal Genshin Impact gameplay
Introduction to Durin’s Kit and Constellation Value
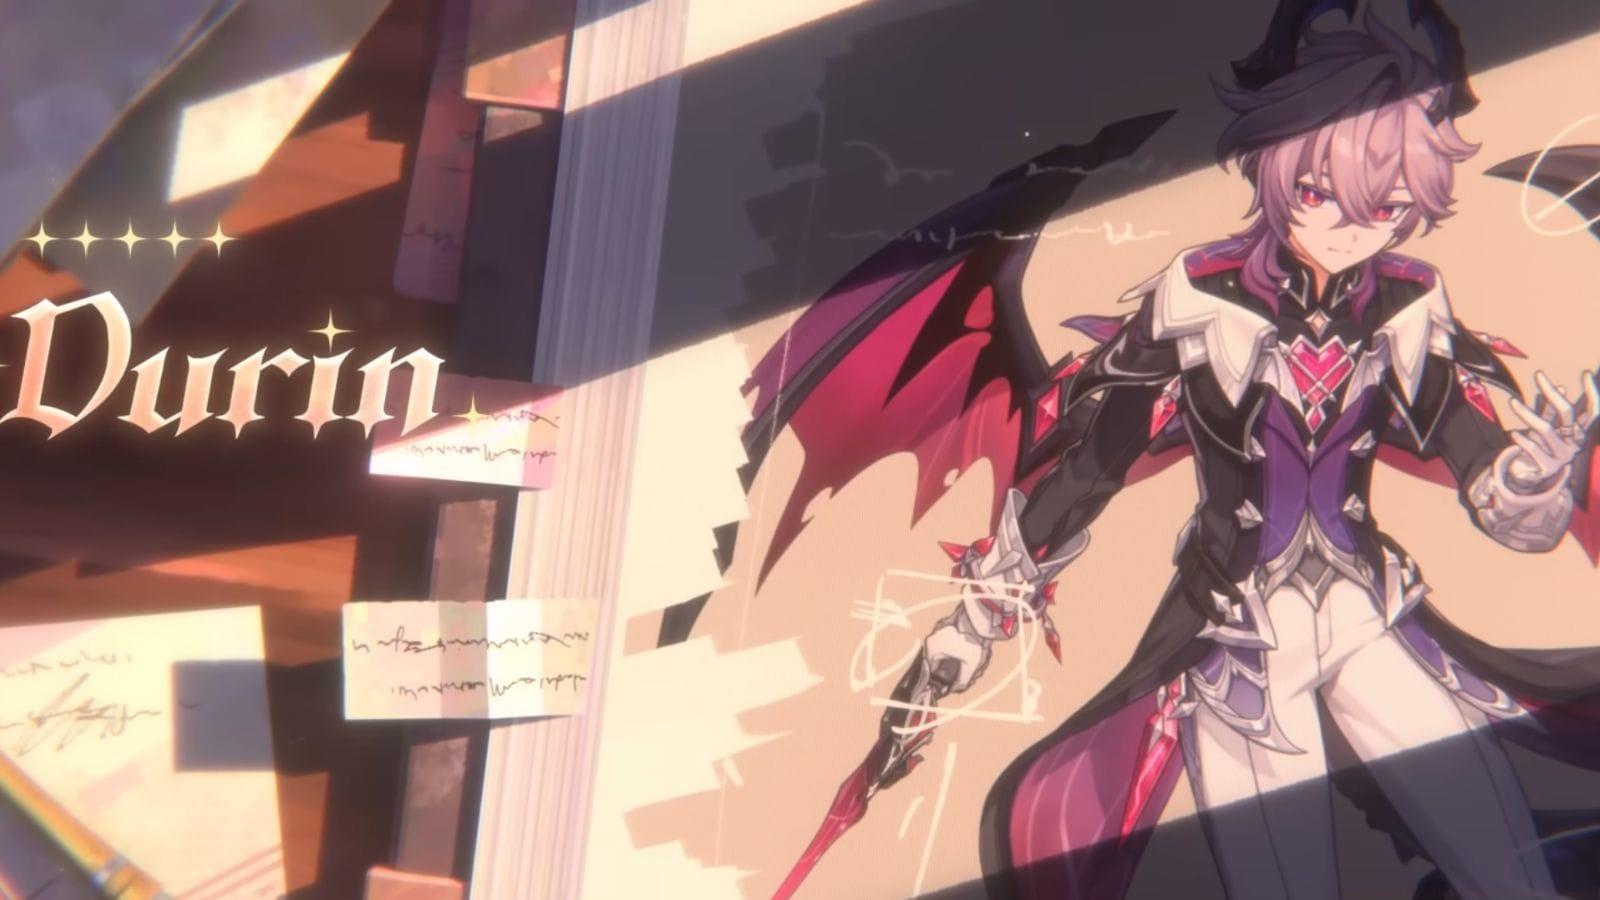
Durin emerges as Genshin Impact’s newest 5-star Pyro character introduced during Luna III’s Phase I banners. This versatile combatant functions primarily as a sub-DPS unit while offering flexible on-field damage potential through his unique form-switching mechanics. His adaptability allows seamless integration into numerous team archetypes, from reaction-focused compositions to mono-Pyro setups.
Pro Tip: Understanding Durin’s dual-form mechanics is crucial before evaluating constellations. His Principle of Purity form emphasizes team support, while Principle of Darkness focuses on personal damage amplification.
Tier 6: C5 Constellation Analysis
Positioned at the bottom of our tier list, Durin’s C5 constellation demands significant investment while delivering minimal combat improvements. This upgrade enhances his Elemental Skill capabilities but fails to substantially impact his overall damage output or team utility.
The primary issue with C5 lies in its opportunity cost. Players must expend substantial Primogem resources for a marginal power increase that doesn’t fundamentally alter gameplay patterns or significantly boost team performance.
Common Mistake: Many players underestimate the cumulative cost of chasing multiple constellations. The resources spent obtaining C5 could instead secure two additional character banners or multiple weapon refinements with greater impact.
Also read: Is Durin worth pulling in Genshin Impact?
Tier 5: C3 Constellation Breakdown
Durin’s C3 constellation elevates his Elemental Burst by three talent levels, providing a straightforward damage increase to his ultimate ability. While his Elemental Burst constitutes a significant portion of his damage profile, the actual performance gain from this constellation proves underwhelming when analyzed critically.
The limitation stems from Durin’s damage distribution—his Passive Talents and form-specific mechanics contribute substantially to his overall DPS, diminishing the relative value of pure Burst level increases. When comparing constellation efficiency, C3 delivers less impact per Primogem spent than several lower-investment options.
Advanced Insight: Talent level scaling follows diminishing returns—each additional level provides smaller percentage increases. The jump from level 9 to 12 offers less relative value than early constellation unlocks that introduce new mechanics.
Also read: Genshin Impact Durin build guide: Best weapons, artifacts, teams, and more
Tier 4: C4 Constellation Evaluation
Durin’s C4 constellation introduces two key effects: a 40% Elemental Burst damage increase and a 30% chance to preserve Cycle of Enlightenment stacks generated by his C1. These stacks dynamically enhance either team-wide Normal, Charged, Plunging, Skill, and Burst damage or amplify Durin’s personal Burst damage depending on his active form.
The critical weakness of C4 lies in its random number generation (RNG) dependency. The stack preservation mechanic operates on probability, creating inconsistent performance that complicates rotation planning and reliable damage output. In spiral abyss scenarios where consistent clears matter, unpredictability becomes a significant liability.
Strategy Note: RNG-based constellations perform poorly in speedrun or minimum cycle count scenarios where players require predictable damage windows for optimal performance.
While C4 provides stronger damage potential than C3 or C5, the combination of higher investment requirements and reliability issues positions it lower in our priority ranking.
Also read: Genshin Impact Durin voicelines about other characters
Tier 3: C6 Constellation Review
At Constellation 6, Durin gains formidable DEF-ignoring capabilities that significantly amplify his damage output. His Elemental Burst damage ignores 30% of enemy DEF, while attacks from Dragon of White Flame and Principle of Purity: As the Light Shifts reduce opponent DEF by 30%. Meanwhile, his Dragon of Dark Decay and Principle of Darkness: As the Stars Smolder variants ignore an additional 40% DEF.
DEF reduction and ignore mechanics represent some of the most valuable damage amplification methods in Genshin Impact, as they function multiplicatively with other damage bonuses and bypass enemy resistance scaling issues.
Technical Insight: DEF ignore becomes increasingly valuable against high-level enemies where defense scaling reduces damage significantly. Against level 100 opponents, 30% DEF ignore translates to approximately 18% actual damage increase.
The primary constraint for C6 remains its substantial investment requirement. While providing powerful combat enhancements, it demands significantly more pulls than C1 or C2, affecting its overall value proposition for most players.
Also read: Is Durin’s signature weapon, Athame Artis, worth pulling in Genshin Impact?
Tier 2: C1 Constellation Deep Dive
Durin’s first constellation unlocks the Cycle of Enlightenment system, dramatically enhancing either his support capabilities or personal damage depending on form selection. This mechanic introduces strategic depth to his gameplay by allowing players to tailor his role to specific team needs.
In Principle of Purity: As the Light Shifts form, Durin distributes 20 stacks to nearby allies, boosting their Normal, Charged, Plunging Attacks, Elemental Skill, and Elemental Burst damage for 20 seconds. The potency of these buffs scales with Durin’s ATK stat, encouraging building him with substantial attack investment.
Conversely, in Principle of Darkness: As the Stars Smolder form, Durin retains these stacks personally. When executing his Elemental Burst, he consumes two stacks to amplify this damage by 150%, creating substantial nuke potential.
Advanced Tactic: The ATK scaling on team buffs means building Durin with high ATK stats benefits both his personal damage and support capabilities, making artifacts like Noblesse Oblige particularly effective.
With relatively accessible pull requirements and transformative gameplay impact, C1 represents an excellent stopping point for players seeking enhanced versatility.
Also read: Genshin Impact Luna III redeem codes
Tier 1: C2 Constellation Mastery
Durin’s second constellation stands as his most impactful upgrade, radically expanding his support capabilities and team versatility. After using his Elemental Burst, when nearby allies trigger Overloaded, Burning, Melt, Vaporize, Pyro Swirl, Pyro Crystallize, or deal Pyro/Dendro damage to Burning-affected enemies, all team members receive a 50% Pyro damage bonus plus corresponding elemental damage bonus for six seconds.
This constellation addresses a key limitation of his C0 kit—the lack of universal reaction support. At base constellation, Durin only enhances his personal Vaporize and Melt damage in Dragon of Dark Decay form. C2 transforms him into a comprehensive reaction enabler suitable for diverse team compositions.
Team Building Insight: C2 enables Durin to effectively support characters like Hu Tao, Yoimiya, and Lyney while simultaneously boosting Hydro, Cryo, Electro, and Dendro teammates involved in reaction chains.
The combination of substantial damage amplification, team-wide application, and accessible investment threshold makes C2 Durin’s most valuable constellation for the majority of players.
Also read: Durin vs Venti: Who should you pull for in Genshin Impact Luna III?
Strategic Pulling Guide and Team Optimization
When planning your Durin constellation investment, prioritize based on your intended playstyle and available resources. For support-focused players, C2 delivers the most significant power spike, transforming Durin into a universal reaction buffer. Damage-oriented players should target C1 for substantial personal damage amplification, while whales may consider C6 for maximum performance.
Budget-Friendly Approach: For free-to-play or low-spending players, C0 Durin remains fully functional. Consider investing in his signature weapon Athame Artis before pursuing constellations, as weapon refinements often provide more consistent damage increases.
Team Composition Recommendations:
- Reaction Teams: Pair C2 Durin with Yelan, Xingqiu, or Cryo applicators for massive reaction damage
- Mono Pyro: Combine with Xiangling, Bennett, and Kazuha for consistent pyro damage amplification
- Quick-Swap: Utilize in teams with short skill cooldowns to maximize buff uptime
Remember that constellation value diminishes with investment—the jump from C0 to C2 provides more gameplay impact than progressing from C4 to C6. Always consider opportunity costs and alternative investments when planning your pulling strategy.
No reproduction without permission:Tsp Game Club » Durin constellations ranked in Genshin Impact Complete guide to Durin constellations ranking and strategic pull recommendations for optimal Genshin Impact gameplay