TL;DR
- Warrior and White Mage dominate as S-tier picks due to unmatched CC and sustain
- Samurai and Red Mage lead DPS categories with explosive burst damage potential
- Sage and Scholar provide alternative healing styles but can’t match WHM’s impact
- Machinist offers beginner-friendly ranged DPS with lethal single-target focus
- Team coordination and focus targeting prove more valuable than individual job selection
Final Fantasy XIV’s Crystalline Conflict continues to evolve as an intensely fast-paced 5v5 PvP battleground. The competitive landscape in 2025 has been reshaped by Endwalker’s comprehensive PvP overhaul and subsequent balance adjustments. Veteran competitors who believed they had perfected their preferred jobs now encounter completely new strategic challenges demanding adaptation and innovation.
This comprehensive analysis delivers an authoritative FFXIV PvP tier list for Crystalline Conflict in 2025, spotlighting the most potent job selections, evaluating player sentiment trends, and supplying actionable guidance to significantly improve your competitive performance. You’ll gain deep understanding of each job’s distinctive advantages, the reasons certain classes consistently outperform others, and practical methods to adjust your approach for success in high-stakes encounters.
Whether you’re a casual explorer interested in discovering the best PvP job in FFXIV, or an intermediate player striving to advance through the rankings, you’ve found exactly what you need. By completing this guide, you’ll possess crystal-clear insight into the current Crystalline Conflict metagame and feel prepared to enter combat with a strategically informed gameplan.
(In this post, “job” and “class” can be considered the same: FFXIV uses “jobs” for advanced specializations.)

Methodology & Tier Definitions
Understanding how this tier list was constructed proves essential. Each job’s effectiveness in Crystalline Conflict was assessed through multiple key performance indicators:
-
Burst Damage Potential: The capability to remove opponents from combat rapidly.
-
Area-of-Effect (AoE) Pressure: A job’s capacity to affect multiple enemies simultaneously or control strategic areas.
-
Crowd Control (CC): Abilities that stun, bind, sleep, or otherwise incapacitate adversaries.
-
Mobility: Capabilities for engaging and disengaging from combat efficiently.
-
Mobility: Options for entering and leaving combat quickly.
Victory in Crystalline Conflict depends critically on how effectively a job can achieve eliminations while supporting team members. High burst damage maintains critical importance because eliminating one opponent quickly creates a decisive 5v4 numerical advantage that frequently determines match outcomes. Crowd control delivers comparable game-changing impact when properly executed.
Following thorough examination of each job’s capabilities, limitations, synergistic potential, and current patch effectiveness, we categorized them into four distinct tiers:
-
S Tier (Meta-Defining): Dominant jobs that profoundly impact every engagement. They possess comprehensively balanced toolkits—devastating damage output, exceptional crowd control, and remarkable defensive capabilities.
-
A Tier (Strong): High-performance selections that excel consistently and integrate smoothly into most team configurations. They might demand additional technical precision or slightly trail the absolute top performers but remain fully competent to secure victories.
-
B Tier (Balanced/Viable): Reasonable options with apparent benefits but also notable deficiencies. These can remain competitive at elevated skill brackets, particularly when wielded by experienced players, though they may benefit from enhanced team coordination.
-
C Tier (Underperforming): Jobs experiencing difficulties within the current competitive environment. They can function in specialized situations but typically demonstrate evident disadvantages.
Samurai (S Tier, Melee)
The Samurai consistently appears as a top pick due to its explosive burst. Several core abilities facilitate massive single-target damage. Moves like Midare Setsugekka and the LB Zantetsuken can erase squishy targets in seconds. Samurai also wields helpful CC through a stun and bind, which allows combos that lock enemies in place long enough for a lethal finisher.
Players often prioritize eliminating Samurai before it accumulates momentum. When a Samurai sequences its assaults correctly—potentially following a well-executed stun from a tank or healer—triumph can arrive in a sudden flash. Positioning and timing remain the main challenges. A reckless Samurai becomes easy prey if it advances prematurely. A calculated Samurai, however, can generate unstoppable pressure.
Difficulty: Medium. Rotations are straightforward, but reading the battlefield and knowing when to strike separate casual Samurai players from deadly duelists.
Dragoon (A Tier, Melee)
The Dragoon has established itself as a reliable burst DPS that’s fairly intuitive. Jumps like High Jump and Elusive Jump facilitate rapid pursuit or disengagement, while combos center on potent thrusts that can rapidly eliminate opponents. The job also features a notable Limit Break: Sky Shatter, which temporarily removes the Dragoon from the battlefield before crashing down for substantial AoE damage.
Dragoons sometimes encounter difficulties when lacking assistance in securing eliminations. They possess fewer crowd control options compared to certain other melee specialists. Timing aerial maneuvers becomes essential, as predictable leaps can be countered. Nevertheless, Dragoon’s combination of high mobility and direct, impactful combos positions it firmly in A tier.
Difficulty: Low-Medium. Most players can comprehend the Dragoon’s fundamental rotation, but perfecting jump timing and target prioritization demands concentration.
Ninja (A Tier, Melee)
Ninja represents a complex and exceptionally mobile melee archetype. It excels at punishing isolated or overextended targets through stealth, stuns, binds, and potent bursts. Excelling with Ninja requires strong map awareness because stealth-based assassinations depend on surprising unwary foes. When performed flawlessly, a Ninja can eliminate a crucial target (such as a healer) before vanishing.
This job’s primary limitation involves its fragility and dependence on tactical outmaneuvering. If you mismanage your combos or become trapped in exposed positions, you’ll fall quicker than a Samurai can unsheathe a blade. In proficient hands, Ninja transforms into a predator that disrupts entire teams by compelling them to monitor multiple angles simultaneously. For beginners, it can prove exasperating. For masters, it’s practically unstoppable.
Difficulty: Very High. Ninja thrives on mechanical proficiency, precise timing, and the capacity to anticipate your opponents’ movements.
Machinist (A Tier, Physical Ranged)

The Machinist currently stands as the premier physical ranged DPS selection. Its distinguishing feature is focused single-target burst, which rapidly dismantles low-health adversaries. Abilities such as Drill, Chainsaw, and a devastating Limit Break can remove half or more of a target’s HP within seconds. That formidable output compels enemies to either respect or concentrate fire on the Machinist.
In contrast to Bard or Dancer, Machinist offers minimal team support capabilities. It provides no healing or buffing functions, depending exclusively on damage output to justify its presence. That straightforward approach may appeal to participants seeking an uncomplicated “aim and discharge” methodology. If your squad already maintains crowd control superiority, Machinist capitalizes with concluding strikes. The principal vulnerability involves exposure when cornered—no substantial defensive techniques exist beyond standard Guard or Purify.
Difficulty: Low. Comprehending positioning and LB timing represent the primary obstacles, though Machinist’s rotation remains relatively simple.
Bard (B Tier, Physical Ranged)

Bard delivers subtle but impactful team buffs, incorporating damage and speed enhancements. It also possesses a silence or bind function, which assists in securing eliminations. The constraint resides in Bard’s individual damage production, which depends on consistent DoTs rather than explosive bursts. That characteristic can complicate finishing off retreating enemies.
However, skilled Bards can substantially enhance a coordinated team by synchronizing buffs with significant Limit Breaks. Team members frequently value Bard’s collaborative nature because it intensifies everyone else’s offensive capabilities. If you prefer a supportive ranged position that provides moderate harassment, Bard might align with your preferences—simply recognize that it cannot single-handedly dominate unless you communicate effectively.
Difficulty: Medium. Positioning, song timing, and Quick Chat communication all assume more significant roles than mechanical rotation complexity.
Dancer (C Tier, Physical Ranged)

Dancer demonstrates effectiveness in large-scale engagements thanks to collective buffing, an AoE charm, and supportive actions. Within a confined 5v5 context, it encounters challenges matching the raw elimination capacity of Machinist or the synergy of Bard. Charm can influence confrontations if timed perfectly, though a minor error or swift Purify can neutralize its influence. Damage output also remains comparatively modest.
Squads that organize around Dancer’s advantages might discover intermittent success. For example, linking Dancer’s charm into a substantial burst can remove multiple opponents. Nevertheless, a Dancer seldom assumes control of games independently. It focuses more on empowering allies rather than directly concluding kills. That methodology functions if your teammates maintain mutual understanding—otherwise, it becomes problematic.
Difficulty: Low regarding rotation mechanics. The challenge involves affecting the match with restricted personal burst and brief-duration crowd control.
Red Mage (S Tier, Caster)
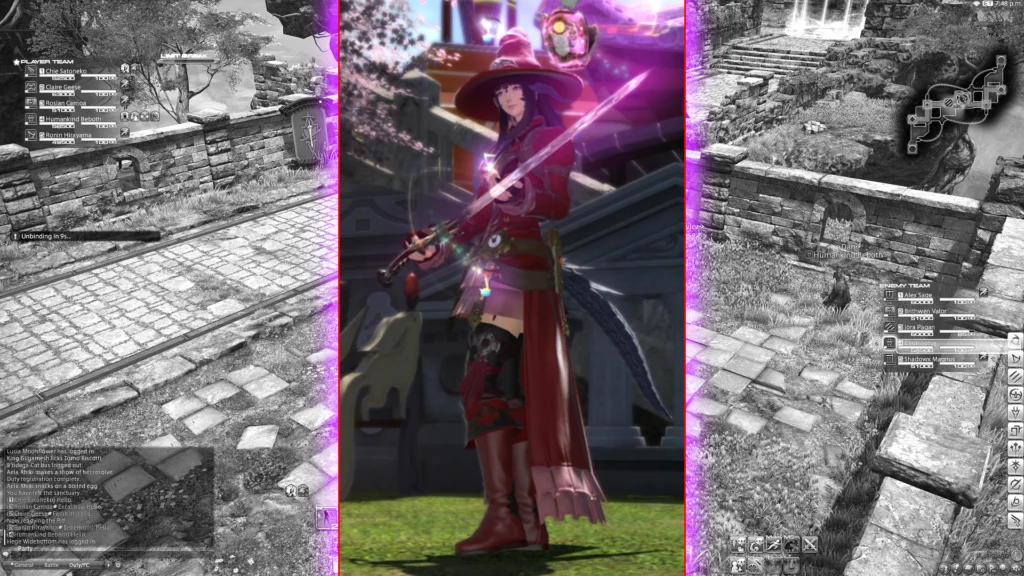
Red Mage combines a versatile toolkit that integrates melee combos, ranged spells, healing utility, and crowd control. This occupation alternates between “White Shift” (enchanted melee sequences) and “Black Shift” (powerful magical damage). It can even distribute a rapid healing effect to preserve itself or a companion. Because Red Mage maintains continuous relevance—whether the engagement requires area denial, single-target burst, or emergency assistance—it consistently ranks among the superior PvP choices.
The Resolution spell distinguishes itself through its silence or bind consequence (contingent on stance), which can detter aggressors from an ally or establish a kill opportunity. RDM’s Limit Break, Southern Cross, further solidifies its impact by damaging opponents across an extensive area while simultaneously healing allies within the impact radius. Proficiency entails managing your stance-based combos and determining when to transition from offensive to defensive postures. That flexibility proves invaluable in a format where confrontations transition rapidly.
Difficulty: High. Red Mage offers numerous instruments, though balancing them can become intricate. Participants who appreciate multitasking discover the challenge fulfilling.
Summoner (A- Tier, Caster)
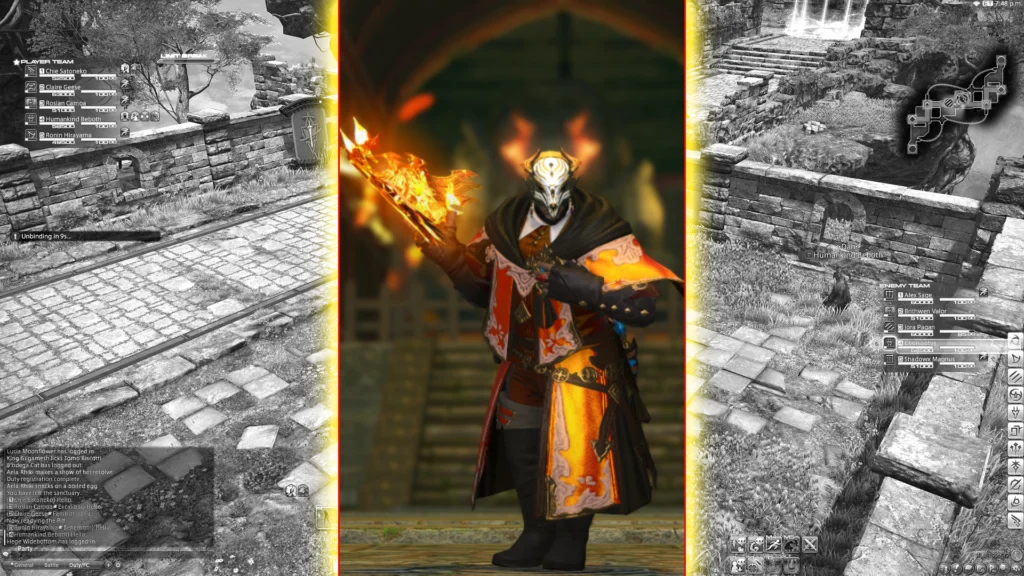
Summoner provides a distinctive approach with persistent AoE pressure. By deploying Slipstream tornadoes, Mountain Busters, or Ifrit’s fiery terrain impacts, it can secure an area and gradually reduce enemy HP. The Summoner’s Limit Break can cover an entire zone with damaging primal assaults, capturing multiple adversaries and securing eliminations if they concentrate.
Frontline engagements (large-scale PvP) complement Summoner exceptionally because opponents frequently assemble, though in Crystalline Conflict, the objective can become more restricted and dynamic. Single-target burst does not represent Summoner’s principal strength, so well-structured teams might navigate around the Summoner’s AoE zones. Still, Summoner can exel when synergy intensifies, particularly in combos that force foes into damaging fields. Strategic positioning assists in maximizing those substantial primal impacts.
Difficulty: Medium. Employing AoE to compel enemy relocation necessitates predicting how participants react rather than indiscriminately spamming ground effects.
Black Mage (C-B Borderline, Caster)
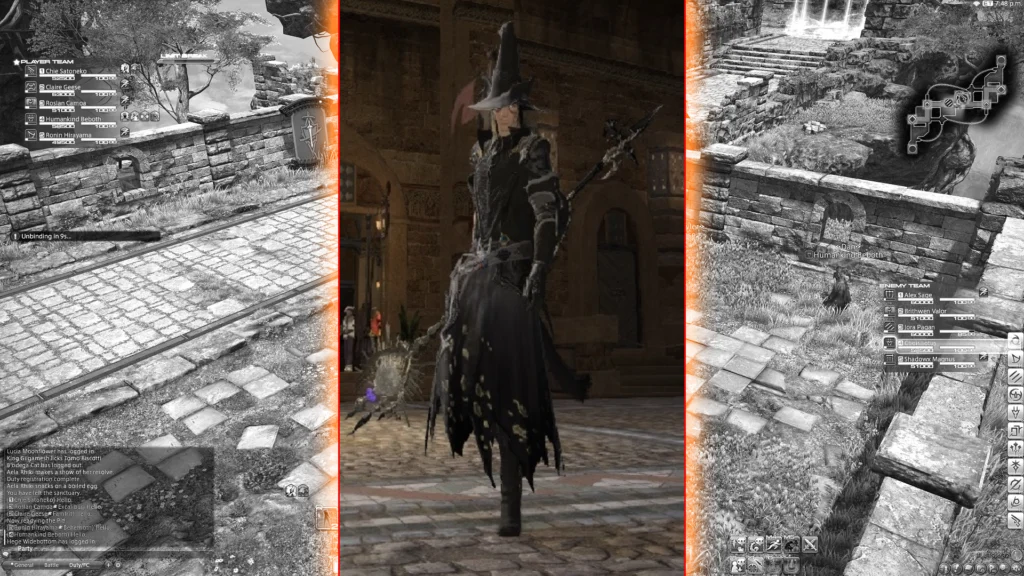
Black Mage possesses extraordinary theoretical output. If permitted to operate undisturbed, it can discharge meteors (Flare) or massive AoE combos (Soul Resonance leading into instant-cast spells) that devastate entire squads. It also furnishes crowd control like Sleep (Night Wing) and a root/bind from Freeze.
In practical application, it’s challenging to realize this potential. Black Mage maintains the lowest HP among casters and minimal mobility options. Casting durations provide enemies abundant opportunity to disrupt or evade, and a BLM who becomes targeted possesses minimal personal defensive options beyond conventional Guard. Numerous participants experiment with ingenious configurations to land significant impacts, though it remains an uncommon sight at the highest rankings. If your team provides protective coverage for you, Black Mage can prosper. Otherwise, you dedicate more time to avoiding and repositioning than casting.
Difficulty: Very High. Positioning must approach near-perfection to execute your combos without becoming overwhelmed.
(Note: Some rank Black Mage around B Tier, while others feel it belongs closer to C. Its output is tremendous, though the consistency remains debatable.)
Action Checklist
- Master focus targeting by calling specific enemies using Quick Chat commands
- Practice baiting enemy Purify and Guard before committing major cooldowns
- Learn to coordinate burst damage with teammates’ crowd control abilities
- Study map-specific mechanics on all three Crystalline Conflict arenas
- Develop consistent peeling habits to protect vulnerable allies from focused aggression
- Track opponent Limit Break gauges to anticipate and counter major offensive plays
- Test 2-3 DPS candidates in casual matches to identify personal compatibility
- Master focus targeting using Quick Chat commands to coordinate eliminations
- Practice optimal burst rotations against training dummies
- Study map-specific strategies and environmental interaction opportunities
No reproduction without permission:Tsp Game Club » FFXIV PvP Tier List 2025: Best Crystalline Conflict Jobs