Complete Genshin Impact Lightgleaner’s Journey Day 2 guide with advanced photography strategies and reward optimization
Event Overview and Preparation
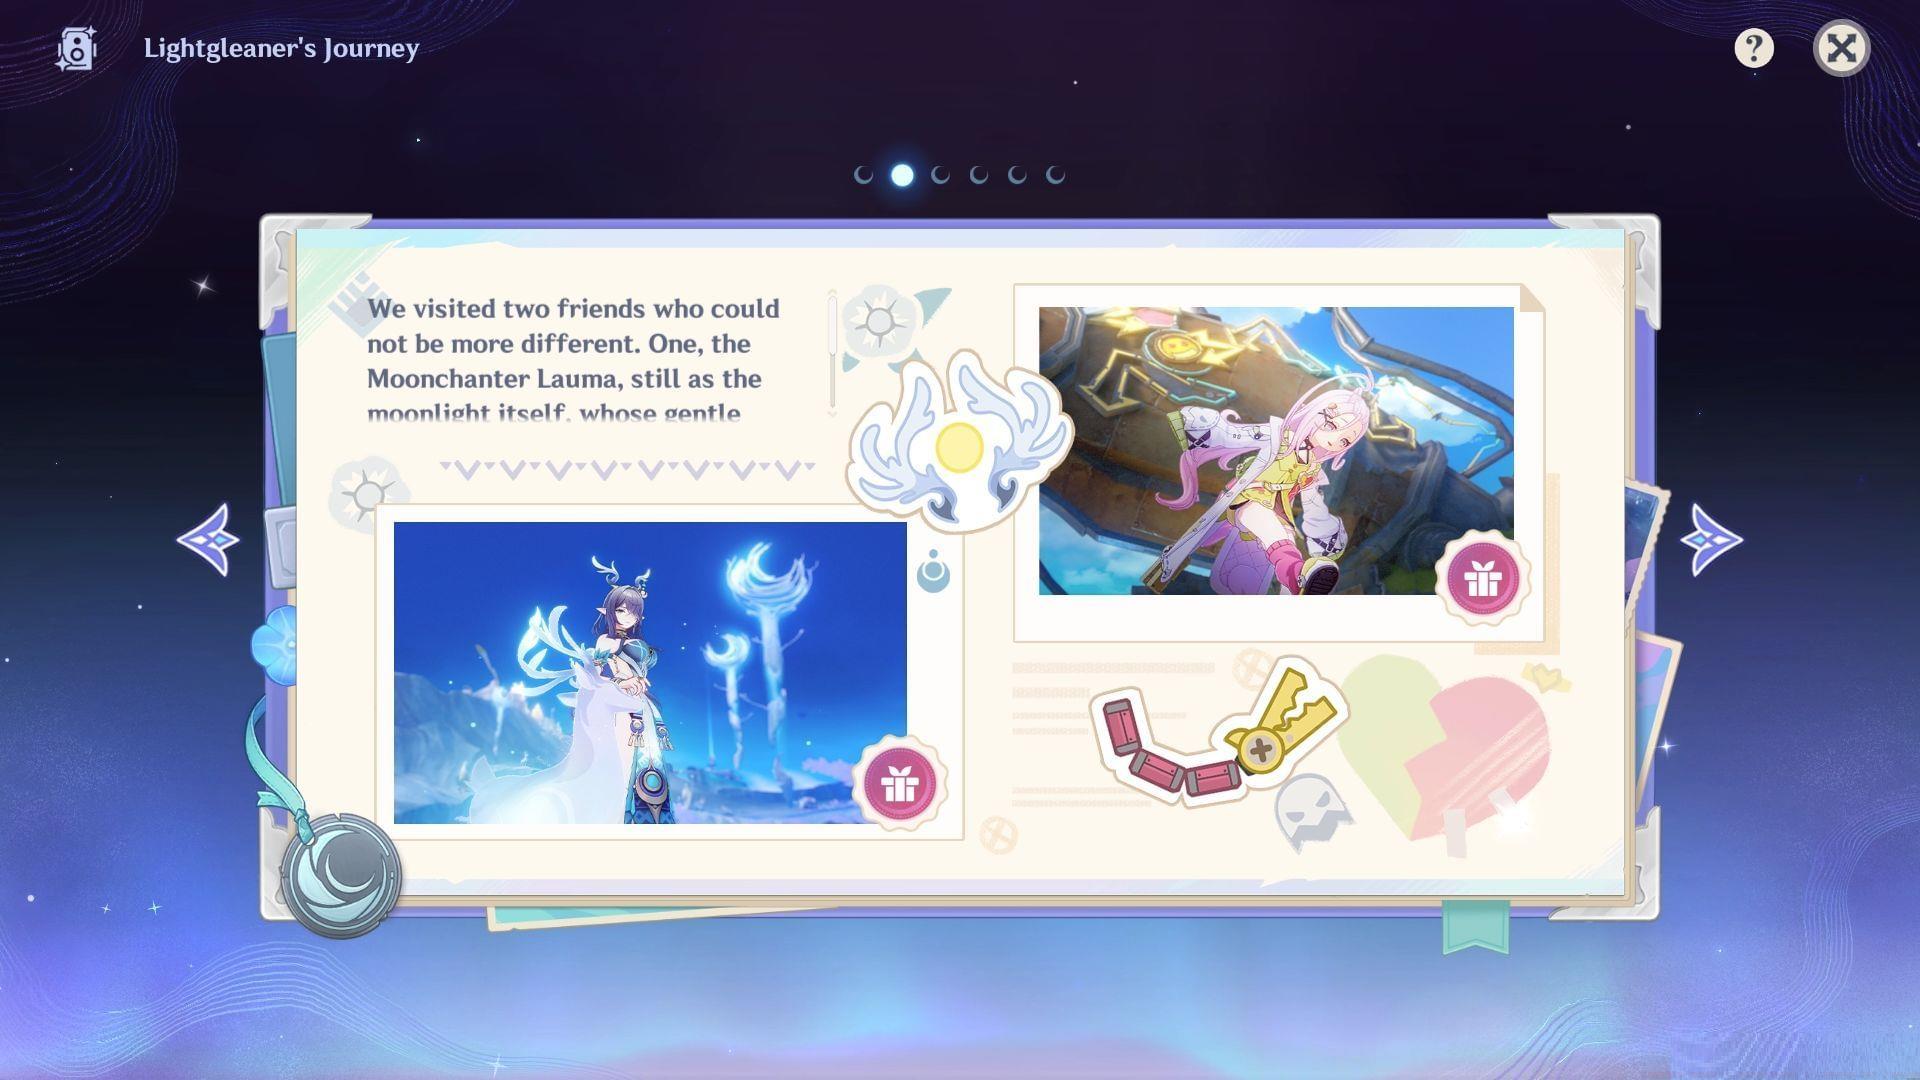
The second day of Lightgleaner’s Journey photography event introduces fresh objectives that require capturing specific character animations. Your mission involves photographing both Lauma and Aino while they perform designated pose sequences. Successfully completing these visual challenges grants valuable in-game compensation including Primogems, character talent enhancement materials, and weapon ascension resources essential for progression.
Before beginning your photographic expedition, ensure you have the specialized event Kamera equipped from your inventory. This device differs from standard photography tools and is mandatory for recognizing the unique pose animations. Many players overlook this crucial preparation step, resulting in failed challenge attempts despite correct positioning.
Lauma Photography Challenge
Initiate Lauma’s photography session by first locating her near the event starting zone. Approach and interact directly to activate the photography interface. The Character Pose Adjustment Screen becomes accessible through the upper-right corner option – this specialized menu is easily missed if you’re rushing through the process.
Strategic pose selection significantly impacts your results. Each animation varies in duration and visual clarity. For optimal capture, choose poses with distinctive, held positions rather than rapid transitions. Exit the selection interface once your preferred animation is active, then carefully adjust your camera perspective to frame the perfect shot.
Professional photographers recommend positioning your camera at a slight downward angle to emphasize character details while including environmental context. Take multiple photographs from varying distances to ensure at least one meets the challenge criteria. The validation system can be particular about specific animation frames.
Upon successful completion, you’ll receive immediate rewards including Primogems for gacha pulls, talent books for character development, and weapon enhancement materials crucial for late-game content preparation.
Also read: Genshin Impact Miliastra Wonderland “Starbound Oath” web event guide
Aino Photography Challenge
Navigate to Aino’s location using the teleport waypoint positioned southwest of the Meeting Point within Clink-Clank Krumkake Craftshop. From this arrival point, proceed directly forward to encounter Aino stationed near the Knuckle Duckle boss arena. The proximity to this combat zone often distracts players – remain focused on your photographic objective.
Similar to Lauma’s challenge, activating the Character Pose Adjustment Screen is non-negotiable for progression. The interface functions identically, but Aino’s animations may feature different timing patterns. Observe each pose cycle thoroughly before committing to your selection to avoid timing mismatches.
Advanced technique: Position yourself with light sources behind your camera for enhanced character visibility. The game’s dynamic lighting system can obscure details if you shoot against bright backgrounds. Adjust Kamera angles to capture Aino’s full animation sequence, ensuring the entire pose is visible within frame boundaries.
Pressing enter captures your photograph, but consider using the game’s built-in burst feature by holding the key briefly. This increases successful capture probability significantly. Completion rewards include the valuable Afterglow of Long Night Flint x2, essential for specific weapon enhancement paths.
Also read: Genshin Impact Luna I hidden teleport waypoint locations and unlock guide
Advanced Photography Strategies
Beyond basic completion, several professional techniques can enhance your event experience. Time your photography sessions during in-game daylight hours for superior natural lighting, as character details become more distinguishable. The golden hour period (just before night transition) provides particularly favorable conditions.
Experiment with unconventional camera angles – low-angle shots often capture pose animations more dynamically. However, ensure the entire character remains visible, as partial captures may not trigger challenge completion. Maintain medium distance to balance detail recognition with environmental context.
Efficiency experts recommend completing both challenges in a single session to minimize loading times and maintain photographic technique consistency. The muscle memory developed from Lauma’s challenge directly translates to improved Aino photography performance.
For players struggling with timing, practice pose recognition in non-event contexts using similar character interactions. This builds instinctual understanding of animation cycles and optimal capture moments. Remember that patience and multiple attempts often yield better results than rushed single shots.
Follow Sportskeeda for more Genshin Impact updates and guides.
No reproduction without permission:Tsp Game Club » Genshin Impact Lightgleaner’s Journey Day 2 guide Complete Genshin Impact Lightgleaner's Journey Day 2 guide with advanced photography strategies and reward optimization