Complete guide to Genshin Impact Lightgleaner’s Journey Day 4 with advanced photography techniques and reward optimization
Event Overview and Rewards
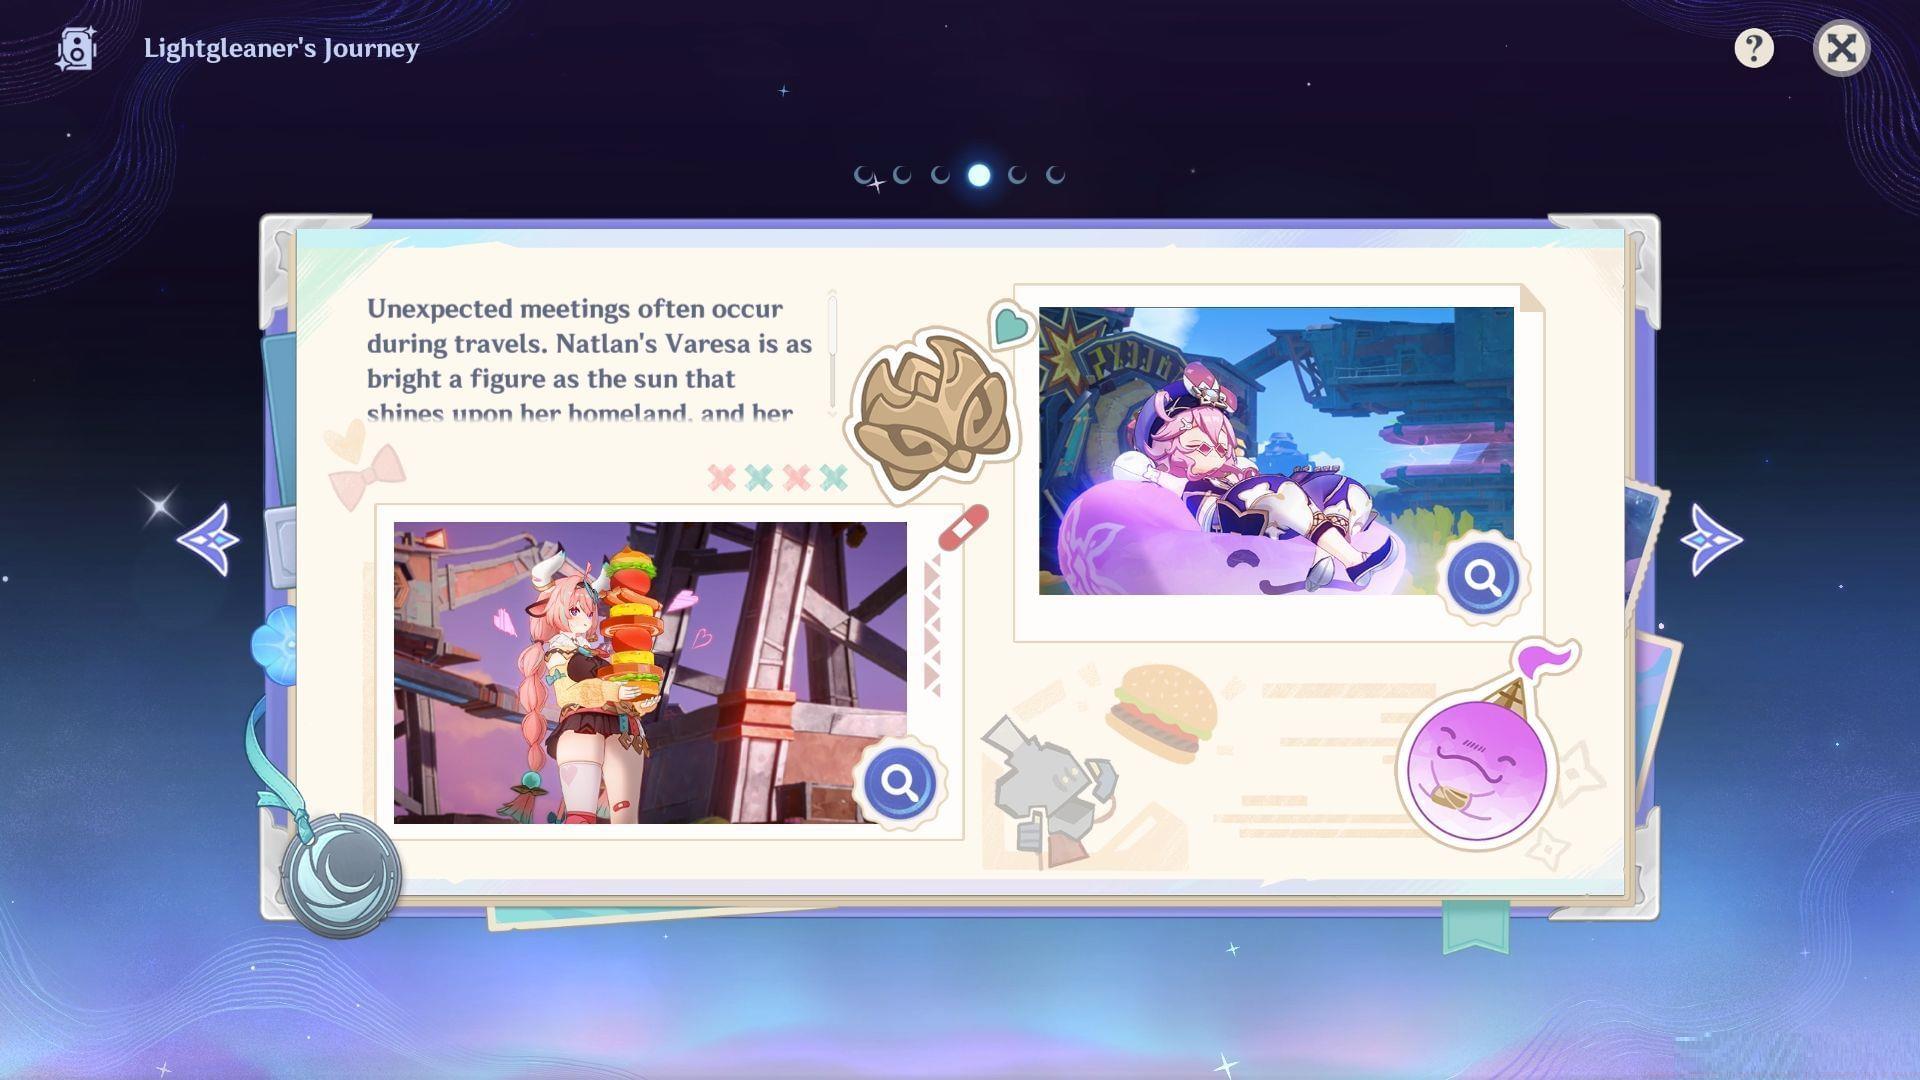
Day four of the Lightgleaner’s Journey photography event presents Genshin Impact players with two distinct character photography missions in Nasha Town. Your primary objectives involve capturing properly posed images of both Varesa and Dori under specific conditions. Successfully completing these artistic challenges rewards you with substantial benefits including 70 Primogems, valuable weapon enhancement materials, and character talent development resources that significantly advance your gameplay progression.
Strategic preparation before beginning these photography sessions can dramatically improve your completion efficiency. Ensure your inventory has adequate space for new acquisitions and consider adjusting your graphics settings for optimal image clarity during the photography process. The event’s time-limited nature means prioritizing these tasks during your daily gaming session maximizes your resource acquisition.
Varesa Photography Challenge
Initiate the first photography assignment by locating Varesa in Nasha Town and executing this precise sequence:
Critical success factors for Varesa’s photography challenge include equipment preparation timing and pose selection precision. Many players mistakenly approach characters before activating their Memento Kamera, resulting in missed trigger conditions. The yellow positioning circle provides optimal lighting and composition – straying outside this area often produces unsatisfactory results that fail challenge requirements. For advanced players, experimenting with different camera angles during the adjustment phase can create more dynamic shots while still meeting completion criteria.
Upon successful completion, you’ll receive these valuable development materials:
Also read: Genshin Impact Miliastra Wonderland “Starbound Oath” web event guide
Dori Photography Challenge
For the secondary photography objective, navigate to the cliff area northwest of Varesa’s position where Dori awaits your artistic attention. The elevation change in this location offers unique compositional opportunities for creative players.
Engage with Dori and implement this methodical approach:
Similar to the previous challenge, pose selection remains mandatory for Dori’s photography assignment. The elevated terrain at Dori’s location introduces unique considerations – positioning yourself at the circle’s edge facing downward often captures more impressive background scenery while maintaining compliance with requirements. Experienced photographers recommend utilizing the golden hour (in-game time approximately 17:00-19:00) for enhanced lighting conditions that make Dori’s distinctive appearance stand out more dramatically.
Successful Dori photography rewards include:
Also read: Genshin Impact leak hints at Lantern Rite 2026 character skins
Advanced Strategies and Troubleshooting
Maximize your efficiency by planning an optimal route that minimizes traversal time between the two photography locations. Starting with Varesa then proceeding directly northwest to Dori creates the most time-effective completion path. For players seeking perfection, resetting challenges to experiment with different poses and angles can yield more satisfying photographic results while still earning identical rewards.
Common technical issues include the camera interface failing to appear, typically resolved by ensuring the Memento Kamera is actively equipped rather than just possessed. If character pose options don’t trigger, verify you’re completely within the yellow boundary circle before accessing the menu. Camera angle problems often stem from environmental obstructions – slight position adjustments usually resolve these framing issues.
Advanced photographers should explore unconventional angles like low-angle shots for more dramatic compositions or utilizing the rule of thirds for aesthetically superior results. While these techniques don’t affect challenge completion, they enhance personal satisfaction and screenshot quality for sharing with the community.
Follow Sportskeeda for more Genshin Impact updates and guides.
No reproduction without permission:Tsp Game Club » Genshin Impact Lightgleaner’s Journey Day 4 guide Complete guide to Genshin Impact Lightgleaner's Journey Day 4 with advanced photography techniques and reward optimization