TL;DR
- Master disciplined utility management – save 2-3 smokes for executes
- Always operate in trading pairs to convert 1-for-1 deaths into advantages
- Implement map-specific default setups to control key areas systematically
- Analyze enemy patterns and punish over-aggressive CT plays
- Combine demo analysis with targeted practice sessions for consistent improvement
When approaching Counter-Strike 2 (CS2), developing expertise on the Terrorist (T) side becomes critical for elevating your competitive performance and securing crucial round victories. T-side gameplay transcends simple bomb planting and brute force approaches—it demands strategic map dominance, precise timing execution, clear communication systems, and psychological outmaneuvering of the Counter-Terrorist (CT) defense. This comprehensive guide deconstructs advanced T-side methodologies through systematic progression.
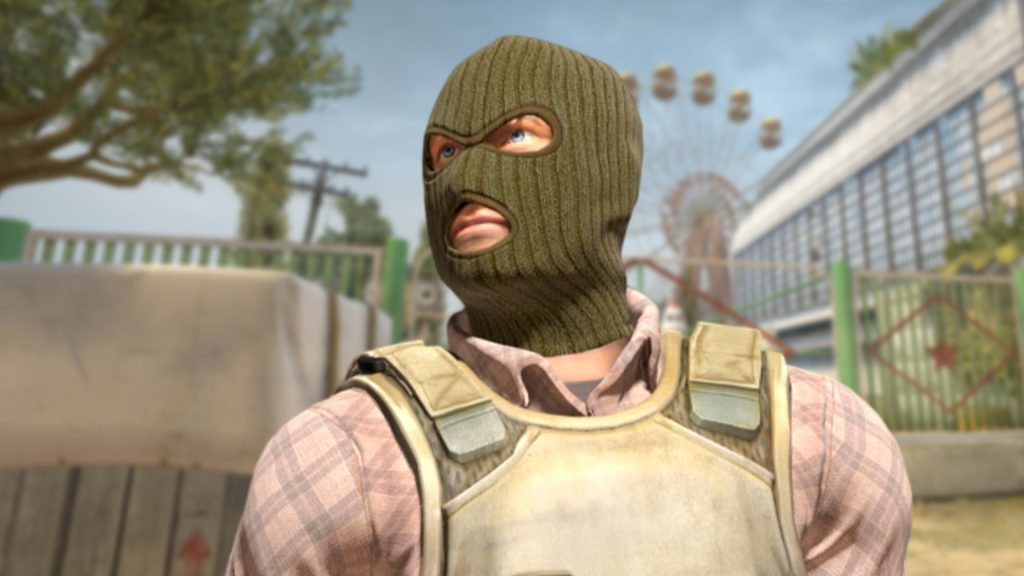

Terrorist Role Objectives
Your primary mission on CS2’s T-side appears straightforward: eliminate all opposition forces or successfully deploy and protect the C4 explosive until detonation. However, execution complexity emerges from your aggressor positioning—you must advance into CT-controlled territory where defenders benefit from superior positioning, faster rotation capabilities, and established defensive advantages.
This offensive role necessitates calculated advancement strategies. Avoid repetitive B-site rushes; instead focus on systematic space acquisition, intelligence gathering, and forcing CT teams to respond to your strategic initiatives. Effective T-side approaches incorporate early map dominance, utility baiting techniques, and optimal timing for strategic strikes.
Key T-Side vs CT-Side Differences
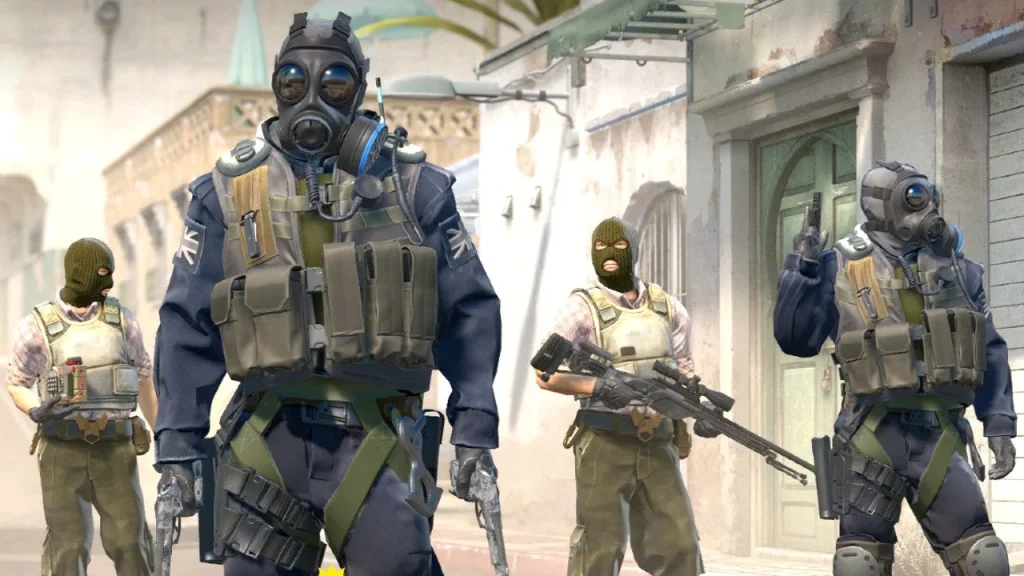

The most significant distinction between T and CT sides involves initiative control. On T-side, you establish engagement tempo—determining when and where confrontations occur. CT-side responsibilities center around reactionary defense, though CTs typically maintain superior early-round territorial control.
T-side additionally demands heightened team coordination. Successful execution requires perfectly synchronized flash deployments, smoke screens, and coordinated advances. Single errors—such as peeking without trade support or misplacing critical smokes—can determine round outcomes. This explains why mastering “default” formations proves essential: they provide structural framework while maintaining unpredictability.
Economy Management Essentials
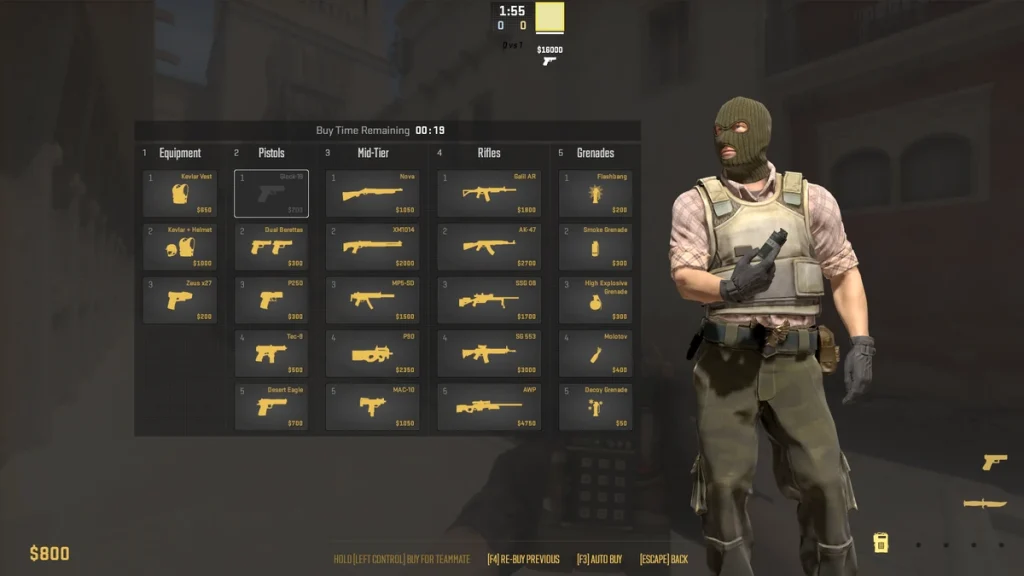

The T-side economic system in CS2 represents both your greatest asset and most vulnerable liability. While you receive an additional $800 for successful bomb plants—even during lost rounds—your weaponry typically underperforms in extended-range engagements, particularly against CT rifles like the M4A1-S.
Developing expertise regarding purchasing timing, conservation strategies, and collective financial management becomes imperative. Core economic principles include:
- Eco rounds: Financial conservation utilizing pistols and minimal armor
- Force buys: Higher-risk acquisitions with economical weapons like Tec-9s or SMGs
- Full buys: Comprehensive team armament including AKs, complete armor sets, and utility packages
On T-side, synchronizing complete purchases and optimizing economic gains through bomb plants—even during unsuccessful rounds—establishes momentum building.
Information Gathering Techniques
After establishing default formations, implement gradual pressure application. Deploy utility to clear strategic angles, monitor audio indicators, and compel CTs to reveal defensive arrangements. Early molotov deployment in choke points provides intelligence; detecting multiple rifle reports from single sites delivers actionable data.
Apply sufficient pressure to maintain CT discomfort levels. Simulate footstep patterns. Deploy smoke screens or flash grenades to simulate execution preparations. These tactical maneuvers assist in pace control and adaptive strategy adjustments.
Mid-Round Decision Making
Based on intelligence collected during default phases, the in-game leader (IGL) must execute mid-round strategic calls. Secured eliminations on B-site? Implement rapid rotation and aggressive assault. Drawn three CTs toward A? Execute deception strategy and assault B alternatively.
Default methodologies remain inherently fluid. When no advantages materialize, consolidate forces and execute with complete utility deployment. When early picks occur, explosively capitalize on vulnerable sites. Default strategies excel through their adaptability characteristics.
Map Control Progression
Avoid attempting complete map domination simultaneously. Concentrate on sequential area control:
- Establish mid control priority (typically utilizing two or three operatives)
- Subsequently transition focus toward connector pathways or site entry points
- Methodically consolidate forces and deploy remaining utility for final assault phases
Patience proves essential. Effective defaults avoid rushed execution—they prioritize calculated, methodical advancement.
Mirage Control Tactics
Mirage represents one of CS2’s most frequently played battlegrounds, with T-side presenting abundant opportunities for territorial dominance and tactical deception. Standard Mirage defaults incorporate:
- Single operative securing A ramp access
- One monitoring palace pathways
- Two players operating mid sectors (top mid and underpass regions)
- One player observing B applications
This distribution facilitates exceptional map coverage. Your mid operatives can engage for control dominance and seek elimination opportunities in connector or window positions. A-sector players can monitor CT aggressive maneuvers or advance upon securing kills. Simultaneously, B-apps player functions as lurking element capable of intercepting rotators or executing delayed flanking maneuvers.
Your mid control establishes the foundation. Deploy smokes for window and connector access, and coordinate flash deployments to clear ladder room or short corridors. Once mid dominance solidifies, strategic pivoting to either site becomes feasible:
- Identifying vulnerability in connector or jungle sectors enables A-site collapse
- Under-defended B sites permit rapid market splits combining mid and apps forces
This default methodology maintains CT uncertainty and permits flexible mid-round strategic calls.
Inferno Banana Management
Inferno’s constricted passageways render default execution more hazardous, though remains exceptionally effective. Optimal configurations include:
- Two operatives working Banana corridor
- One maintaining mid presence
- One positioned near second mid/apartments access
- One lurking toward alternative mid routes or boiler areas
The critical zone here involves Banana control. Dominate this space early utilizing molotovs and flash grenades—this frequently initiates utility conflicts with CT defenses. When CTs expend significant explosive resources, withdraw and execute A-site assaults later during their utility depletion phases.
Meanwhile, apartments control provides A-site late push alternatives. Deploy utility to clear pit and site areas, while your mid operative peeks short or arch positions.
Timing precision proves paramount. Once you compel CT rotations or utility exhaustion, consolidate forces and execute with precision timing.
Overpass Connector Dominance
Overpass prioritizes territorial control and tactical patience. Substantial T-side defaults distribute forces accordingly:
- One operative securing T spawn or monitoring flank routes
- Two players operating long A and bathroom sectors
- Two operatives securing B short and monster control
This configuration permits both site testing without excessive commitment. Establish connector control early—it represents power positioning enabling rapid rotation capabilities. Deploy utility to advance long or bathroom sectors and peek into A-site areas.
Monitor CT aggressive maneuvers in connector or playground zones. When CTs overextend, punish decisively and collapse with swift rotation.
B-sector operatives can additionally bait utility deployment or execute delayed short pushes. Detecting rotations toward A permits devastating rapid monster assaults.
Ancient Mid Control
Ancient’s narrow passageways and audio-intensive environment demand cautious methodology. Default formations appear as:
- One player monitoring mid
- One in cave monitoring A main access
- One positioned in house near B sector
- One outside T spawn monitoring flank routes
- One floating between cave and B areas
The most significant contest on Ancient involves mid control. Securing it unlocks split alternatives to either site. Deploy deep smoke screens and molotovs to repel CT advancements.
Once mid dominance establishes, strategic options include:
- B-site splitting via short and main access points
- B-site deception followed by mid wrap to A
- A-site assaults through donut access upon detecting defensive vulnerabilities
Ancient rewards stealth advancement and surprise timing execution. Walking assaults, precisely timed executions, and effective lurking can secure rounds efficiently.
Utility Timing and Placement
T-side victory proves impossible without sophisticated utility deployment. It transcends simple smoke and flash throwing—it demands precise timing coordination. Utilize grenades to isolate defenders, simulate presence, or exhaust enemy utility resources.
- Smoke screens should obstruct vision (CT positions, jungle areas, heaven elevations)
- Molotovs should eliminate corner positions and compel movement.
- Flash grenades require optimal timing to facilitate peeking opportunities or entry advancement.
For instance, on Mirage, coordinated smoke deployment for window and connector combined with flash through top mid can establish complete mid control within 30 seconds. This unlocks your complete strategic playbook.
Intelligent teams additionally implement utility baiting strategies. Demonstrate presence early in specific areas, compel CT utility expenditure, then await strategic openings. When defensive utility exhausts, that represents your strike timing window.
Practice standardized lineups, but maintain adaptive flexibility. Well-executed pop flashes can prove more effective than perfected YouTube smoke deployments when blinding appropriate CTs at optimal moments.
Enemy Setup Analysis
Additional rounds played enhance understanding regarding CT positioning methodologies. Is one site consistently under-defended? Are they stacking B-sector defenses? Does the AWP consistently maintain mid positioning?
Leverage this intelligence advantageously. Identifying consistently aggressive mid AWPers permits flash displacement or smoke obstruction strategies. When CTs repeatedly double-peek A ramp, deploy lurking operatives through palace access to punish subsequent rounds.
Information represents everything. Avoid repeating identical defaults without tactical adjustments—capitalize on acquired knowledge.
Additionally, monitor utility pattern repetitions. When sites deploy identical smokes at consistent timing intervals, they likely repeat defensive setups. Exploit this predictability against opposition forces.
Punishing CT Aggression
Occasionally CTs demonstrate boldness attempting early pushes for intelligence gathering or elimination opportunities. When this occurs, your default configuration becomes lethal. You maintain distributed positioning—prepared for punitive actions.
When CTs peek mid without flash support, trade eliminations instantaneously. When they advance apartments, your lurking operative should maintain waiting positions. Over-aggression frequently originates from desperation or excessive confidence—never permit unpunished advancement.
Following punitive actions against aggressive maneuvers, CTs typically withdraw implementing more passive defensive postures, granting your team expanded operational space.
This represents when your default methodology achieves maximum effectiveness. Acquire additional territory, simulate increased presence, and compel CTs toward difficult decision-making scenarios.
Early Round Overcommitment
Among the most detrimental T-side errors involves complete site commitment within the round’s initial 10 seconds. Unless executing rapid strategies or exploiting confirmed vulnerabilities, you essentially charge into concentrated defenses and prepared utility deployments.
Alternatively, execute complete round development. Utilize initial 30-40 seconds for intelligence collection, utility forcing, and opening identification. Permit default methodologies to fulfill their intended purposes. Commit only upon securing tactical advantages—such as eliminations or confirmed site under-defenses.
Premature overcommitment provides CTs with simple eliminations and free intelligence. This resembles revealing your complete hand before opponents even draw their cards.
Utility Resource Management
T-side utility represents your most valuable ally—but exclusively when deployed intelligently. Too frequently, players exhaust smoke screens, flash grenades, and molotovs within rounds’ initial 20 seconds without securing meaningful value. This leaves teams resource-depleted during critical late-round phases when success proves most essential.
Effective utility administration centers around tactical discipline. Avoid deploying flashes from simple availability—deploy them with strategic purpose. Attempting space acquisition? Forcing AWPer withdrawal? Obstructing vision lines? Always maintain tactical justification.
Critical utility errors requiring avoidance include:
- Duplicate grenade deployment on identical angles: resource-wasteful and unnecessary redundancy
- Utility deployment without subsequent action: reveals strategic intentions prematurely
- Complete utility expenditure before execution initiation: creates vulnerability during site entry phases
Elite teams preserve 2-3 smoke screens and multiple flash grenades for execution phases. Utility functions as your defensive shield, offensive weapon, and communication system—all consolidated into one strategic element.
Trading Efficiency
CS2 penalizes independent operators. When your entry fragger falls without subsequent trade eliminations, you’ve provided CTs free advantages. This explains why trading eliminations proves absolutely essential on T-side operations.
Consistently advance in paired or tripled formations. When operatives push into angles, teammates must maintain observation or close-follow positioning. The instant initial player falls, secondary operative must react immediately. Delayed trades permit CTs repositioning or withdrawal opportunities.
Additionally, avoid collective elimination from identical angles. When AWPers in window eliminate your initial two mid players through sequential peeking—that represents team coordination failure.
Exceptional T-sides function with mechanical precision. Single peek, single trade, single personnel advantage. Repeat systematically.
Demo Review Protocols
Enhancing your T-side performance transcends simple gameplay volume—it demands systematic learning from performance analysis. Reviewing match recordings, whether individually or collectively, assists in identifying strategic patterns, execution errors, and missed tactical opportunities.
Implement these analytical questions during review sessions:
- Did we deploy utility effectively?
- Were our default distributions appropriately spaced?
- Did we respond sufficiently rapidly to CT rotation patterns?
- Were trading eliminations occurring consistently?
For organized teams, professional demo analysis represents invaluable resource development. Study elite team default methodologies. Observe their reaction protocols to pushes, their mid control acquisition techniques, and rotation timing decisions. Deconstruct their strategic approaches and replicate them during practice matches.
Team coordination practice proves equally critical. Rehearse your default methodologies repeatedly until all members understand their responsibilities instinctively. Subsequently incorporate strategic layers: deception methodologies, rapid rotations, delayed execution timing. Well-rehearsed T-side formations approach near-impossible defensive stopping capabilities.
Solo Training Routines
When solo queuing or lacking organized team structures, improvement remains achievable through dedicated practice tool utilization:
- Yprac Practice Maps: Optimal for utility training across all map environments
- Aim Botz / CSGOHUB: Preparation routines and mechanical skill refinement
- Custom Server Environments: Utilize 1v1 or 5v5 configurations to develop trading and timing expertise
Establish objectives for each session. Dedicate 20 minutes practicing Mirage smoke deployments. Drill Inferno flash coordination techniques. Establish personalized T-side training regimens. Improvement derives from repetition consistency, not chance occurrence.
Action Checklist
- Practice 3 key smoke lineups for your main maps – allocate 15 minutes daily
- Establish trading partnerships and drill 2v2 scenarios for 20 minutes
- Review your last match demo focusing on utility usage and trading opportunities
- Analyze professional team defaults on your primary map – identify 3 key takeaways
- Implement default strategies in competitive matches and track success rates
No reproduction without permission:Tsp Game Club » How to Play T-Side in CS2: Default Strategies Master CS2 T-side gameplay with advanced strategies, utility management, and trading techniques
