Master river navigation in Death Stranding 2 with expert strategies for safe cargo transport and terrain challenges
Understanding River Mechanics and Scanning Techniques
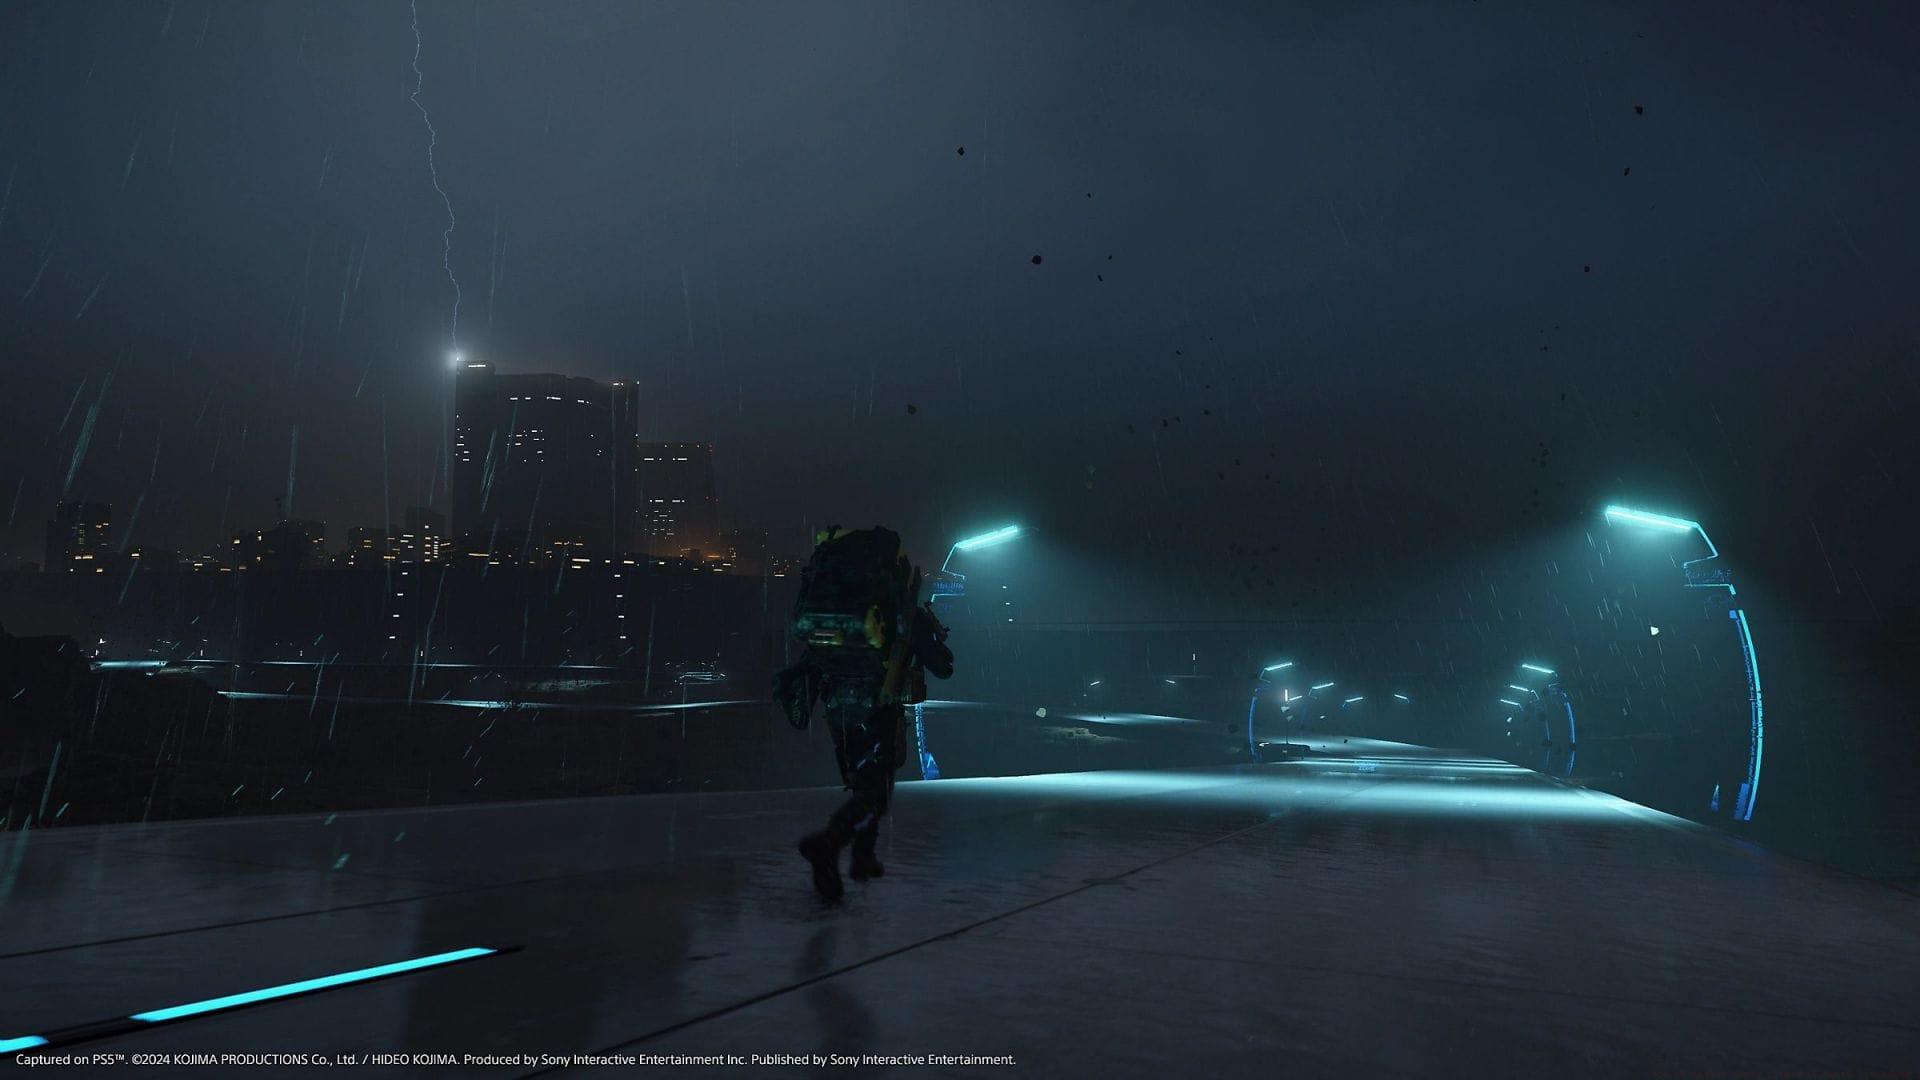
While rivers in Death Stranding 2 often appear tranquil on the surface, they conceal significant dangers that can jeopardize both your mission progress and precious cargo. These waterways vary dramatically in depth, current strength, and hidden obstacles, making proper assessment absolutely essential before attempting any crossing. The game’s challenging terrain frequently forces players to navigate multiple river systems, ranging from gentle streams to powerful torrents that can instantly sweep unprepared porters away.
Before committing to any river crossing strategy, activate your scanner by pressing R1 to conduct a comprehensive terrain analysis. The color-coded system reveals crucial safety information: blue indicators signal stable, shallow areas where walking presents minimal risk; yellow zones require careful navigation with balance management and stamina conservation; red markings indicate immediate danger where crossing attempts will likely result in being swept downstream. This scanning methodology forms your primary defense against unexpected river hazards.
Pro Tip: Always scan from multiple angles since riverbed conditions can change rapidly. What appears safe from one vantage point might conceal dangerous drop-offs or strong currents just a few feet away. Seasoned players recommend scanning both upstream and downstream of your intended crossing point to identify potential escape routes if conditions deteriorate.
Ladder Deployment: Bridge Building Tactics
Strategic ladder placement transforms these versatile tools into temporary bridges across narrow but hazardous river sections. When deployed horizontally between stable riverbanks, ladders create safe passageways that completely avoid water contact, preserving both your stamina and cargo integrity. This method proves particularly valuable when facing fast-moving currents that make wading dangerous but where the distance between banks remains manageable.
Successful ladder bridging requires careful assessment of anchor points on both riverbanks. Look for solid rock formations, stable soil embankments, or other reliable foundation surfaces that can support the ladder’s weight plus your cargo load. Avoid placing ladders on loose soil, steep inclines, or unstable terrain that might shift during your crossing. A poorly anchored ladder can sink, tilt unexpectedly, or collapse entirely, potentially damaging your cargo and leaving you stranded mid-river.
Advanced Technique: For wider rivers, consider deploying multiple ladders in sequence, creating a segmented bridge system. This approach requires precise placement and additional equipment but enables crossings that would otherwise be impossible. Always test each ladder section with minimal weight before committing your full cargo load to the crossing.
This bridging strategy becomes your go-to solution when river currents prove too powerful for safe wading but the width remains insufficient for vehicle-based alternatives. It represents an excellent balance between resource investment and crossing security.
Vehicle Navigation: Reverse Trike River Crossing
The Reverse Trike stands as your most efficient tool for navigating river systems, providing rapid transit through shallow to moderately deep waterways without the stamina management concerns of foot travel. This three-wheeled vehicle maintains remarkable stability in moving water, allowing you to transport substantial cargo loads across river sections that would prove challenging or impossible on foot. Its design specifically accommodates aquatic navigation with elevated components and waterproofing.
Before attempting any vehicle crossing, conduct thorough terrain reconnaissance to identify optimal entry and exit points. Look for gradually sloping riverbanks that facilitate smooth entry and exit, avoiding steep drops that might damage your vehicle or cause cargo instability. Scan the riverbed carefully to identify submerged obstacles, sudden depth changes, or areas of particularly strong current that could compromise vehicle control.
Critical Consideration: While Reverse Trikes handle most river conditions admirably, they have definite limitations in extremely deep or fast-moving water. If your scanner shows predominantly red indicators or the water depth exceeds the vehicle’s clearance, seek alternative crossing methods. Pushing beyond your vehicle’s capabilities risks catastrophic failure, cargo damage, and lengthy recovery operations.
Mastering vehicle-based river navigation significantly expands your route planning options, enabling more direct paths that would otherwise require lengthy detours. This efficiency gain becomes particularly valuable during time-sensitive deliveries or when transporting fragile cargo that benefits from minimized transit time.
Advanced Strategies and Pro Tips
Experienced porters develop sophisticated equipment combinations that maximize crossing success rates across diverse river conditions. Consider carrying both ladders and climbing anchors to create more stable crossing systems for particularly challenging waterways. The climbing anchor provides superior holding power in strong currents when used in conjunction with ladder systems, creating hybrid solutions for extreme conditions.
Weather conditions dramatically impact river crossing difficulty. Rainfall increases current strength and depth, transforming manageable crossings into dangerous obstacles. Always check weather forecasts before committing to river routes and have contingency plans for sudden weather changes. During heavy precipitation, even previously safe crossing points can become hazardous quickly.
Cargo Protection Protocol: For valuable or fragile shipments, consider waterproofing measures before attempting any river crossing. While most cargo containers provide basic protection, additional wrapping or strategic packing can prevent catastrophic loss if unexpected immersion occurs. Position your most sensitive cargo in the most protected areas of your load during crossings.
River navigation represents just one component of Death Stranding 2’s complex terrain management system, but mastering these techniques provides significant advantages throughout your delivery journeys. The ability to confidently cross waterways opens efficient routes, preserves cargo quality, and reduces overall mission completion times.
Also read — Death Stranding 2 pre-order guide: Editions and bonuses
Expand your Death Stranding 2 knowledge with these additional resources:
- DS 2 controller: How to pre-order, price, and more
- Is DS 2 coming to Nintendo Switch 2?
- DS 2 Digital Deluxe Edition: Content, pricing, and is it worth getting?
- How to use ladders and climbing anchors in DS 2
No reproduction without permission:Tsp Game Club » How to safely cross rivers in Death Stranding 2 Master river navigation in Death Stranding 2 with expert strategies for safe cargo transport and terrain challenges