Master Battlefield 6 bipod deployment for superior weapon control and tactical advantage in combat scenarios
Understanding Bipod Mechanics
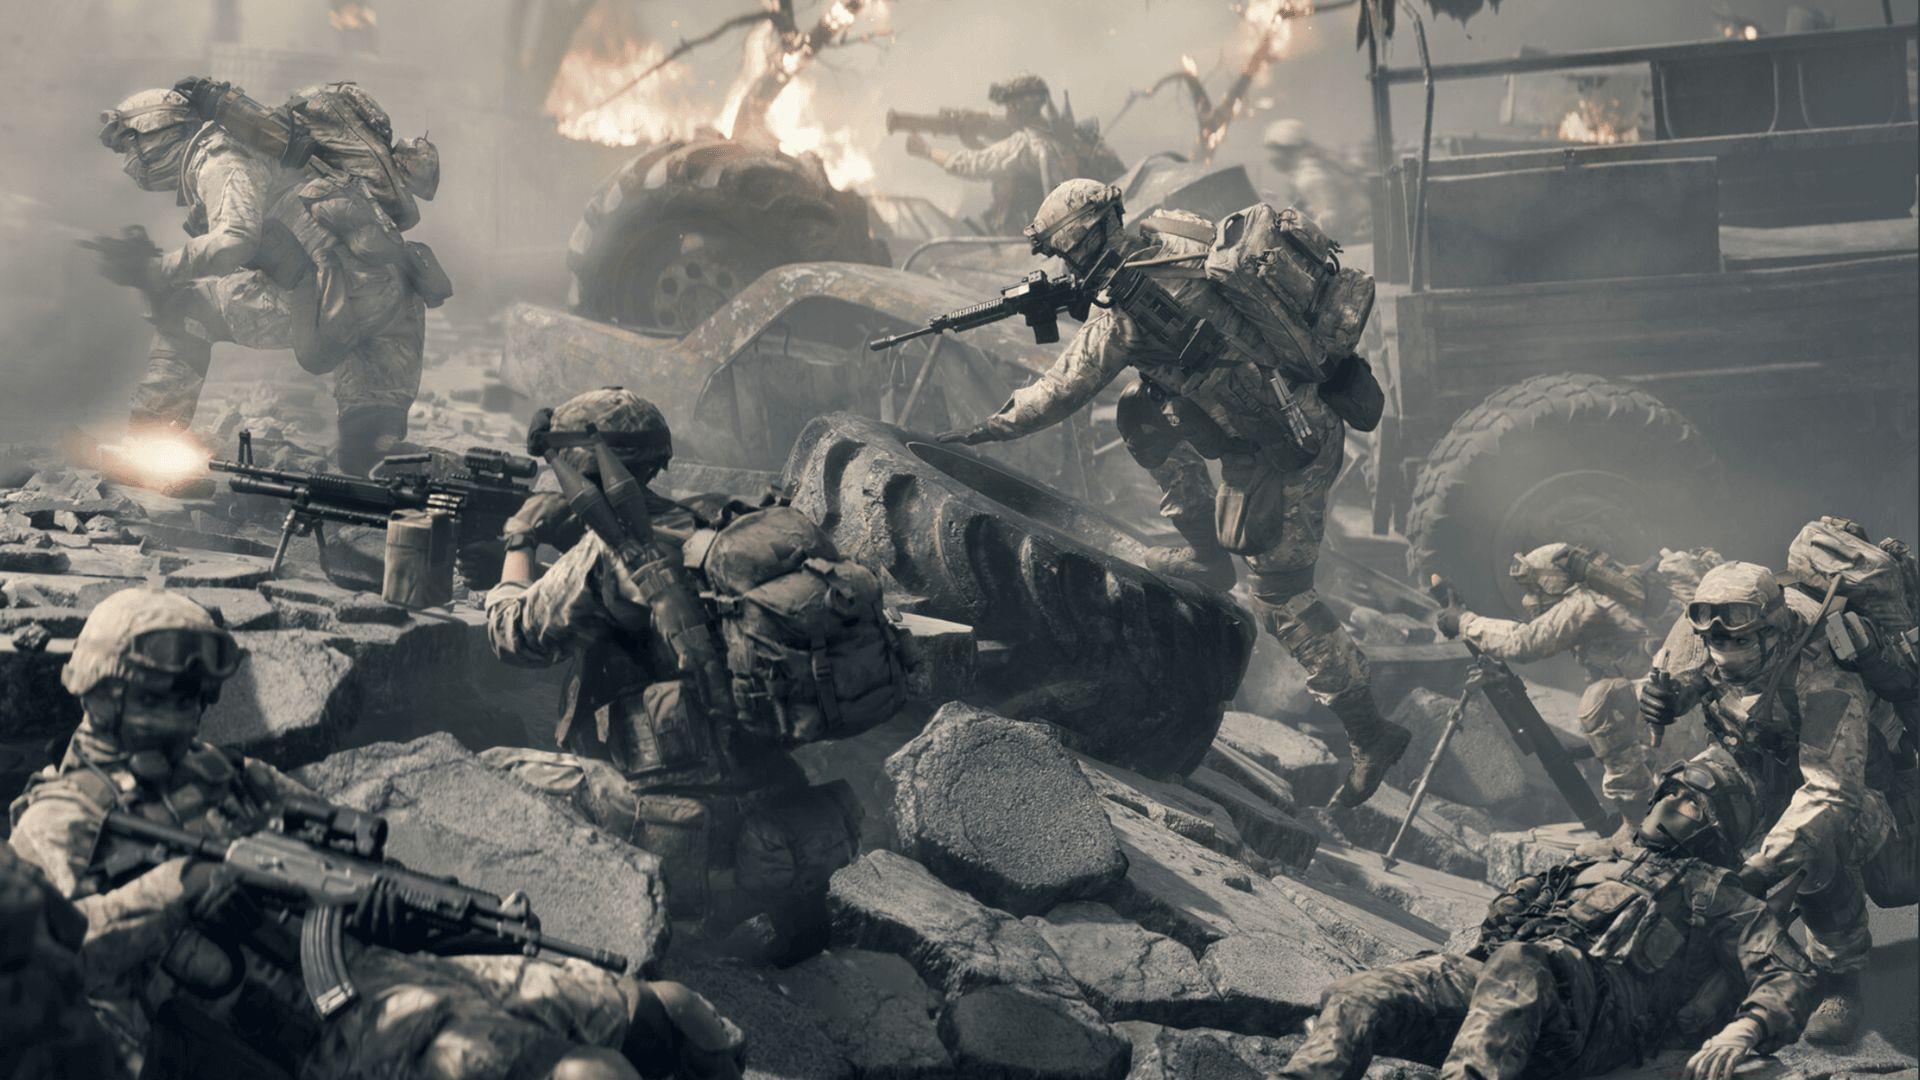
When engaging in Battlefield 6 combat, weapon recoil management becomes crucial for maintaining accuracy. The foldable bipod attachment serves as a game-changing tool that dramatically improves shooting precision. This two-legged support system connects directly to your firearm and, when properly activated, secures your weapon against terrain or structural surfaces. The immediate benefit is substantial recoil mitigation while preserving aiming stability, transforming chaotic full-auto fire into controlled bursts. This proves particularly valuable for light machine guns and designated marksman rifles that typically exhibit challenging recoil patterns during sustained engagement.
Deployment Fundamentals
Mastering bipod utilization requires understanding its activation mechanics and positioning requirements. The deployment sequence follows a specific protocol that ensures optimal performance when properly executed.
Advanced Tactical Applications
Here are strategic insights to maximize bipod effectiveness in various combat situations:
Understanding weapon-specific bipod performance variations significantly enhances tactical effectiveness. Light machine guns typically experience 60-80% recoil reduction, while designated marksman rifles gain improved first-shot accuracy and follow-up shot speed. The optimal deployment locations combine cover protection with wide firing arcs to maximize defensive capabilities while minimizing exposure.
Common Mistakes and Solutions
Whether providing defensive overwatch or supporting sniper operations, the enhanced stability from bipod deployment allows precise shot timing rather than constant recoil compensation.
After developing proficiency with Battlefield 6 bipod mechanics, you’ll recognize the distinct combat advantage over aggressively mobile opponents lacking positional discipline.
Common deployment errors include attempting activation on uneven surfaces, failing to clear deployment area obstructions, and neglecting to check sightlines before committing to position. Advanced users should practice quick-deploy techniques that minimize exposure time during positioning transitions. Remember that bipod effectiveness varies by weapon class and attachment combinations—experiment in controlled environments to identify optimal setups for your preferred playstyle.
Also read: BF6 crashing on PC error: Possible fixes, reasons
For more Battlefield 6 articles, follow Sportskeeda:
No reproduction without permission:Tsp Game Club » How to use bipods in Battlefield 6 open beta Master Battlefield 6 bipod deployment for superior weapon control and tactical advantage in combat scenarios