Complete tactical guide to mastering Operation Gladius mission in Battlefield 6 campaign with expert strategies
Mission Overview and Beach Assault Phase
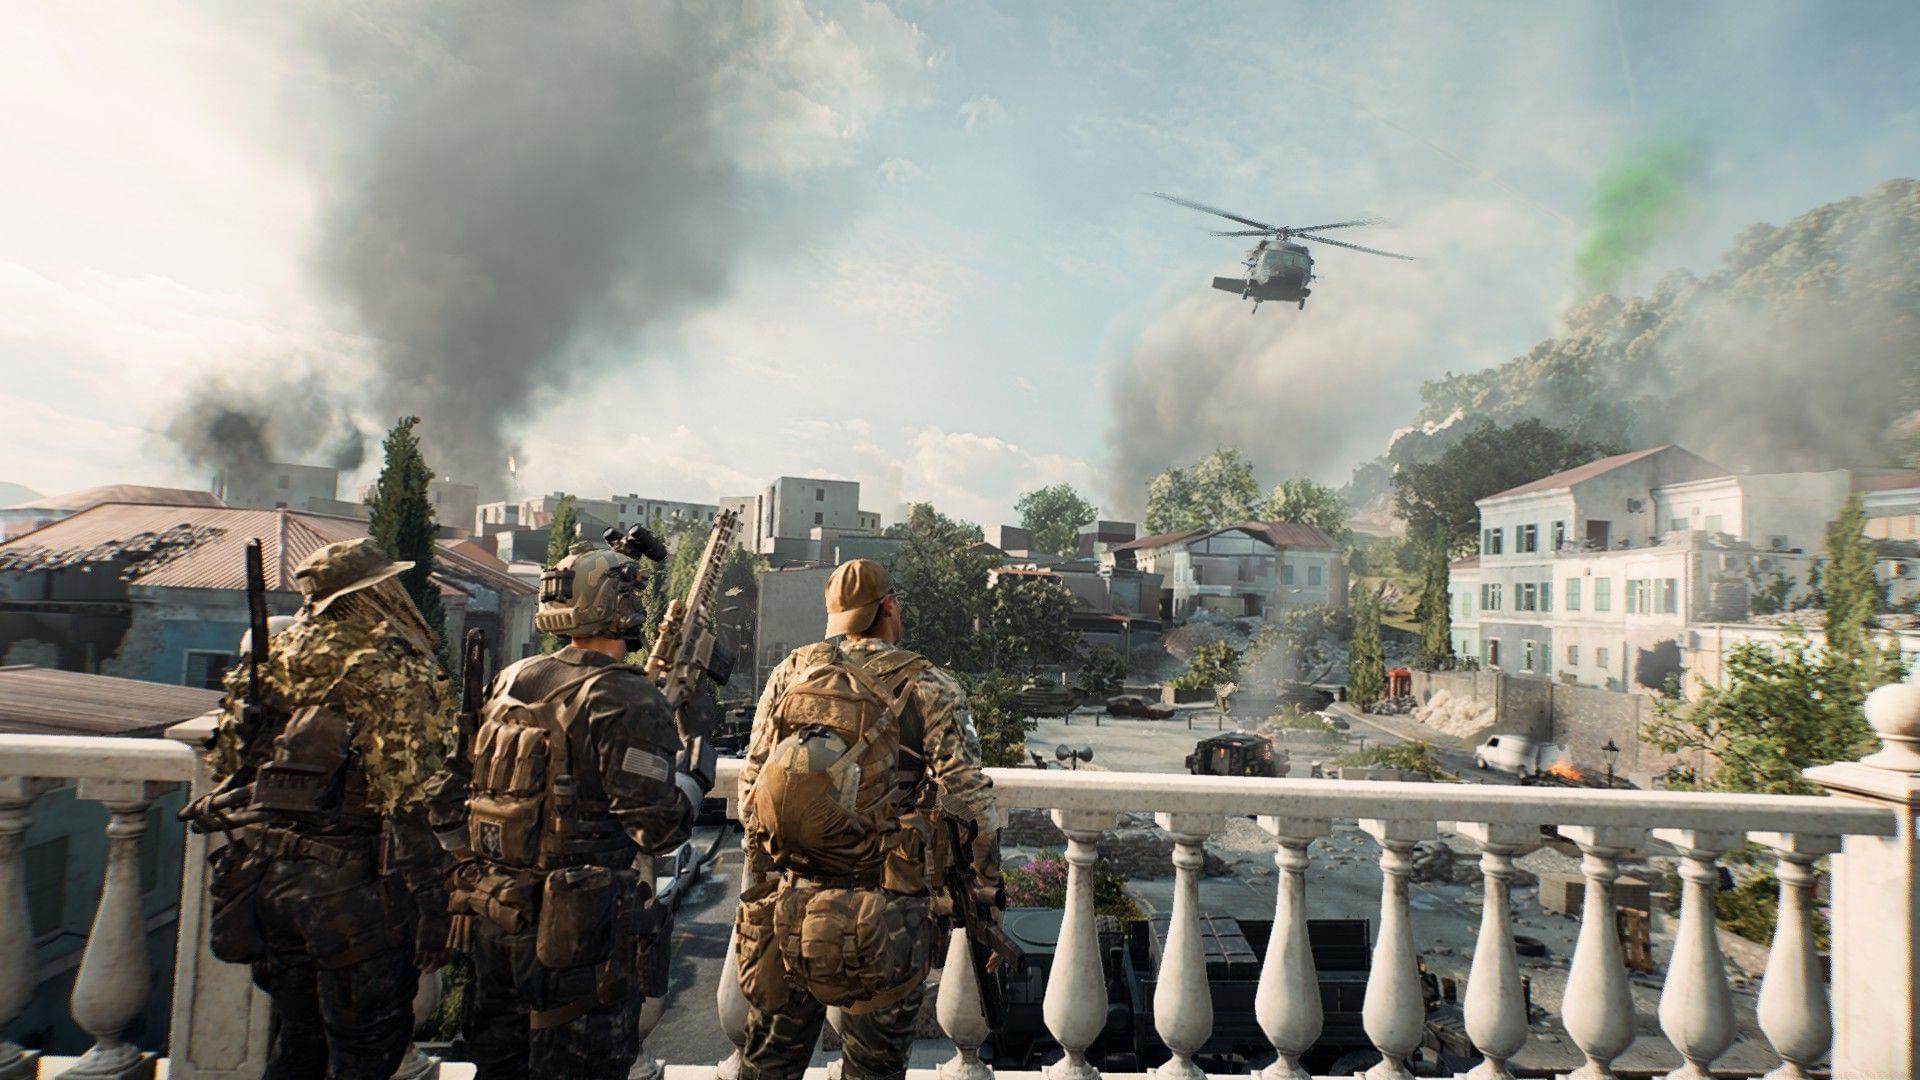
Operation Gladius represents the third major engagement in Battlefield 6’s campaign narrative. You’ll assume command as GSGT Dylan Murphy leading the elite Dagger 1-3 unit against Pax Armata forces occupying strategic positions in Gibraltar. The operation commences with a high-intensity amphibious assault as your squadron faces relentless enemy resistance while attempting to establish a beachhead.
During your aquatic approach, remain vigilant for underwater mines that pose significant threats to your landing craft. These explosive devices manifest as spherical black objects featuring intermittent red blinking indicators. Maintain safe engagement distances and eliminate them systematically using your mounted weaponry before they compromise your vessel’s integrity.
Pro Tactics: Scan the water surface methodically rather than randomly – mines often follow predictable patrol boat routes. Listen for distinct beeping sounds that intensify as you approach danger zones.
After neutralizing the marine threats, your transport reaches the shoreline where entrenched enemy emplacements including automated turrets and artillery positions become visible. Engage these defensive structures proactively using precision fire from your vehicle-mounted weapons system. Successfully dismantling these fortifications transitions you to subsequent mission objectives.
Upon establishing foothold on land, prioritize eliminating all visible enemy artillery installations immediately. Your squad advances progressively as you systematically dismantle Pax Armata defensive networks. Maintain constant situational awareness as new threats emerge throughout the beachfront engagement zone.
Multiple reinforced enemy bunkers become apparent along the coastal defensive line. Utilize your turret’s zoom functionality to identify structural weaknesses and enemy positions within these fortifications. Target these strongpoints methodically to facilitate your squad’s forward momentum through heavily contested territory.
Continue engaging hostile combatants positioned within bunker complexes and exposed areas using your superior firepower. Dagger 1-3 personnel gradually expand territorial control across the beachhead as you provide covering fire and eliminate resistance pockets.
As your advance continues, enemy infantry occupying nearby structures require immediate attention. Neutralize these threats while exercising caution regarding friendly units operating in proximity. This tactical situation introduces the subsequent campaign objective requiring careful coordination with allied forces.
After clearing immediate perimeter threats, transition to providing suppressive fire for friendly units maneuvering through the combat zone. Reorient your turret rightward to engage hostile forces occupying a multi-story building while simultaneously addressing an approaching armored vehicle. Eliminate these threats sequentially with precision and rapid response timing.
Urban Combat and Building Clearance
This combat phase features reduced intensity as your armored transport advances toward allied positions occupied by Carter and Gecko. A narrative cutscene triggers where an injured American soldier reveals intelligence regarding the catastrophic losses suffered by the initial assault wave.
Murphy and his team disembark to conduct dismounted infantry operations as the Battlefield 6 narrative progresses toward urban warfare scenarios.
Also read: Battlefield 6 Campaign review
This segment constitutes your secondary primary objective during Operation Gladius, transitioning combat from vehicular warfare to intensive infantry engagements throughout urban environments.
An anti-tank emplacement positioned at elevated terrain to your eastern flank presents immediate danger. This weapon system remains highly visible due to constant firing patterns targeting your position. Utilize available cover, employ precise aiming techniques, and neutralize this threat despite incoming enemy small arms fire.
Common Mistakes: Many players rush this engagement and take unnecessary damage. Instead, use the crumbling walls and vehicle wreckage as cover while picking off supporting infantry first before focusing on the turret itself.
This engagement follows straightforward parameters – eliminate all visible hostile combatants. A multi-story structure directly northeast contains concentrated enemy presence. Most adversaries occupy firing positions within balcony areas, window apertures, and elevated vantage points throughout the building.
Advance systematically toward the structure while engaging visible targets. After neutralizing all hostiles, combat intensity temporarily decreases allowing friendly reinforcement integration.
The subsequent two mission objectives occur in rapid succession. The game provides brief tactical breathing space as firing momentarily ceases during this Operation Gladius progression segment.
Following friendly force integration, your vehicle advances while you conduct dismounted operations eastward. Enemy snipers and marksmen engage from elevated positions requiring immediate tactical response. Identify shooter locations and return precision fire to suppress these threats.
Combat transitions into residential sector engagements. Neutralize enemies concealed within southern structures while maintaining forward momentum and systematically clearing window positions. Deploy grenade launcher attachments to destroy an AFV positioned southward. Additionally, perform field repairs on friendly armored vehicles after reducing enemy presence. Completion activates subsequent mission parameters.
Your following Operation Gladius objective navigates confined urban alleyways. Execute a left turn maneuver after completing vehicle maintenance procedures.
Advance through the narrow corridor while eliminating enemies positioned in southern window apertures. This confined engagement zone contains multiple hostile contacts requiring comprehensive clearance before returning to armored vehicle support.
Also read: Does Battlefield 6 have SBMM?
Progressing further triggers aggressive enemy assaults from building-concealed infantry and tank support. Execute rapid left turn into a structurally compromised building. Ascend to the first floor and eliminate opposition from this elevated position.
This vantage point provides visual coverage of enemies in opposing structures and tactical superiority over the armored threat. Utilize explosive ordnance including C4 charges to neutralize the tank from this dominant position.
Advanced Tactics: For experienced players, try using the building’s multiple levels to create crossfire situations. Position one teammate on the second floor while you engage from the first, trapping enemies in kill zones.
Final Assault and City Hall Takeover
Further mission progression encounters vehicular obstruction requiring dismounted operations. Execute right turn and follow allied units toward the designated objective marker.
Enter the damaged structure and ascend to the rooftop level. Navigate rightward across the roof and access the doorway secured by friendly forces. This triggers a critical narrative cutscene within the Battlefield 6 Campaign.
During the cinematic sequence, strategically mark all observable enemy positions to facilitate the final engagement phase. After scene completion, deploy from your position and initiate combat operations. Your objective simplifies to comprehensive hostile force elimination.
Employ tactical area isolation by activating the command interface (default ‘Q’) and selecting smoke deployment. This directs AI teammates to deploy concealment grenades. Infiltrate the southern structure to your left and ascend to eliminate the sniper threat.
Utilize the acquired precision weapon to neutralize additional enemies occupying rooftop positions. Eliminate the RPG turret operator and employ the captured weapon system against proximate enemy concentrations.
After securing the external perimeter, proceed to infiltrate the City Hall complex to locate the enemy commander. Expect intense resistance throughout the interior spaces. Maintain heightened awareness and eliminate hostile contacts efficiently.
Ascend through the structure and breach interior doorways to engage reinforced enemy positions. The City Hall roof undergoes structural compromise exposing your team to multi-directional enemy fire. Utilize available cover, administer medical treatment if required, and return effective counterfire.
Execute rapid movement to the objective marker location on the hall’s opposite side. Securing this designated area triggers the concluding narrative sequence.
Also read: Battlefield 6 campaign’s highest difficulty level leaked, and it’s harder than you think
This comprehensive Operation Gladius walkthrough concludes with Murphy and allied forces discovering the Pax Armata commander’s successful evacuation, rendering capture or elimination impossible. Extraction via helicopter concludes the mission, transitioning to the Night Raid operation.
Check out our other Battlefield 6 Campaign mission walkthroughs:
No reproduction without permission:Tsp Game Club » Operation Gladius mission walkthrough in Battlefield 6 Campaign (Mission 3) Complete tactical guide to mastering Operation Gladius mission in Battlefield 6 campaign with expert strategies