Mastering Knight Artorias in Elden Ring Nightreign: Advanced strategies, phase analysis, and actionable combat tactics
Understanding Knight Artorias: Boss Mechanics and Combat Fundamentals
Knight Artorias represents a formidable Night Boss encounter within Elden Ring Nightreign, accessible exclusively through the Forsaken Hollows DLC expansion. This legendary adversary, originally hailing from the Dark Souls universe, emerges as a mandatory confrontation during the second nocturnal cycle of the Dreglord expedition. Despite his intimidating presence, Artorias operates according to clearly telegraphed attack sequences that observant players can systematically dismantle through precise timing and spatial awareness.
Before engaging this iconic foe, ensure your character meets recommended level thresholds (typically 120+ for comfortable execution) and possesses adequately upgraded weapons. The combat philosophy centers on reactive gameplay rather than aggressive rushing – patience consistently outperforms recklessness against this particular boss. Understanding the fundamental rhythm of his attacks will transform an overwhelming challenge into a manageable skill check.
Phase One Breakdown: Recognizing Attack Patterns and Openings
Artorias initiates several key attacks with distinctive auditory cues, most notably his characteristic howl. When you detect this vocal warning, immediately assume defensive positioning as the howl consistently precedes one of two dangerous maneuvers:
- Rush-and-Slash Combination: A rapid forward dash culminating in a wide horizontal arc that demands precise blocking or well-timed dodging
- Spinning Vortex Attack: A rotational slash damaging everything within medium radius, followed by a vulnerable recovery period perfect for counter-offensives
Another critical pattern involves his lunging thrust technique. Artorias signals this move through a distinctive crouching animation – recognize this visual cue as your dodge trigger. While ranged combat specialists naturally enjoy advantages against this primarily melee-oriented foe, they remain particularly susceptible to these sudden gap-closing thrusts and must maintain optimal spacing.
The aerial somersault slam presents another pattern requiring spatial awareness. Artorias leaps vertically before executing a devastating ground impact at your current position. Crucially, this maneuver can chain twice consecutively, demanding continued movement rather than single dodges. Learning the rhythm between these jumps separates successful from failed attempts.
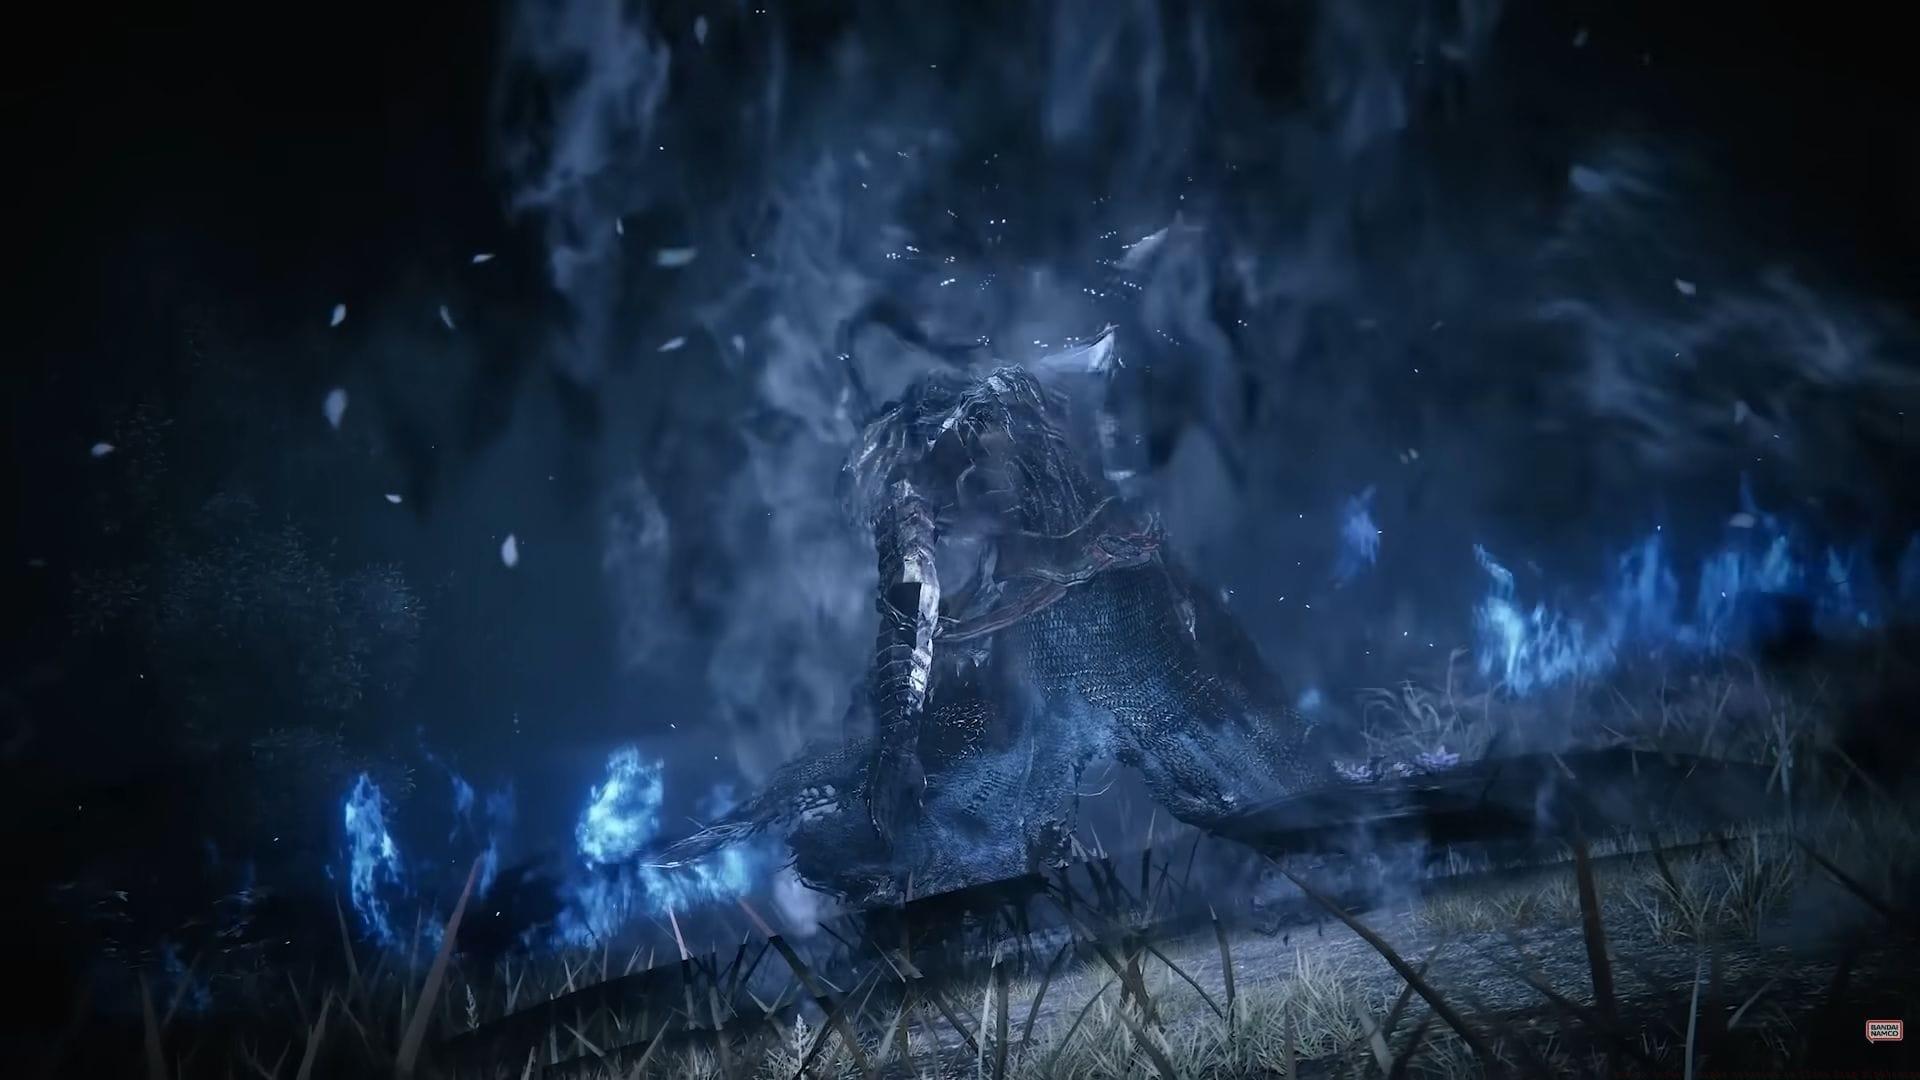
Phase Two Transformation: Dark Energy Mechanics and Advanced Threats
Upon depleting approximately one-third of Artorias’ health reservoir, a dramatic phase transition occurs marked by dark energy infusion. The boss momentarily channels abyssal power before unleashing an area-of-effect explosion. Simple disengagement provides complete safety from this initial burst – create distance immediately upon seeing the energy gathering animation.
This empowerment introduces additional combat dimensions through homing projectiles that track your movement while augmenting Artorias’ speed and damage output. Fortunately, these seeking missiles move relatively slowly and respond well to lateral evasion patterns rather than straight-line retreats.
The enhanced phase introduces dangerous combo sequences where Artorias executes multiple consecutive slashes during aggressive dashes. Precise dodge timing becomes non-negotiable during these assault chains. However, each combo conclusion leaves Artorias briefly immobilized, creating your primary damage-dealing windows. Capitalize on these recovery periods with your most potent attacks while managing stamina for immediate disengagement.
Advanced Combat Strategies: Build Optimization and Execution Refinement
Success against Artorias hinges on both mechanical execution and strategic preparation. Weapon selection dramatically influences encounter difficulty – consider these optimized choices:
- Greatswords/Colossal Weapons: Maximize stance damage to create additional stagger opportunities
- Blood Loss Builds: Capitalize on his susceptibility to hemorrhage effects for percentage-based damage
- Shield Selection: Prioritize high physical absorption shields (70%+) for safer howl-attack sequences
Avoid these common execution errors that frequently lead to unnecessary deaths:
- Over-commitment During Openings: Greed consistently punishes – take guaranteed damage then reset
- Misreading Combo Extensions: Phase two attacks may include unexpected additional hits
- Poor Stamina Management: Always reserve sufficient stamina for emergency dodges
- Camera Management Failures: Unlocked camera often provides better spatial awareness during aerial attacks
Advanced players should master the dodge-roll timing specific to each attack variant. The horizontal slash demands lateral dodges, while thrust attacks require backward or diagonal evasion. Somersault slams necessitate delayed rolls to avoid aerial tracking. Through methodical pattern recognition and disciplined execution, Artorias transforms from insurmountable obstacle to conquered legend.
No reproduction without permission:Tsp Game Club » How to defeat Knight Artorias in Elden Ring Nightreign Mastering Knight Artorias in Elden Ring Nightreign: Advanced strategies, phase analysis, and actionable combat tactics